Painting an autumn landscape

Rate this tutorial
No votes yet


This brightly coloured landscape, created in 8 steps, is a great starting point to master colour mixing and a simple yet effective technique known as "fat over lean"


Time required: 2 hours


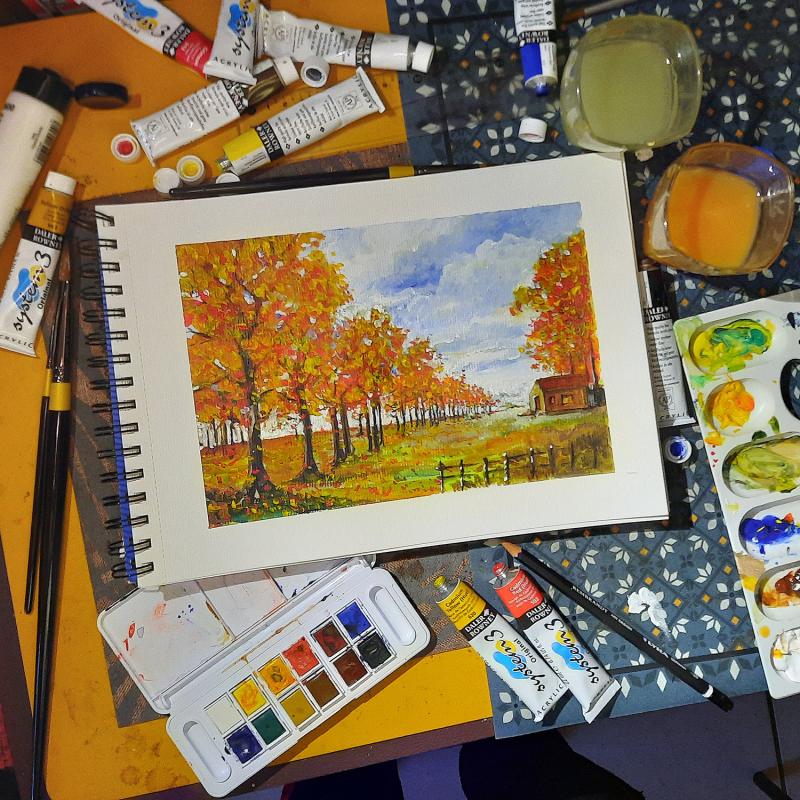
Materials used:
•    Paper: Canson XL Mixed Media Textured 
•    Colours: Daler-Rowney set of 10 System 3 Acrylic colours; Daler-Rowney Aquafine watercolours for the blue background.
•    Brushes: Graduate System 3 set (500)
•    Pencil: Lyra 2H
•    Accessories: 2 pots of water, rubber, ruler, repositionable tape, cloth.
Step 1


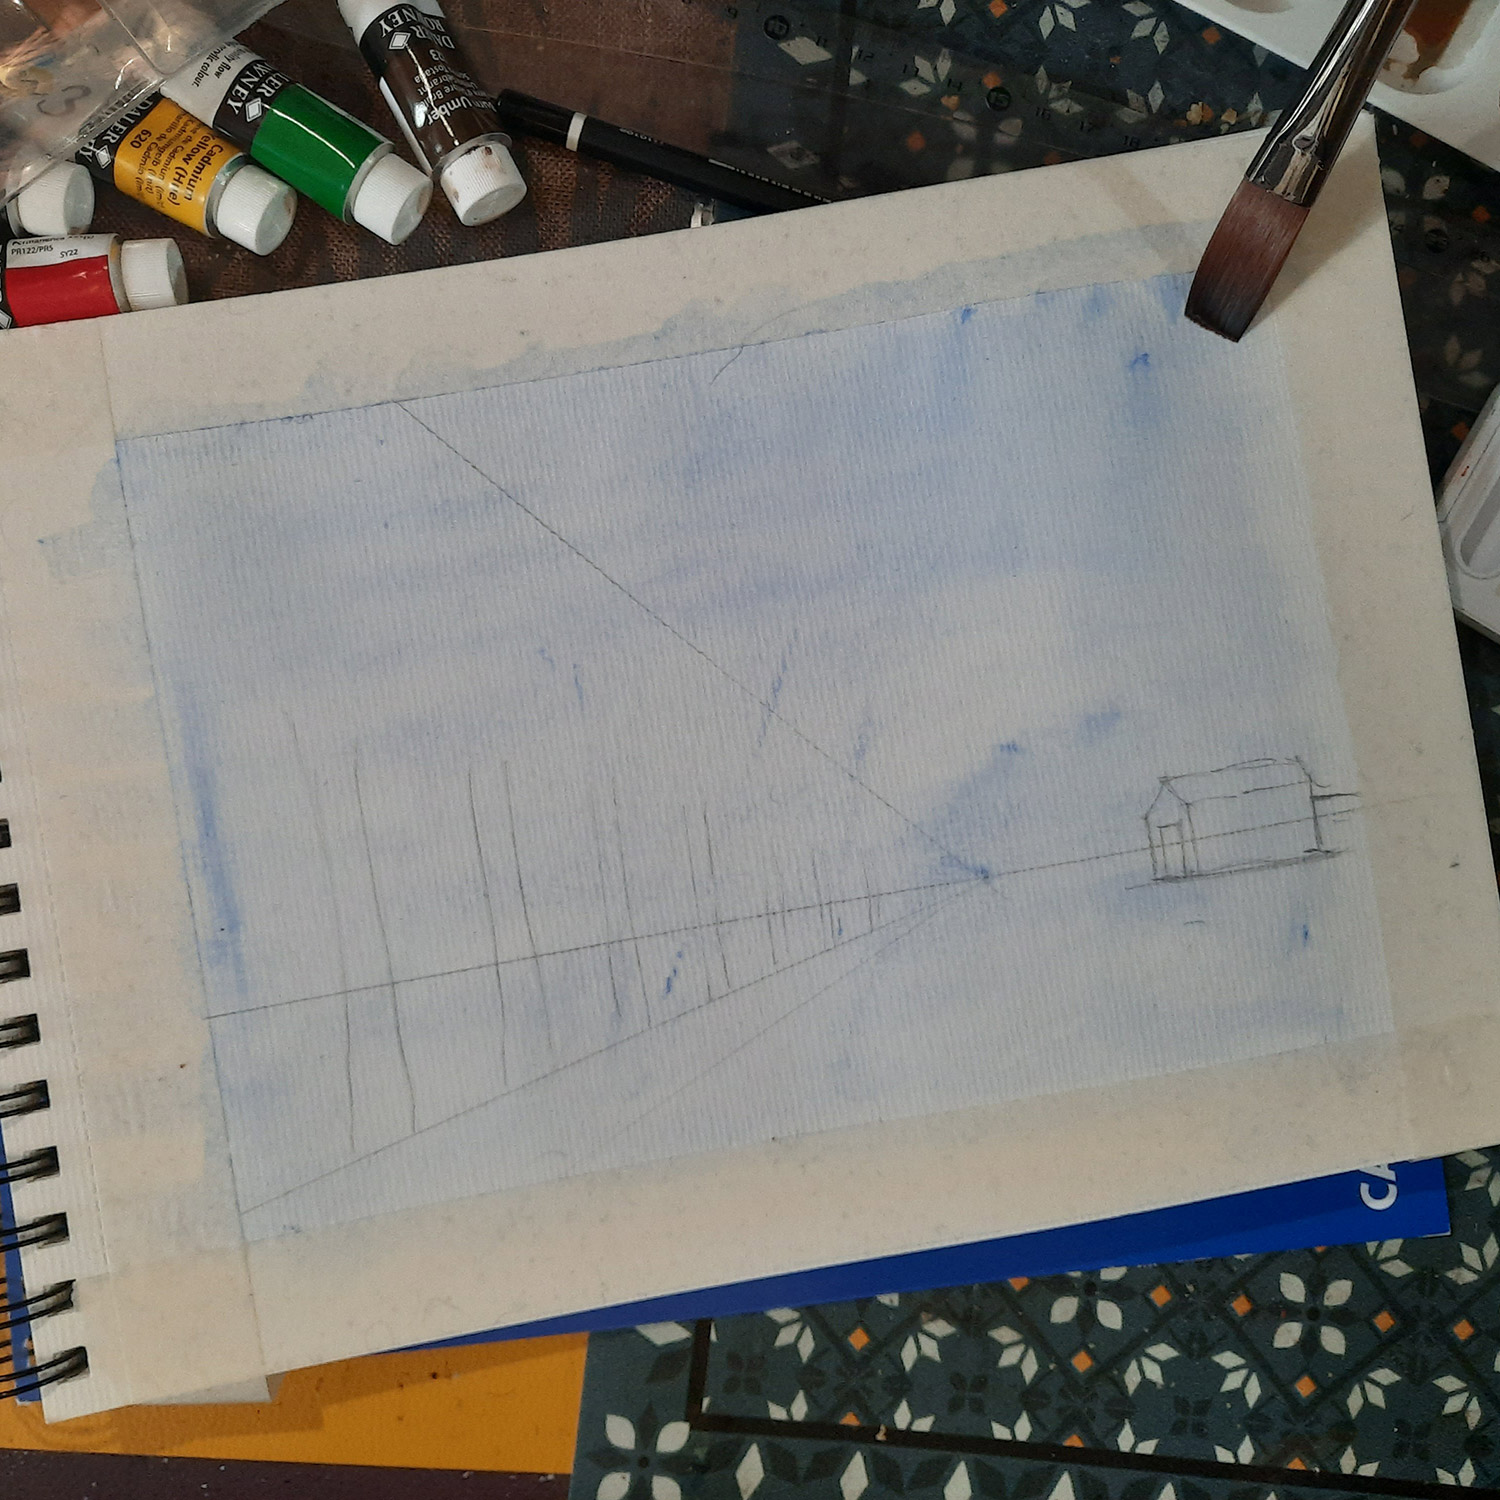
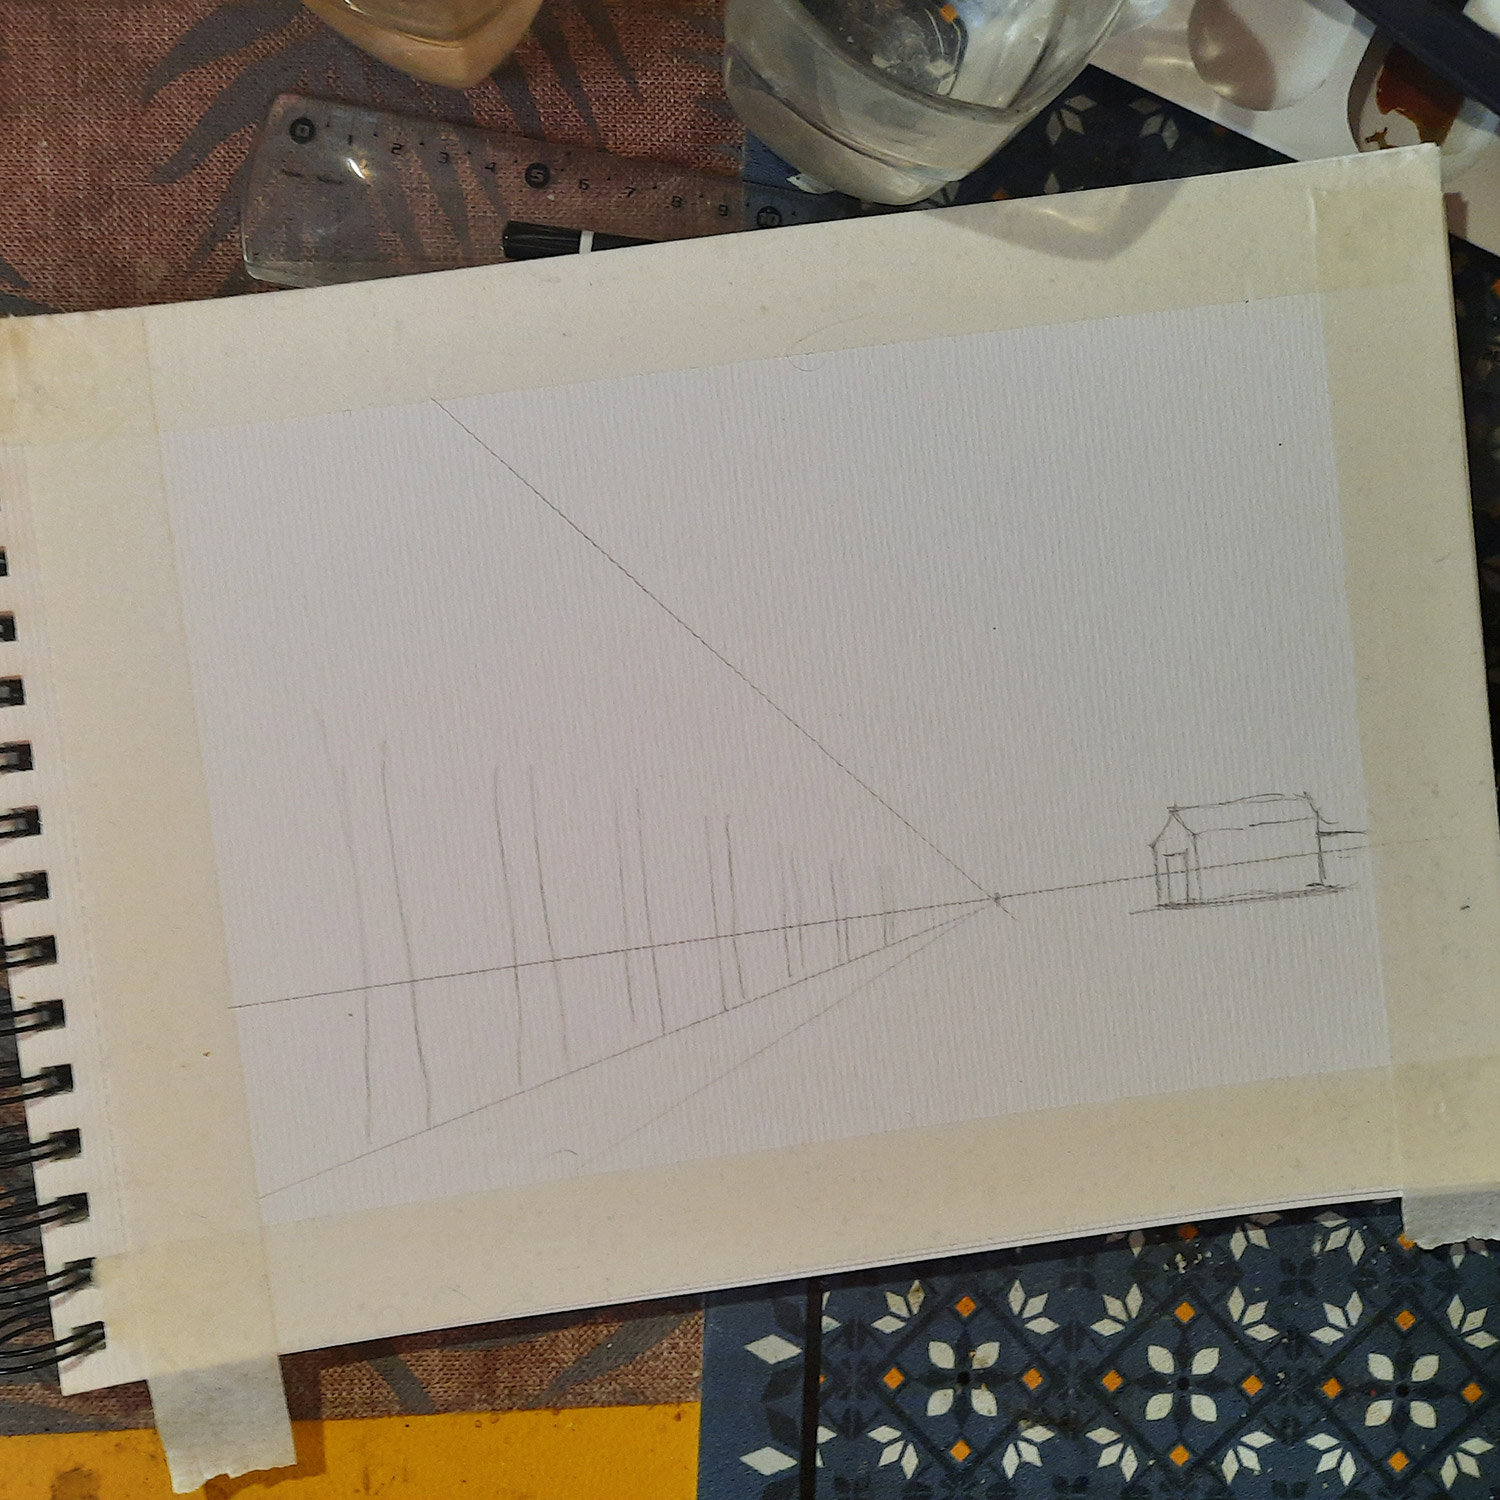
Tape the edges of the sheet. Once this tape is removed, it will create a precise border or frame for your work.


Draw a horizon line in the lower third and two perspective lines to suggest the depth of the scene. Then draw a single building on the left, straddling the horizon, and a series of tree trunks increasingly close together.

Step 2


Apply a very diluted blue watercolour base colour over the entire dry surface. This layer, known as the "lean" layer, acts like a background or print. A similar result can be achieved with very diluted acrylic.


Whether you choose watercolour or acrylic, this layer must be transparent but a sufficiently deep colour.


Here, we have chosen a complementary shade based on the orange tone of the finished work.


Tip: always think in terms of opposites on the colour wheel, using complementary colours to create visual harmony (Blue – Orange/Red – Green/Yellow – Purple)

Step 3


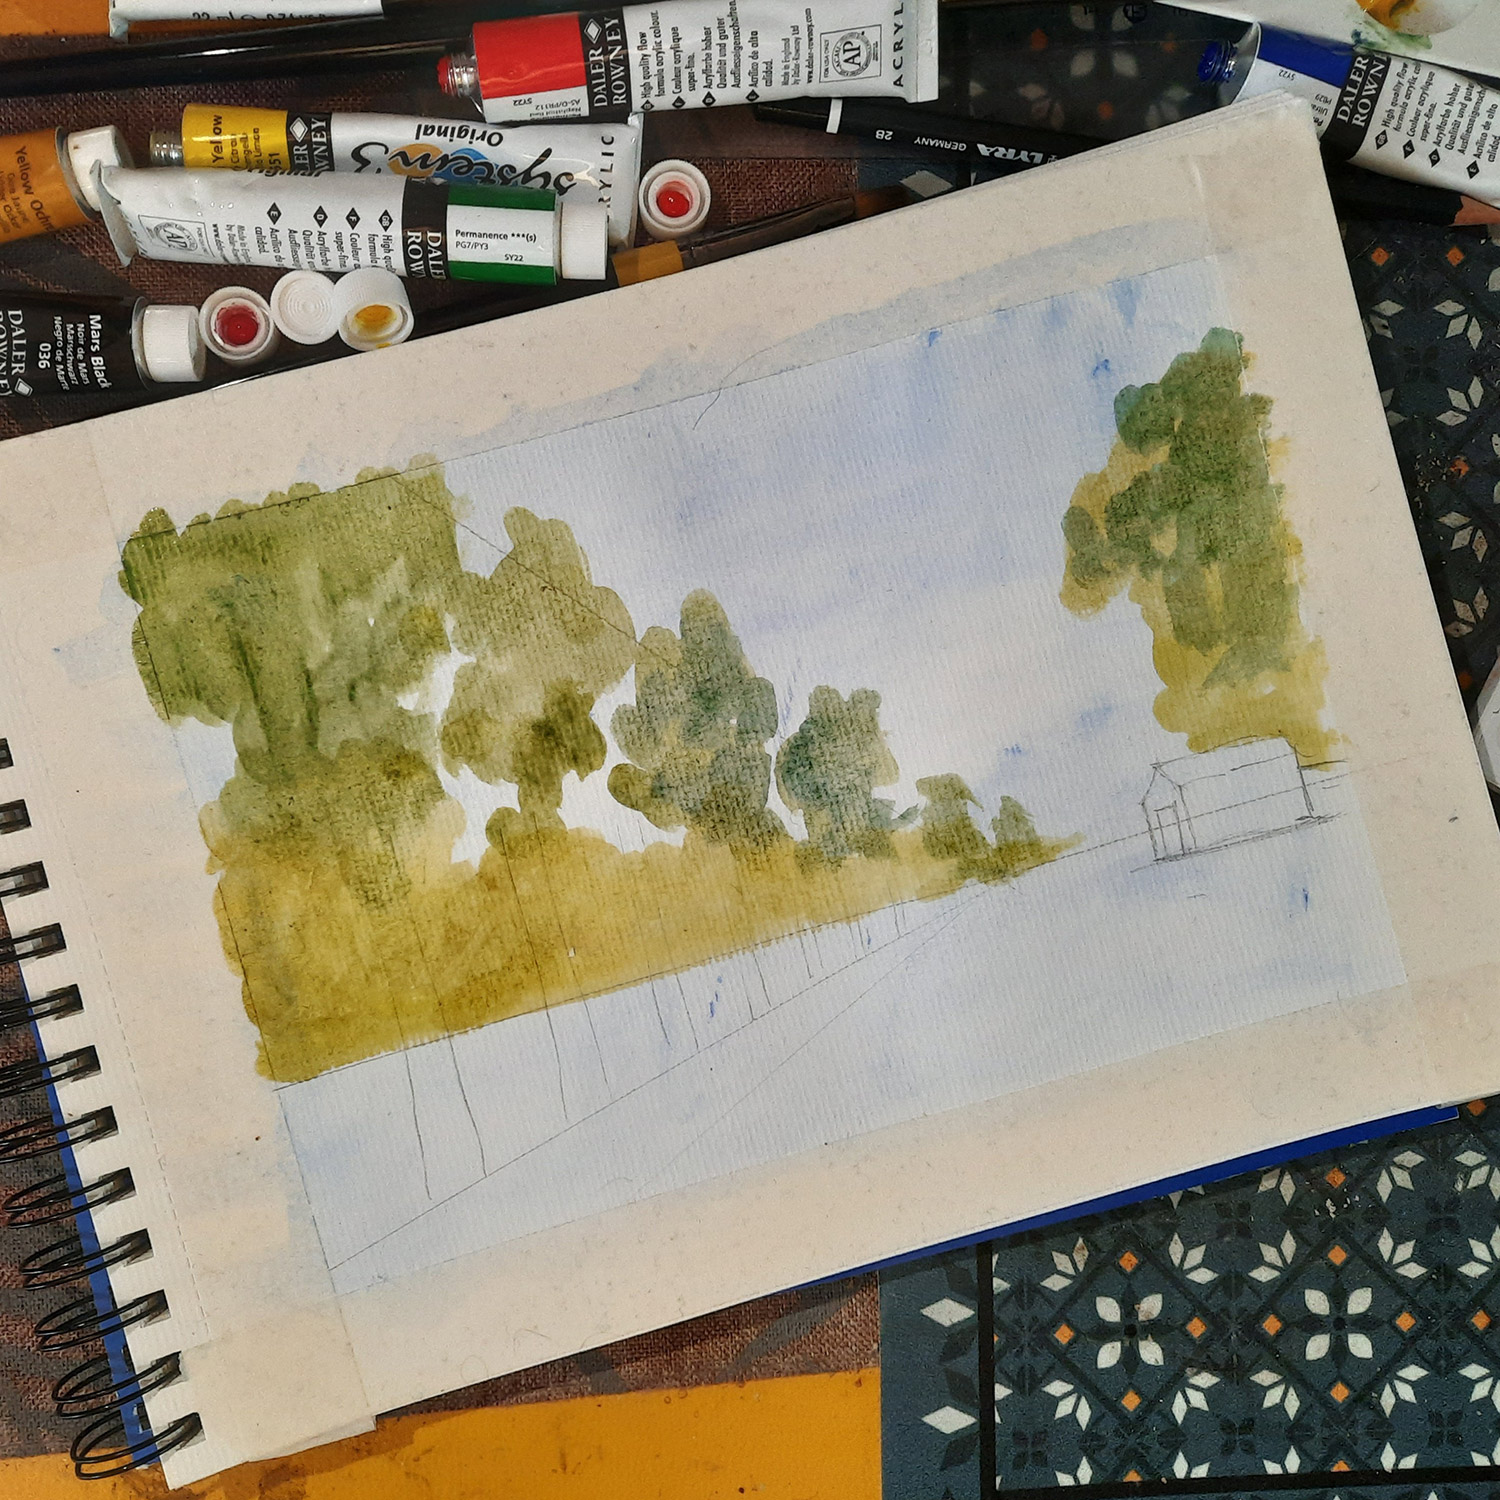
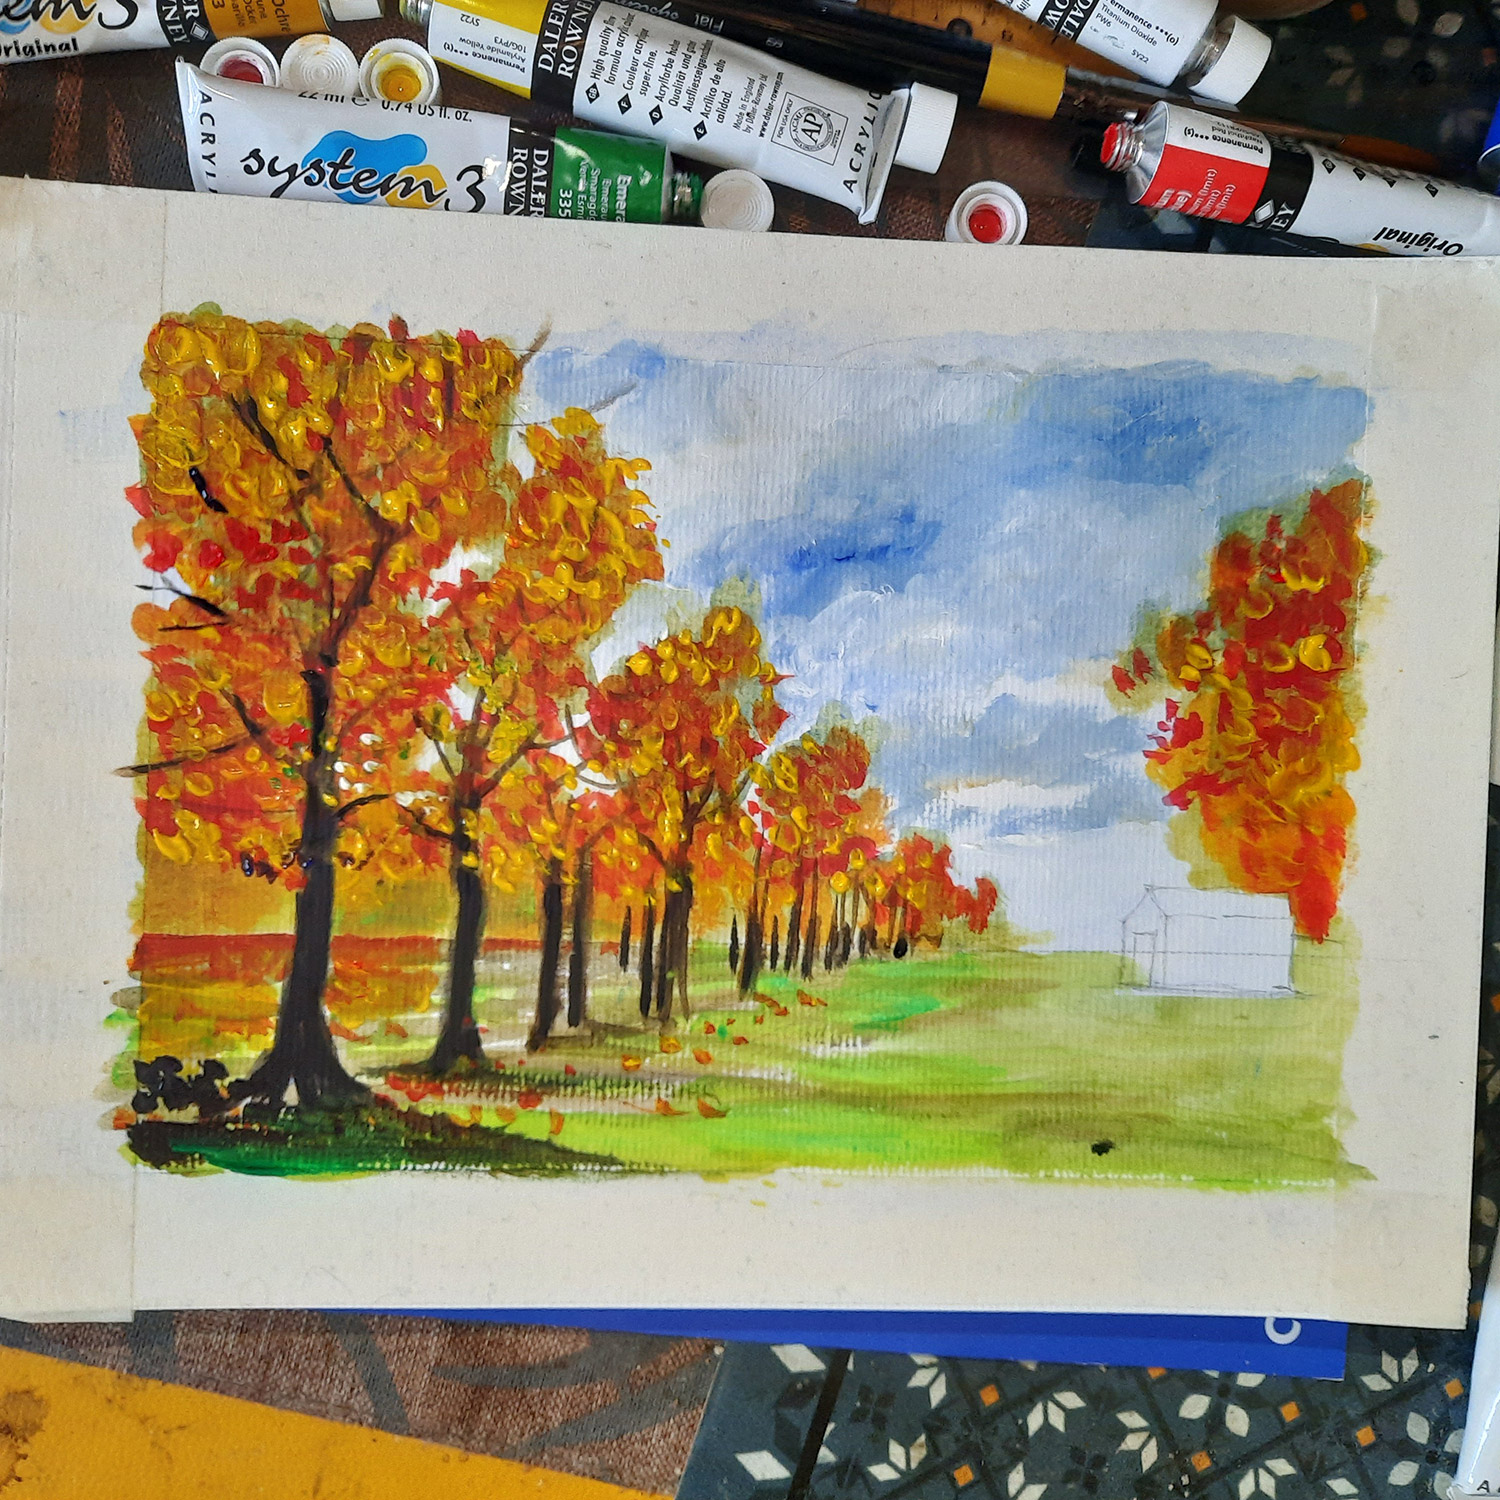
Everything else will be painted in acrylic. Apply green to all the foliage on the trees. This effect shows the natural progression, with green leaves gradually giving way to orange and red ones.
 

Continue by accentuating certain darker areas, always working with fairly "lean" paint (very diluted).
 

Tip: rather than using pure green, try mixing your own colours, i.e. using different yellows and blues to vary your shades. As you work, various shades will emerge. To lighten a green shade, add a little yellow; to darken it, add a little blue. There's no need to use black or white just yet, as this could dull your colour.

Step 4


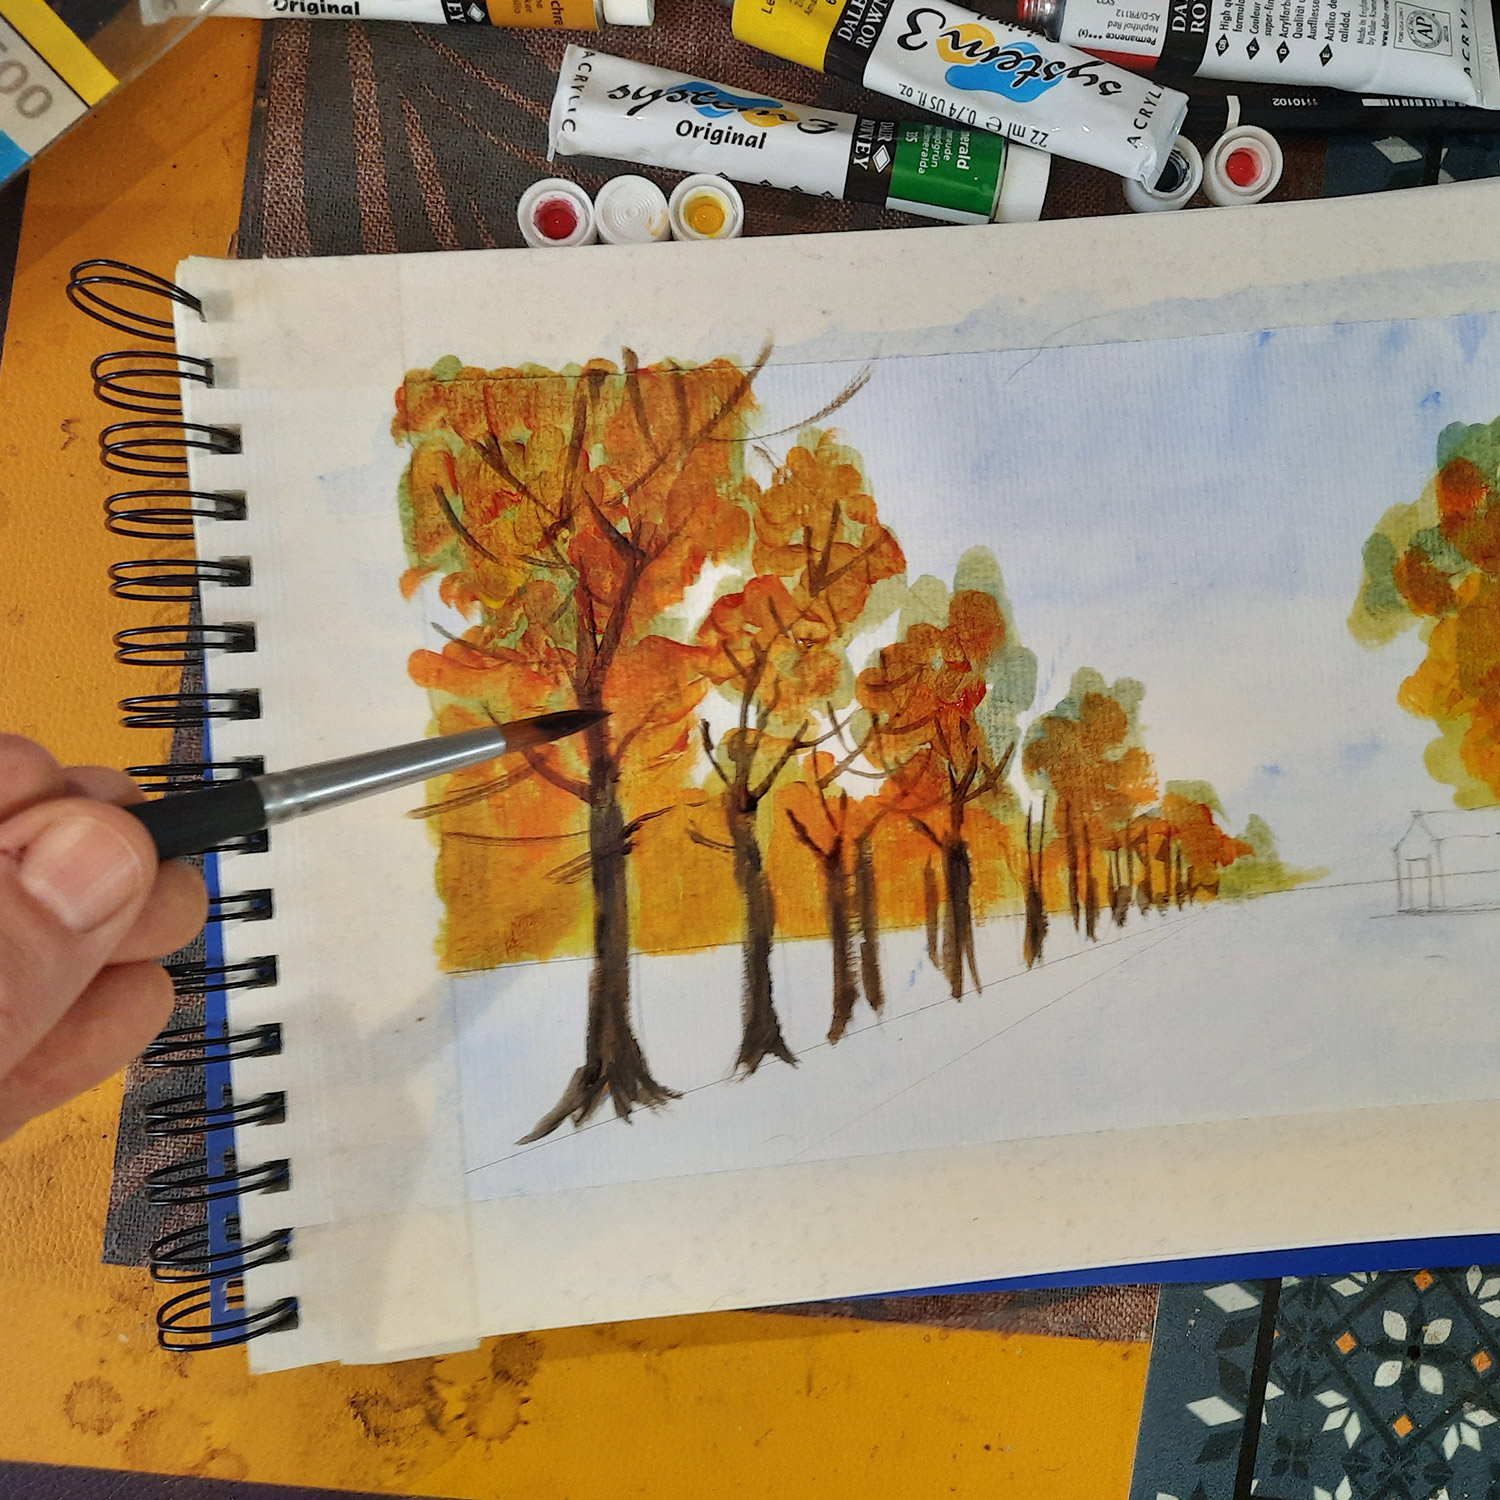
Apply an orange base to the foliage. Use large strokes with a medium brush.
 

Once dry, use a finer brush for the trunks and a few branches. For this step, mix burnt umber and blue, diluting less (for a "fatter" consistency).

Step 5


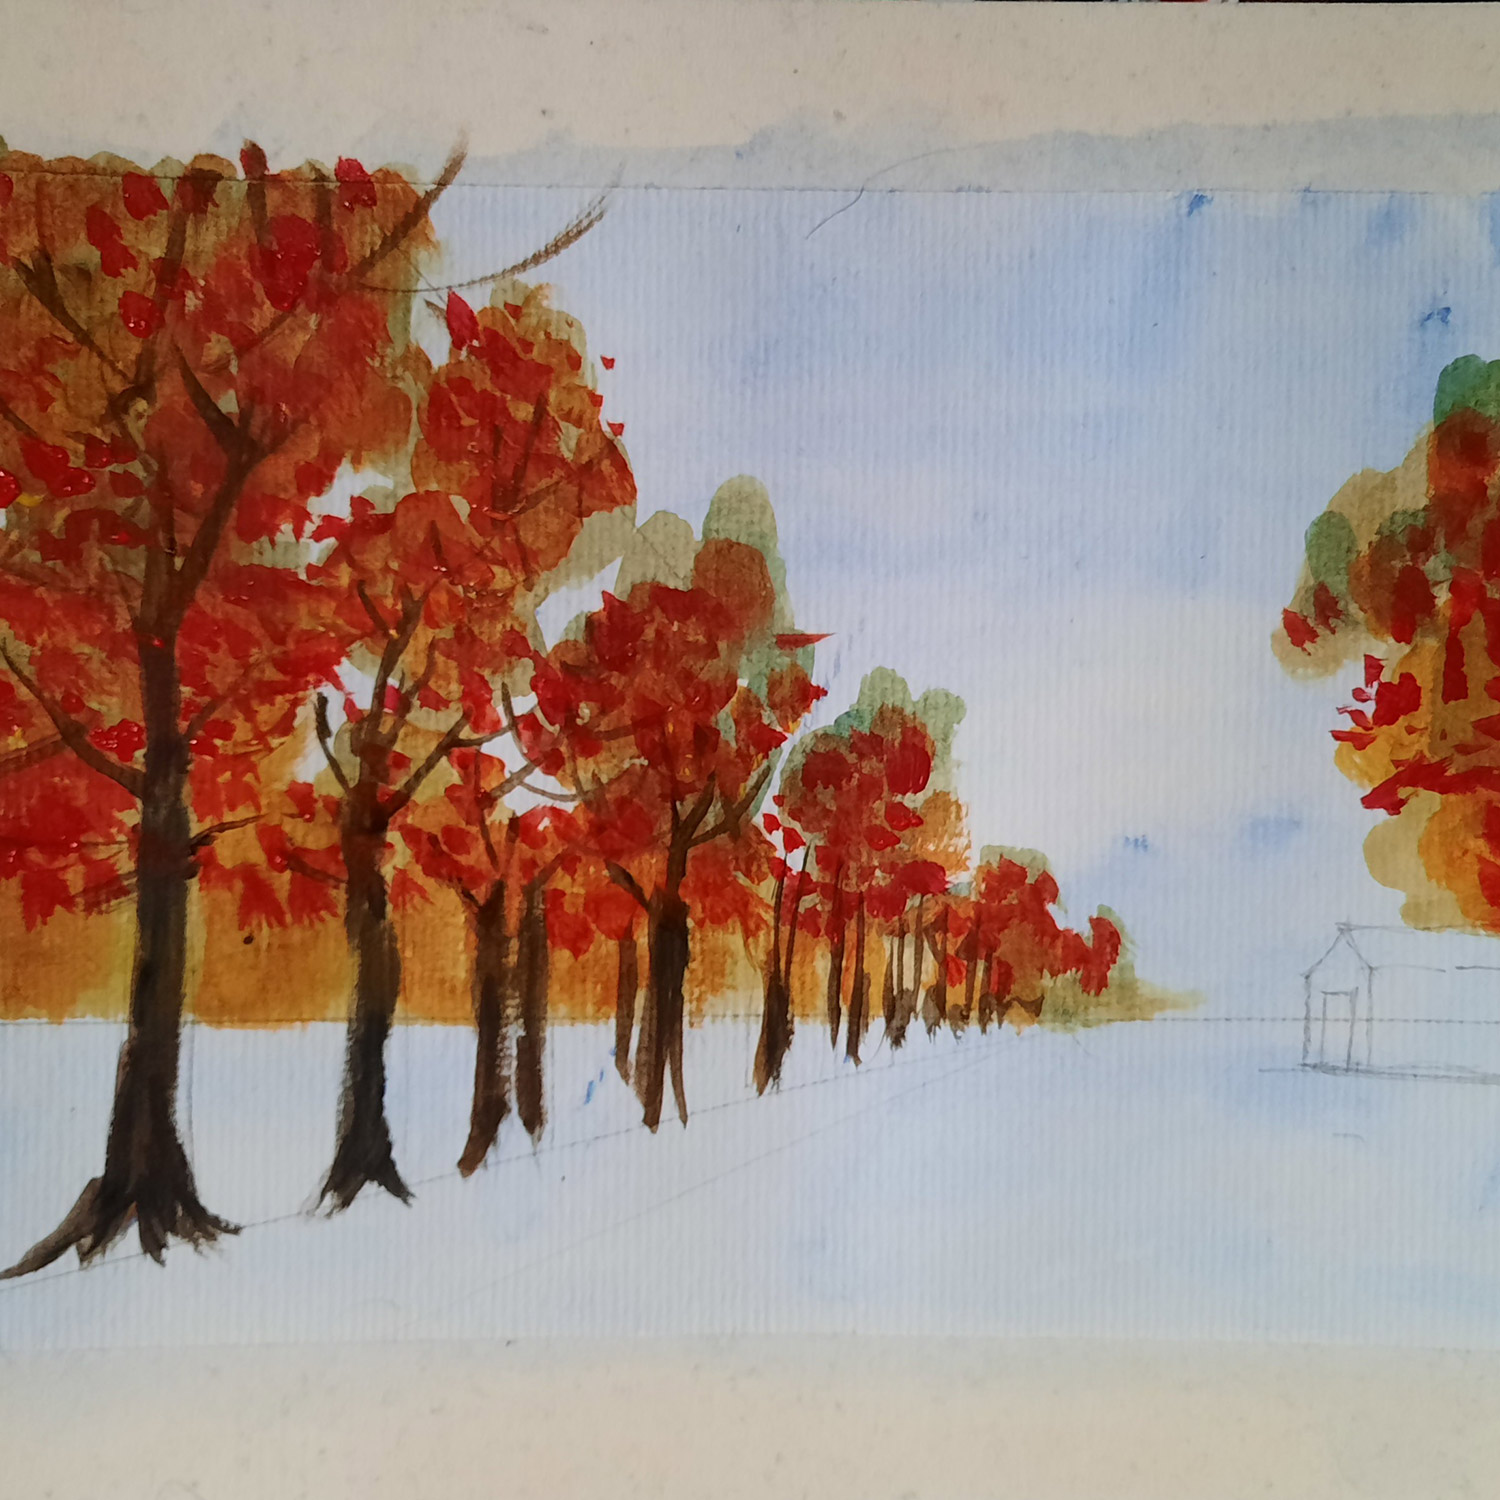
Darken the leaves generously with vermilion to add intensity.
 

Important: always remember that once a work of art is finished, you cannot always see the whole process that went into it. If you feel that adding a colour is covering up the previous one and rendering it pointless, remember that each layer serves a purpose. Just like the foundations of a house, they may be invisible to the naked eye, but they are essential for the stability of the final structure.
 

Step 6


Using blue and white, create a cloudy sky with "fat" paint. Choose more imposing shapes at the top and finer ones towards the horizon to accentuate the perspective effect.


Paint the ground with broad brushstrokes in earth tones. Then add bright green highlights for the grass.


Step 7


It is time to focus on the details of the landscape.  


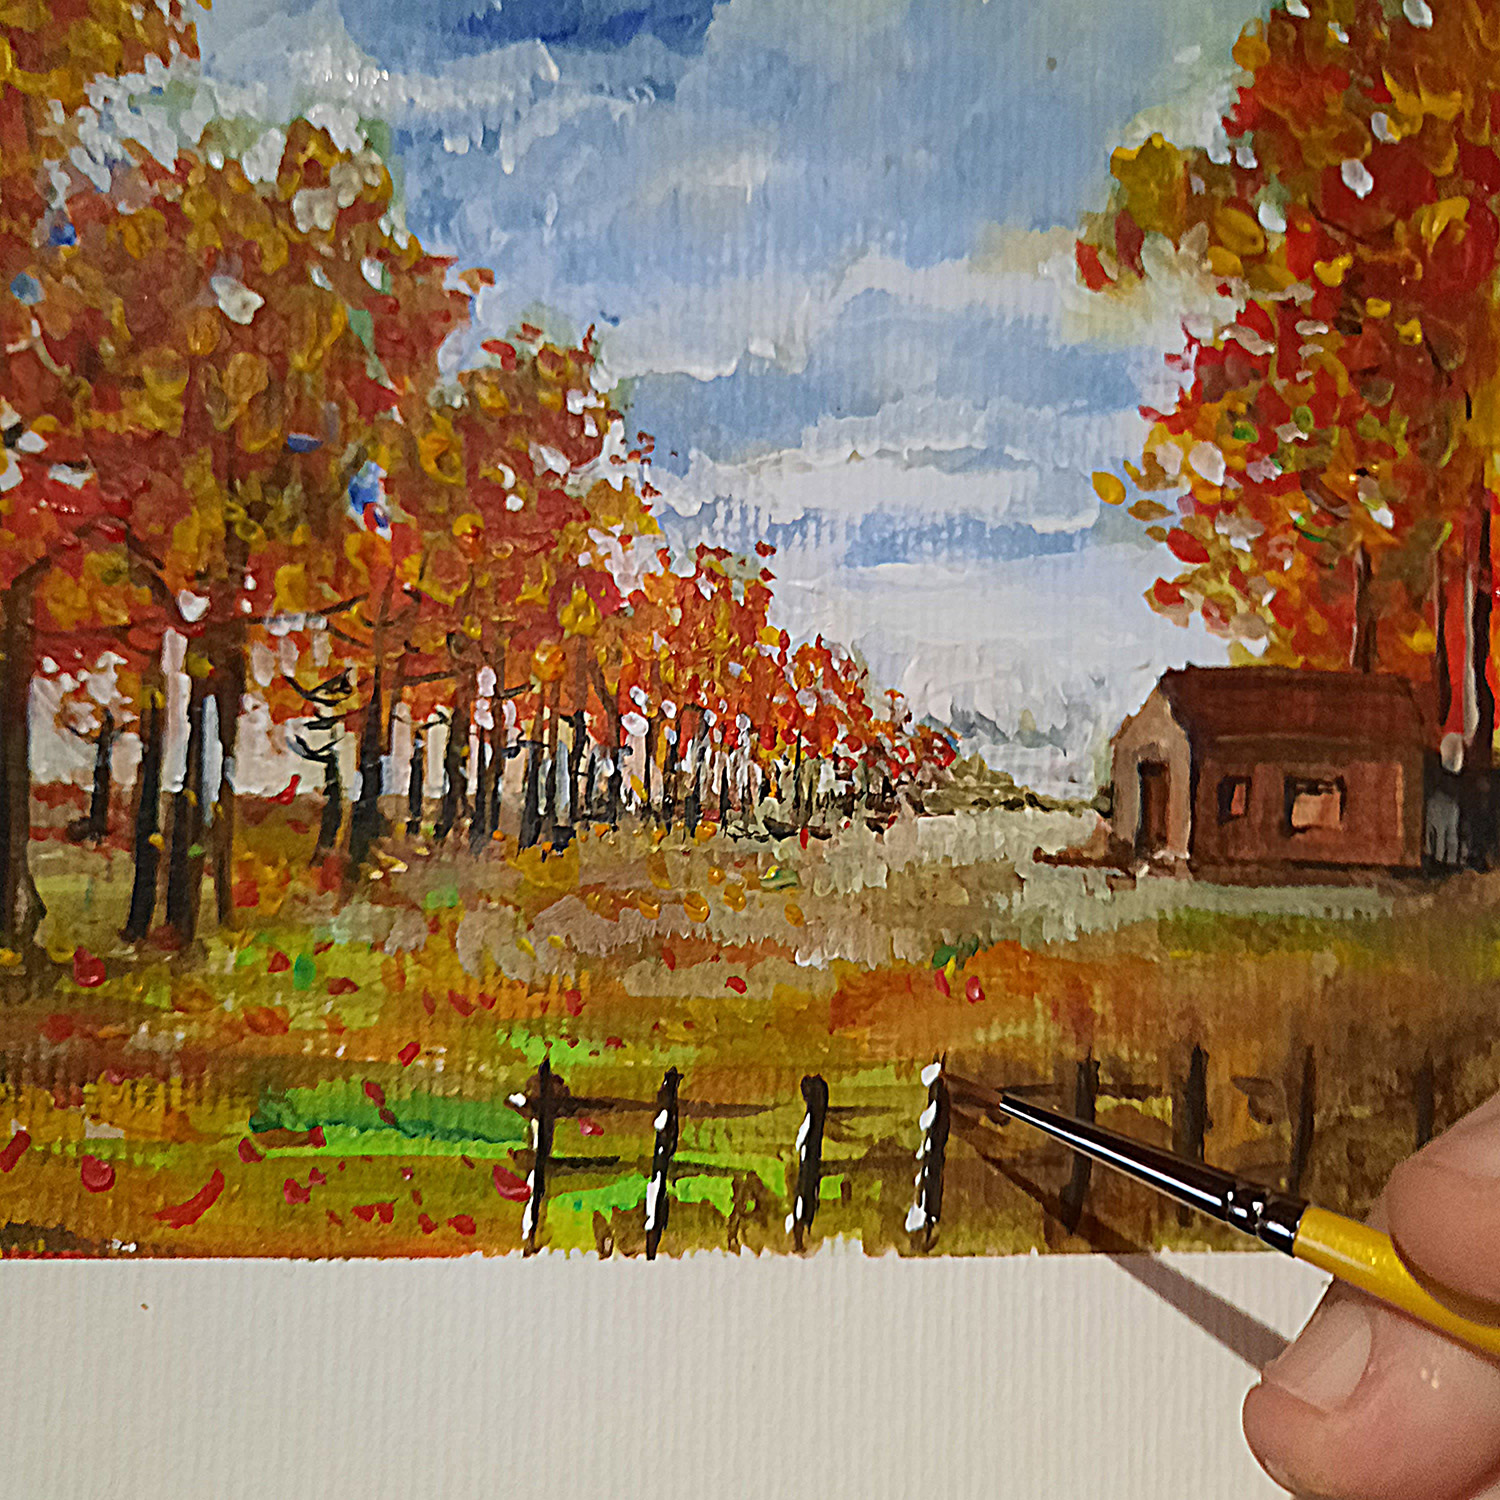
Once the previous coats have completely dried, use a fine brush to apply touches of "fat" paint (not very diluted) to the foliage: orange, yellow and vermilion.


Use a brush to draw a gate in the foreground, highlight the illuminated areas in white (in acrylic).


Add light under the trees in the background and between the leaves.


Tip: the "white" of the sky is often added later. In many classical paintings, these flashes of light only appeared at the very end, using a precise impasto effect. 
 

Step 8


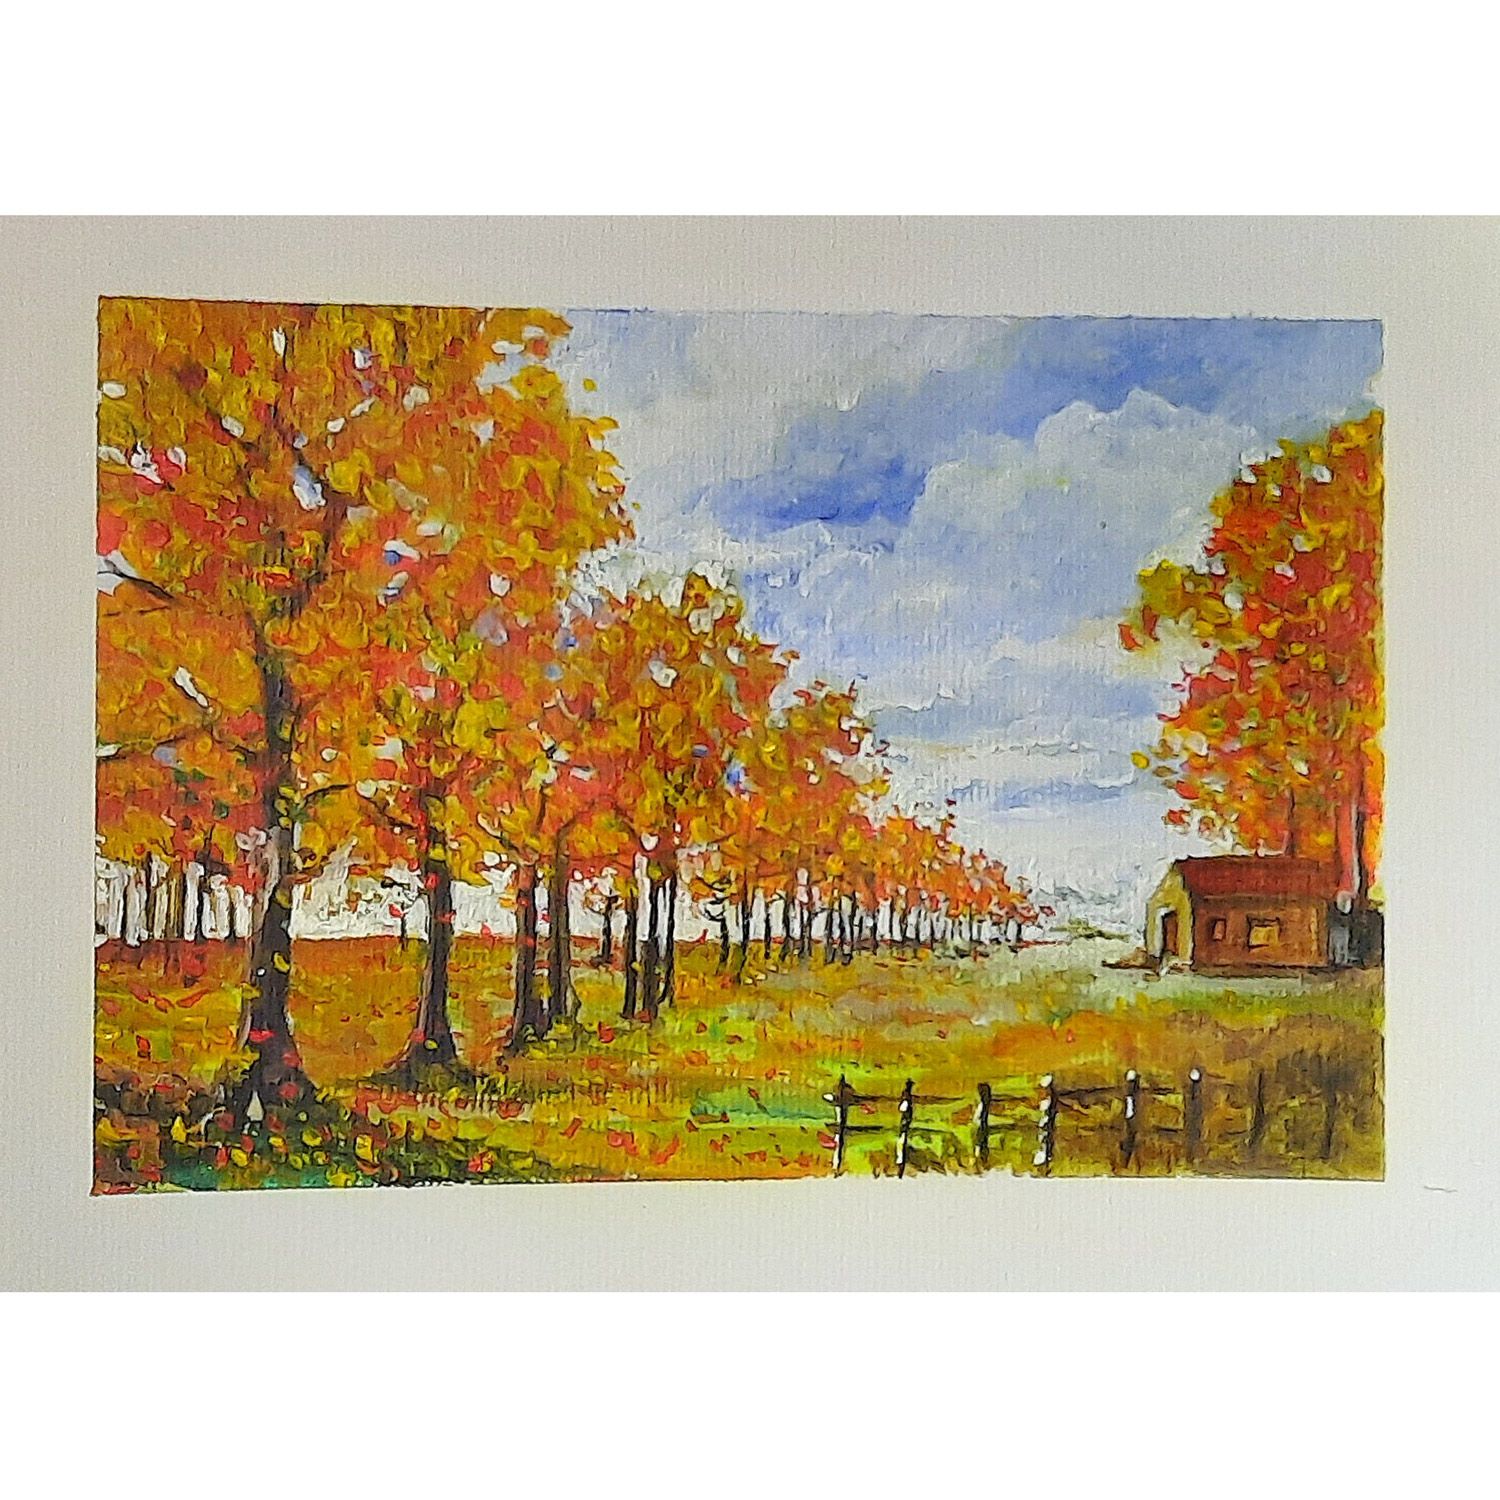
It's up to you to decide, according to your vision and ideas, the final touches needed to balance the colours in your work.
See how the falling leaves are added at the end over the trunks, on the ground, etc.


The branches have gradually disappeared under the colours. Bring some of them back with a dark shade in a few places. Remember that they will always be thinner towards the treetops. 


Squint your eyes to see how "precise" the different elements are. Towards the horizon, you should be more suggestive than in the foreground.

Overview

  • Start with a "lean" colour base (diluted) in complementary colours.
  • Work in stages, over the entire surface, with increasingly "fat" paint.
  • Take the time to vary the effects using the resistant paper texture and bright colours.