
Creating a 3D red lozenge – Pop-up with parallel lines

Rate this tutorial
Average: 5 (2 votes)

Estimated time: 1 hour Level: easy   

Artist: Claire Zucchelli-Romer

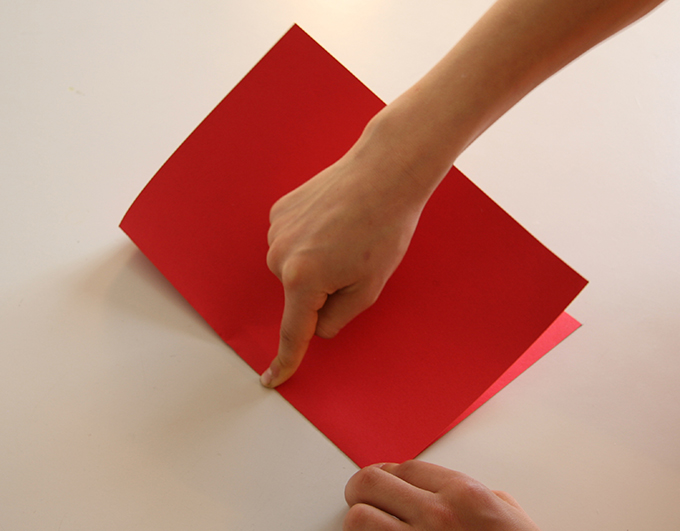
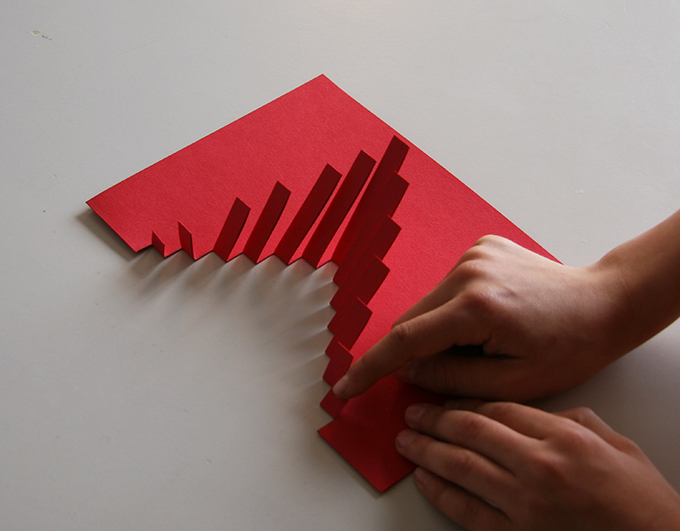
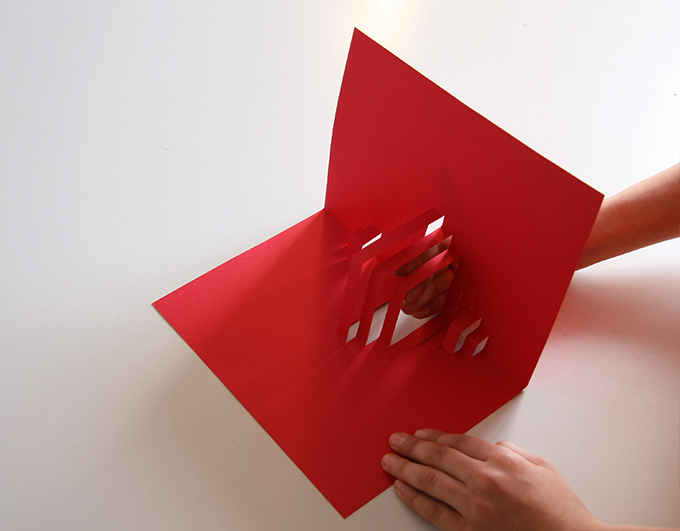
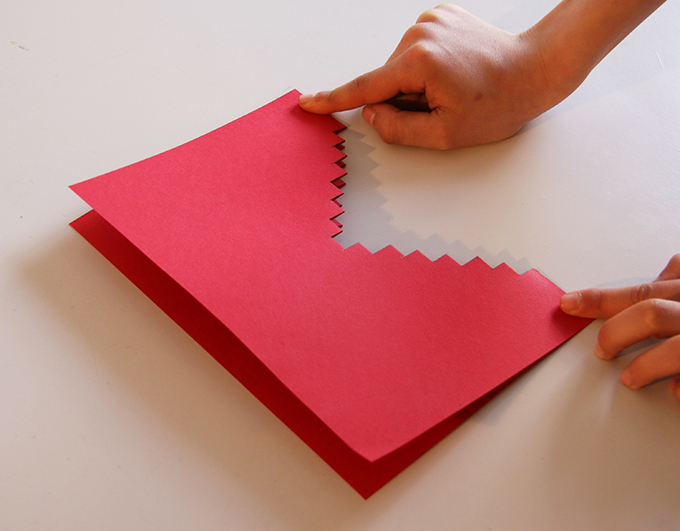
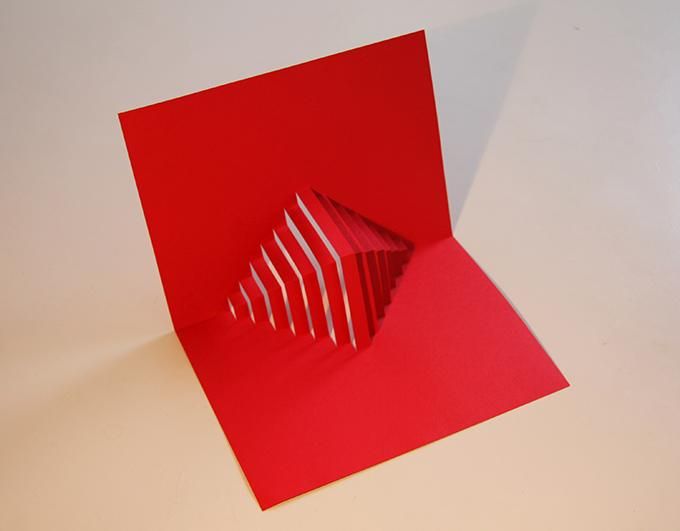
This small geometric paper sculpture, with no gluing, will allow you to play with shadow and light and to understand that making a pop-up consists of working in the folds of your sheet of paper.

Material

  • Paper :  Canson® Colorline 150 gsm, red n°15, A4 format
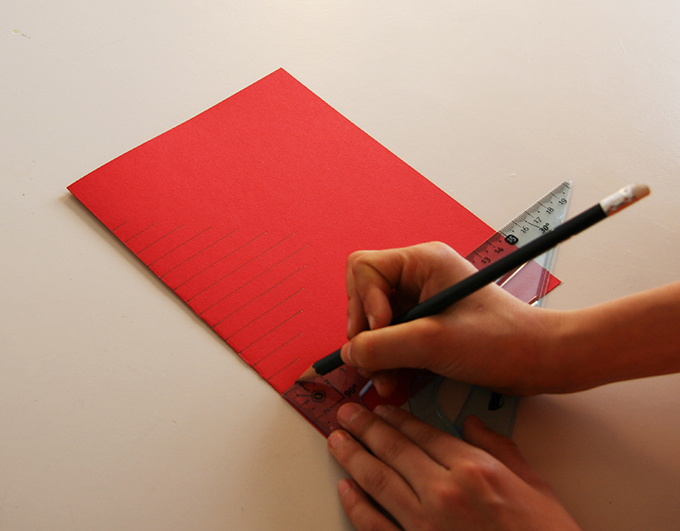
  • Pencil: a well sharpened HB pencil
  • Accessories: scissors, set square, ruler, eraser

Step 1 : Folding, measuring and drawing

Fold the sheet of paper in two, widthwise, and mark the fold with your fingernail. Place the ruler along the fold and draw dots one centimetre apart from each other starting 4 cm from the top of the page and ending 17 cm from the top of the page.

Step 2: Drawing the parallel lines

Based on these dots, use the set square to draw parallel lines that are all perpendicular to the fold in the page. The first line will measure 1 cm, the second 2 cm, the third 3 cm, the seventh 7 cm. The eighth line will also measure 7 cm, then the ninth will be shorter at 6 cm, the tenth 5 cm, and so on. The fourteenth line will measure 1 cm.

Step 3: Cutting

Cut the lines you have drawn using scissors, be careful to cut accurately.

Step 4: Folding the tabs

Fold the tabs back and mark the fold with your fingernail. Make sure the tabs remain parallel to each other and perpendicular to the rest of the page.

Tip: it is possible to fold in either direction if you mark the fold well.

Step 5: Making the pop-up

Open the sheet of paper gently and form the pop-up by pushing it forward with your fingertips.

Step 6: Finalising folding

Fold the sheet of paper back and press over the entire surface to firmly mark the folds. Open the sheet of paper again, you have made a pop-up. If you place it in front of a window or a light, you will see it creates lovely shadows.