
Watercolor: Salvaging your mistakes

Rate this tutorial
Average: 3.7 (10 votes)

Contrary to preconceived notions, it is entirely possible to fix watercolor mistakes. Even lost causes can be rescued, using several techniques, some of them kind of radical!


What you need to know:

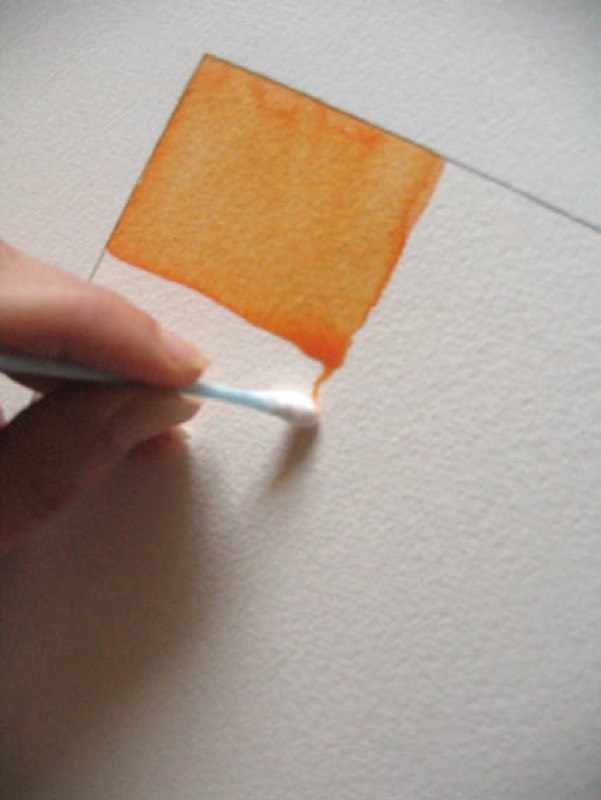
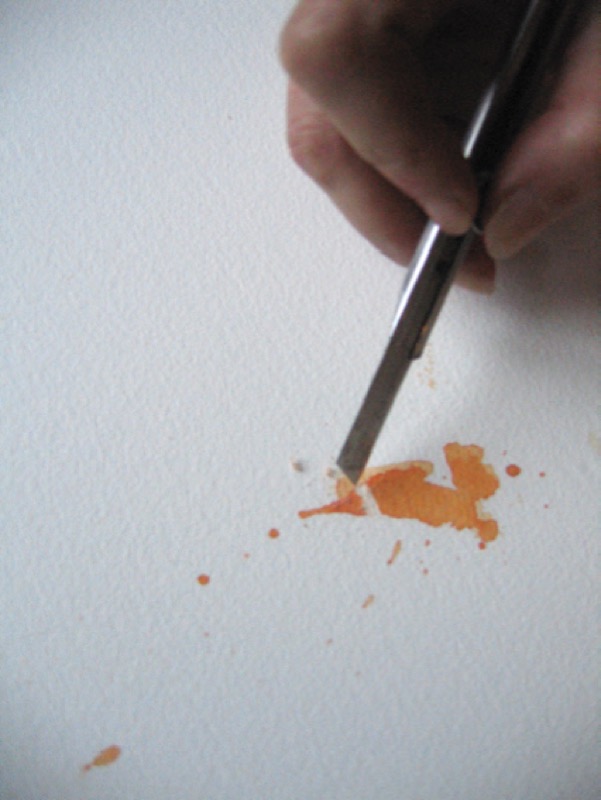
Watercolor is an unpredictable process… particularly for beginners! So you need to learn how to handle unforeseen events, either by working them into the composition, or by correcting them. The most frequent ones are: 

- Runs (wash is too diluted)
- bleeding and smudges (from adding a diluted color to a dry wash)
- Color is too dark
- Flat wash contours are too strong

- Unbalanced composition

1. Correcting an error

Runs:

  • Mop with a paper handkerchief or a clean rag. For very small drips, use a cotton swab. 
  • If the paper has started to dry, wait for it to dry completely. Wet the area again with a sponge and rub gently with a paper handkerchief or a cotton swab.

Bleeding: absorb surplus water with a sponge, then stump with a paper handkerchief or a rag.

Contours: to soften a contour that is too strong, wet a cotton swab and stump the line.

Small mistakes: cover them with opaque paint (gouache or white acrylic), allow to dry, then paint over them.

2. If all else fails

If none of the above methods works, you still have two solutions:

  • Scraping the dry paint: removing the paint absorbed by the paper (spot, run) by scraping with a piece of fine sandpaper (for a wide area) or a utility knife (small areas). Smooth the rough areas with a cotton rag and dust off the crumbs before painting again.
  • Cutting out the problem area: this extreme measure should only be used as a last resort! Draw the area to be cut with a pencil, cut with a utility knife, then stick some paper on the other side to fill the space. Note: this technique does not work with paper that's too thick (more than 300 g) because the splits between the two sheets will be too visible!