Origami: Basic Concepts

Rate this tutorial
Average: 3.1 (7 votes)

Bring a frog, a flower or a Tyrannosaurus out of a simple sheet of paper? And why not?! But be aware, origami is a demanding art, with rules to be followed closely. Scissors and glue forbidden!


Origami families

Traditional origami: the designs are created from a single sheet of paper, with no cutting and no glue. These can be animals (most often: crane, frog, crab...), but also plants, people, vehicles, buildings.

Modular origami: several units with the same base fold are connected together to create a complex geometric form.

Action origami: the subjects are made to move by a simple finger press or pulling of a fold, such as the well-know "bird with flapping wings."

Kasane origami: several sheets of paper of varying colors are combined. Ex: the noted Hina Ningyo (doll in traditional costume).
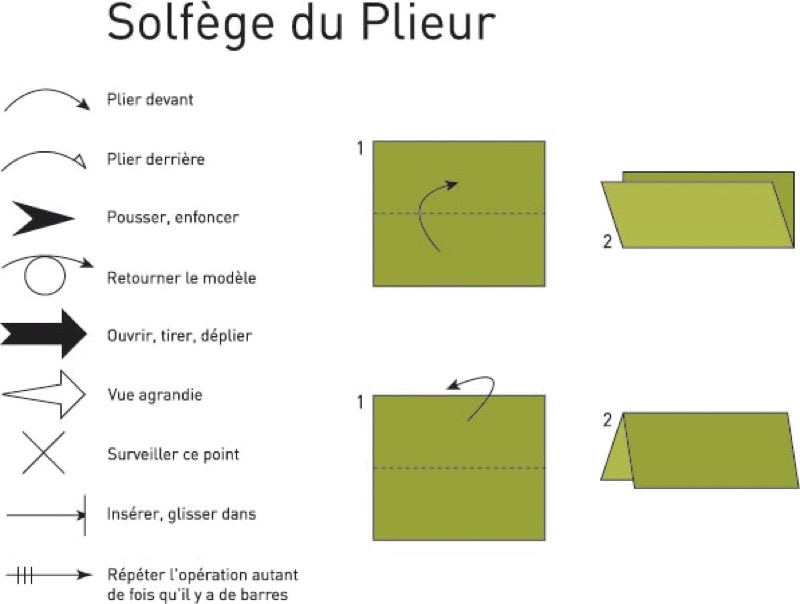
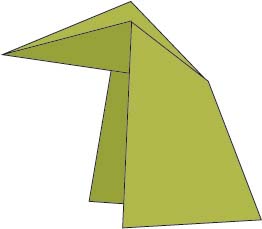
1. Begin with the folding basics

To create a project, you must follow the instructions given by the diagrams. The sketches describe, step by step, the succession of folds required to transform a simple sheet of paper into a figure. The folds are indicated by lines, accompanied by symbols which illustrate the way to make them.

For example, a rounded arrow with a black point indicates that the paper should be folded forward. A zigzag arrow means accordion fold...

The basics of origami are found in this universal graphic code.

Good to know: how to fold the paper?

Begin with a simple project. Take the time to study each diagram carefully before beginning your first fold.

Always fold the paper carefully, precisely and cleanly.

Crease the folds well with the end of your finger. Avoid using your nail, which may tear the paper.

To achieve the final form, use the cap of a pen or, very simply, a puff of your breath.

2. Learn to fold

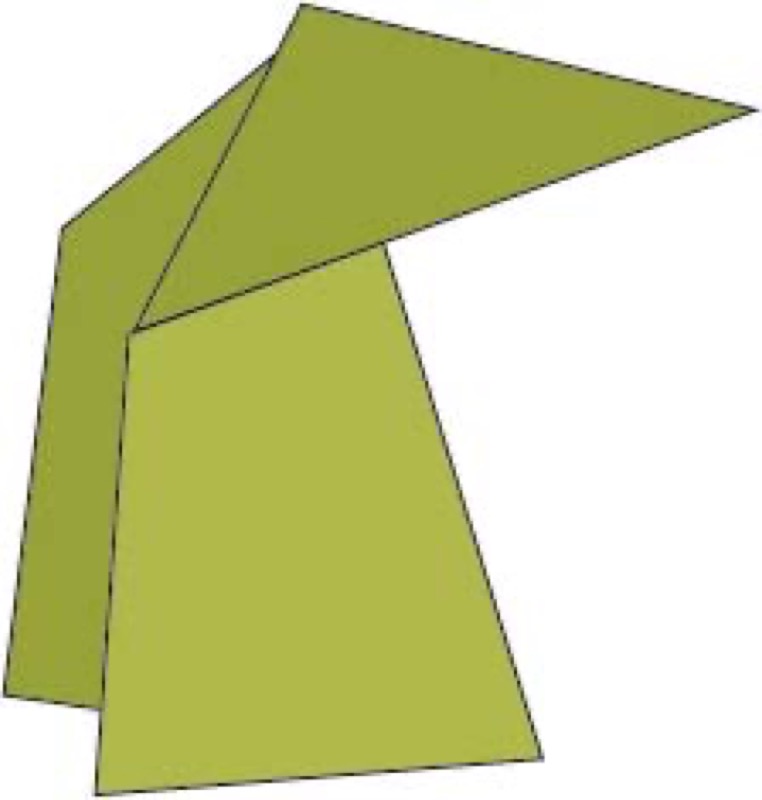
The two basic folds are the valley (simple V-shaped fold) and the reverse, the mountain fold (reverse V-shaped fold).  The very famous paper bird is accomplished with these two folds. The accordion fold is a succession of valley and mountain folds.

If you already have a little experience with the basic fold, you can discover:

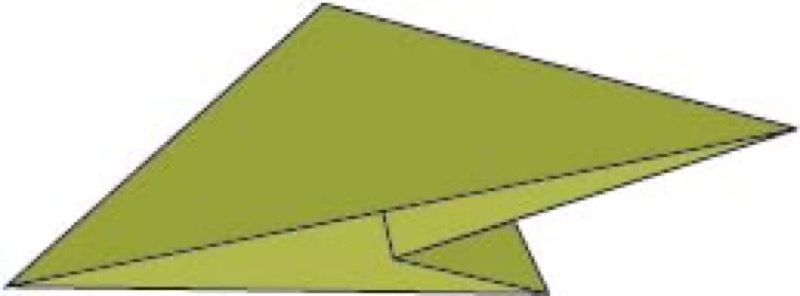
1. the inside reverse fold (much used to create bird beaks)

2. the outside reverse fold

3. the rabbit ear

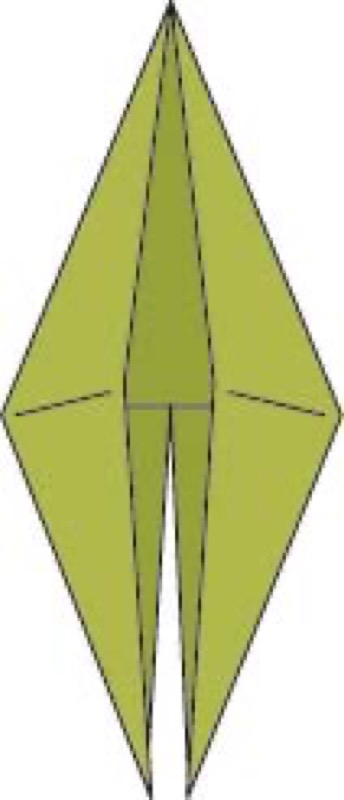
4. the petal fold (which is best known for creating the base of the bird)

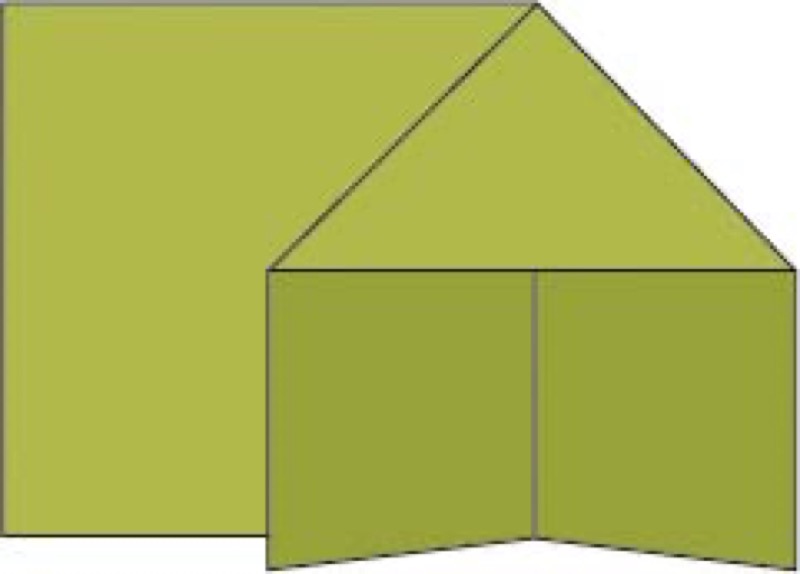
5. the squash fold (which is used to create the bases for the frog and the water bomb)

A confirmed origamist, try a double rabbit ear fold (often used to refine and adjust the feet), the sink fold and turning the paper over.


3. Understanding the bases

The designs often begin with the same series of folds. That is why the folds which are common to several designs have been grouped together with the same base.

The preliminary fold combines two mountain folds and two valley folds. This fold serves as a base for other bases, such as the bird base or frog base. Among the best-known bases, you will also find: the bird, the mill, the kite or even the diamond.

Did you know? Some impressive records

The tallest paper crane was about 78 m tall and weighed 800 kg.

The smallest crane was folded from a sheet of 1 mm2, using a microscope.

The largest origami mosaic, created in 2008 at Hong Kong for the Olympic Games, contained 100 000 paper stars and was 25 meters long by 12.8 meters wide, the size of a basketball court!