Acrylic painting, a very easy-to-use water-based technique, is a real chameleon! When you use it highly diluted, it yields a watercolor texture, and when very thick, a texture approaching oil paint. Here a five key steps to help you create an acrylic painting.
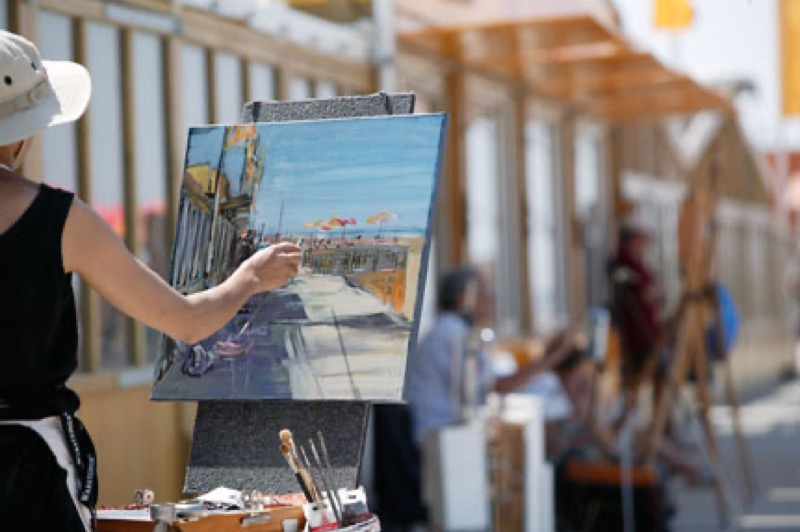
1. Choosing your subject and composing it
Start with simple subjects, such as still lifes, before undertaking more complex compositions (landscapes, portraits). To compose your subject, follow your intuition! Here are a few tricks to get you started:
- Rule of thirds. Divide your medium, horizontally and vertically, into three equal rows, then position the important elements of the picture near those lines: a simple but effective technique!
- Choosing the format. "Landscape" (horizontal rectangle), creates the impression of space; "portrait" (vertical rectangle), gives the impression of intimacy; "panorama" (very wide rectangle), produces a panoramic view; when square, it draws the eye to the center of the picture.
Trick of the trade
You have many framing options. Do draft sketches to learn about the various options (tight, wide angle…). They can be larger or smaller, but must include the picture's key information and the shadows cast.
2. Preliminary drawing
Drawing is the first step for a successful painting! Not all artists do one, but it will help you position the principle elements in space, and define forms and proportions.
- Lightly draw the painting's main features with a soft pencil, charcoal (better for adding shadows and light) or acrylics, which offer the advantage of not disappearing when you want to start painting.
- Are you unsure about drawing with a pencil? Use a grid or tracing paper to help you.
3. Colored background
While not necessary, it can help unify the colors in your painting: choose one of the subject's main shades and use it to apply a very diluted colorwash.
-Make sure the color isn't too dark to keep it from hiding the drawing.
-Wait until the background is dry to add colors.
Trick of the trade: Original colored backgrounds…
- To make your colored background homogeneous: use a wide, flexible paintbrush and apply the paint as horizontal stripes.
- For a moving background: apply paint however it seems best (as circular strokes, zigzags, etc.) and let your brush stroke show.
- For a multicolored background (there's nothing preventing you, if your subject calls for it!): keep doing the same thing as you apply one color after another.
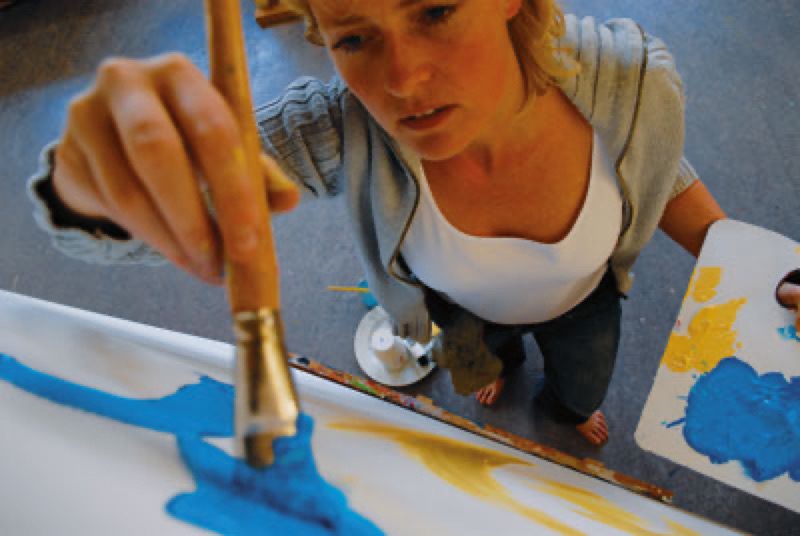
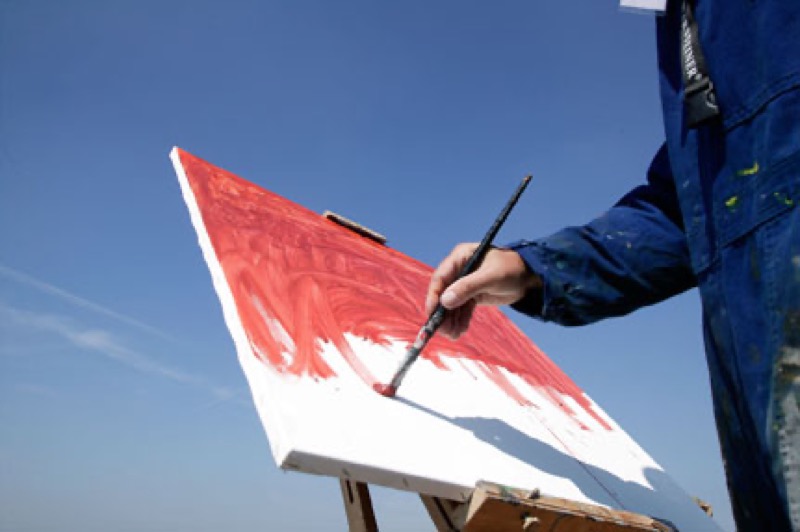
4. Applying colors
Apply the paint as thin layers of color mixed with water.
- Work from lightest to darkest. To obtain lighter colors, add water, never white: white darkens a color and makes it opaque.
- Don't forget to let each layer of paint dry before applying the next one: This allows your colors and touch to remain fresh and sharp.
5. Adding details
The final step involves adding the elements that put life in your painting.
- Strengthen colors, add volume and highlights.
- Are you just getting started? Be patient and practice a lot: you will discover how easy it is to work with acrylics!
Recommended product:
Graduate Oil and Acrylic