Technical drawing is freehand work that requires a lot of practice. Even though it is possible to do multiple rough sketches, when it comes time to produce, you need to have mastered the various lines and how to enrich them.
1. Mastering lines
While graduated scales and other squares make your job easier, you need to know how to draw straight, horizontal, vertical and diagonal lines without moving your sheet of paper.
- Position your arm comfortably and flexibly, your elbow away from your body.
- Keep your hand resting on the sheet of paper for short lines, move your arm for long lines.
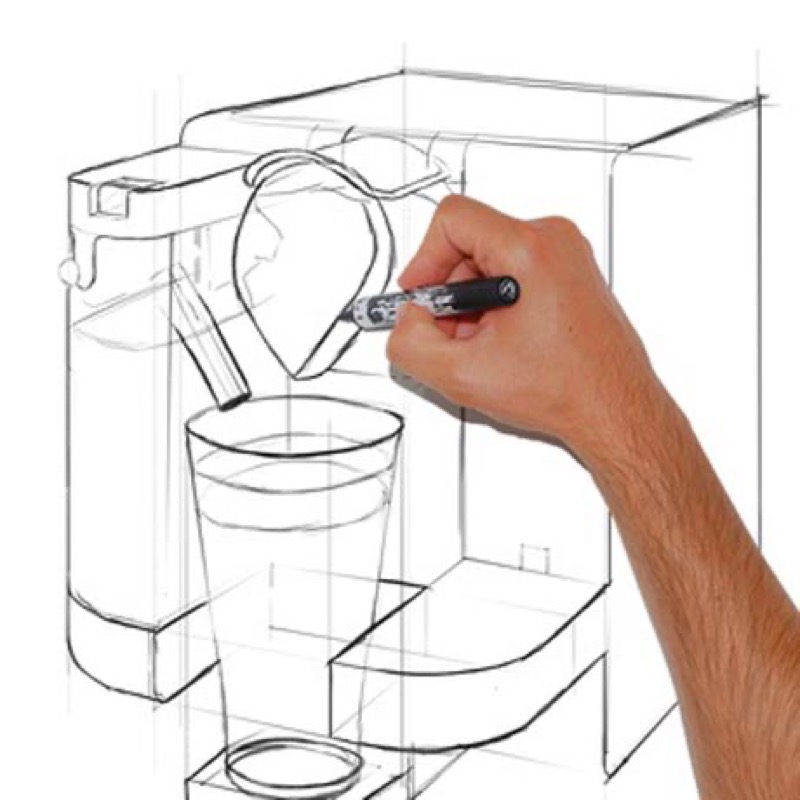
- Hold your pencil obliquely to the paper: at 45° for narrow, intense lines, at 30° (more slanted) for thick lines and blocks.
Practice until your gestures have become automatic when working, for instance, on tracing paper overlaid on grid paper. Use the same approach to learn how to draw freehand ellipses: all curved volumes call for it.
2. Conquering basic volumes
As a designer, your purpose is to turn any concept into an image, or at any rate into a form… Beyond designing the object, you need to present it so anyone can read the volumes. Crucially, a detailed sketch allows your to work on various angles of view.
The most complex forms can often be broken down into basic geometric objects: cubes, pyramids, cylinders, cones and spheres. They can all be created from lines and ellipses, made three-dimensional and given perspective.
Memo: should technical drawing be done in two or three dimensions?
- A two dimensionalà orthographic projection shows a front view of the flat subject. Only the shading suggests the various volumes. Several drawings may be necessary for describing the various sides.
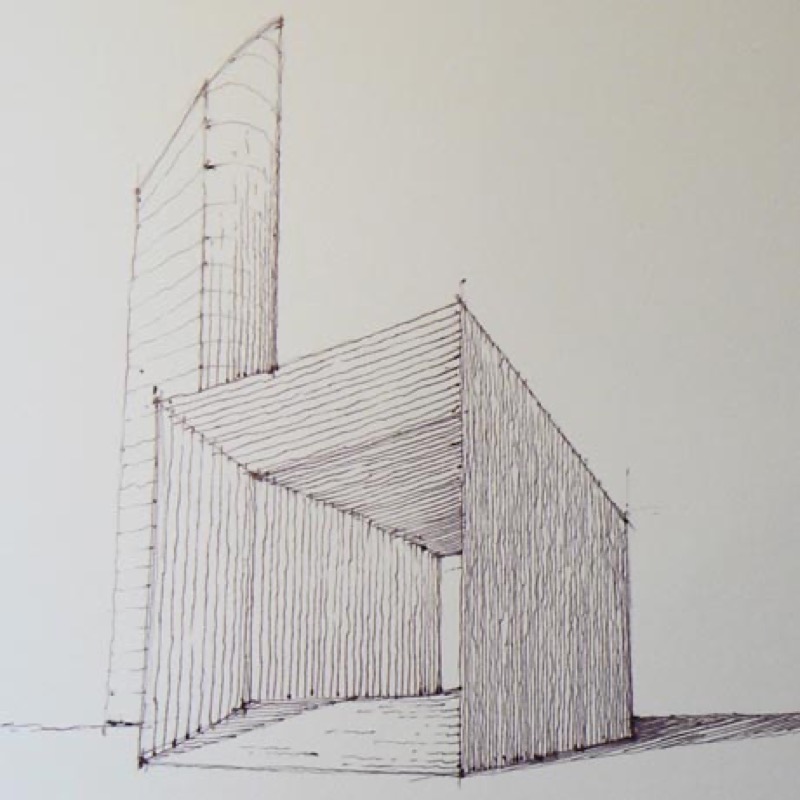
- The use of perspective situates the object in space, in three dimensions. It is based on the principle of the vanishing point: with the exception of vertical lines, all lines converge on the horizon at a single point. When simple, it focuses on one side of the object; when complex, with two or three vanishing points, it places one edge of the subject in the foreground and allows various angles of view (high and low angle views…).
3. Respecting proportions
Some advice: when starting off, practice on a cube; it's the best way to define accurate proportions. Draw the leading lines of a cube (with a square or rectangular edge), making sure you draw the subject inside it, as if it was in a box.
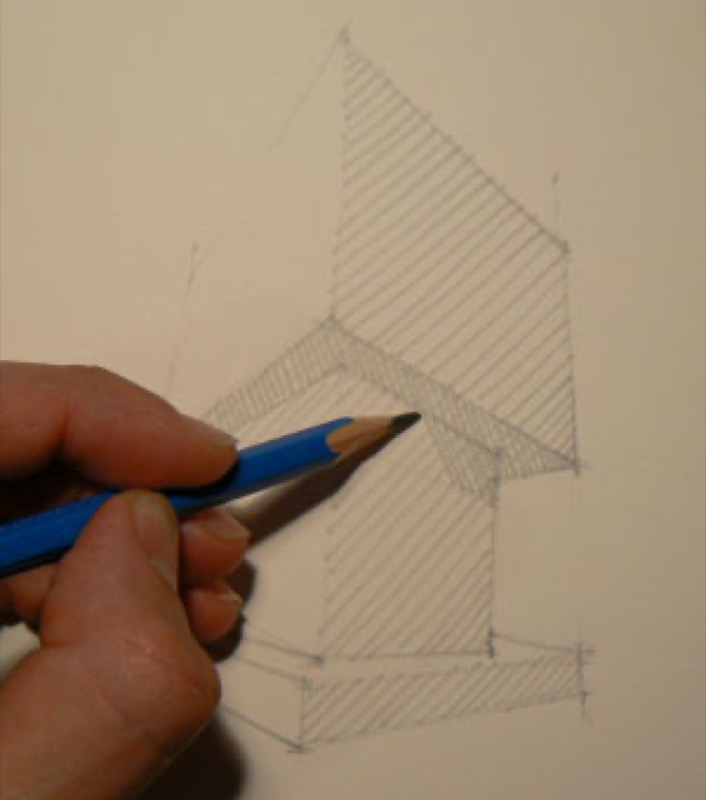
4. Working shadows and light
These contrasts between dark and light parts best convey volume. More delicate than a realistic work, the task relies on bringing together three types of lighting effects:
- Direct light, lighting one side of the object and plunging the opposite side into shadow.
- Brightness in relation to every element: shading is created by the contours specific to the object.
- The quality of the reflections varies depending on the kind of building materials used on the object.
Remember to
Reinforce the object's presence by including its shadow, making sure to place it opposite the source of light.
Recommended product:
Calque - Graphic Arts