The condition of painted works varies greatly from one to another. Here's a complete guide which will allow you to work on any kind of restoration. Learn to return colors to their original brilliance.
1. Dust
This step is indispensable, before any other treatment.
Dust the back and the stretcher with a feather duster, a hog bristle brush or a goat hair brush.
If the paint layer is in good shape, clean it with another brush.
2. Clean
Remove the grease: with just water or with diluted ammonium citrate, remove the grime staining the varnish of a painting. This technique also suits unvarnished works, if you first test the reaction of the pigments, beginning with the dark colors and finishing with the greens and reds, which are very fragile.
Lighten the varnish: to remove one or more yellowed layers, using cotton soaked in solvent (for example, isopropanol). This is delicate work, requiring frequent checks with a UV lamp (which reveals the thickness of the varnish with a green glow).
A good idea: Remove the grease in sections
Mark the painting, with chalk, into square sections about 10 cm x 10 cm.
Put a wood block (the same thickness as the stretcher) under the first section.
Rub with a craft stick, wrapped in moist cotton, which allows you to work on larger surfaces than a cotton swab. The latter should be reserved for the details.
Blot with paper towels before moving to the next section.
If the cotton remains clean, use a 2 to 5% diluted solution of ammonium citrate in water.
Scrub the thick areas with craft sticks or a toothbrush. Dry your work frequently, stop and return to it later.
3. Filling
Missing sections are replaced by a layer of filler. The filler must fill the gap completely without impacting the rest of the work.
Work it in with a flat spatula and remove any excess immediately, with a dry cotton swab.
After it is dry (about 10 minutes), pounce the surface with a moist cork that has been trimmed to an oblique.
Finally, tint the putty with watercolors to match the desired color, then cover with a special retouching varnish.
Tip: Learn to... correct your errors!
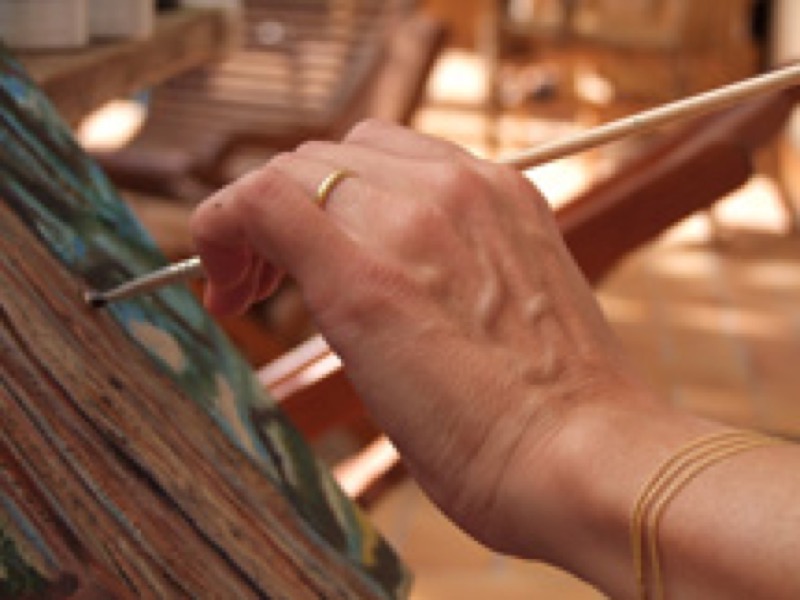
While it is drying, you can add texture to the putty with a pin or even a fine brush. If you do not like the result, pounce and begin again!
4. Retouch a painting
Caution, this work should be reversible.
Use watercolors or specialized restoration paints. Make several tests to duplicate the colors of the work.
Apply a first covering coat, mixed with modeling paste, and cover that with a special retouching varnish.
Apply another coat, more transparent, varnish again, then finalize the details.
Recommended product:
100% cotton Canson® Museum Backing Boards