
Etching (hard varnish)

Rate this tutorial
Average: 5 (3 votes)

Estimated time: 3 hours  

Level: Beginner

Artist: Charlotte Reine

www.charlottereine.fr

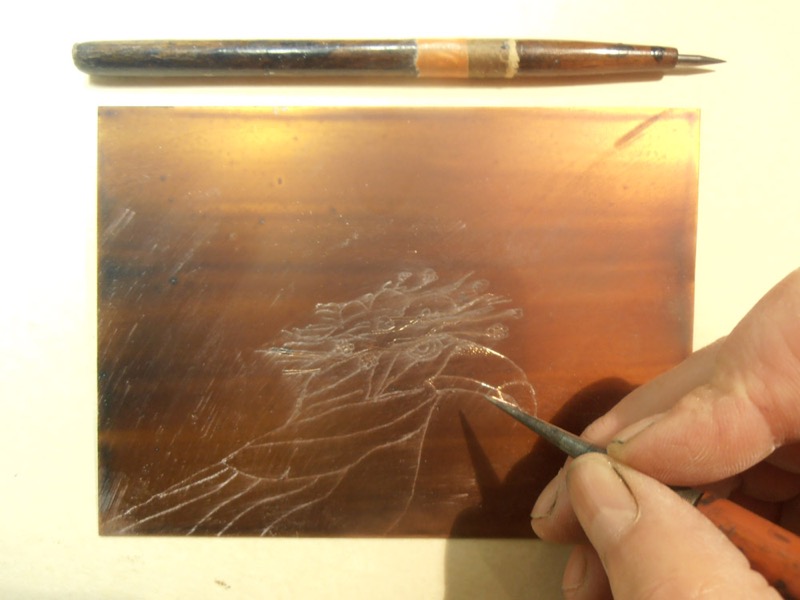
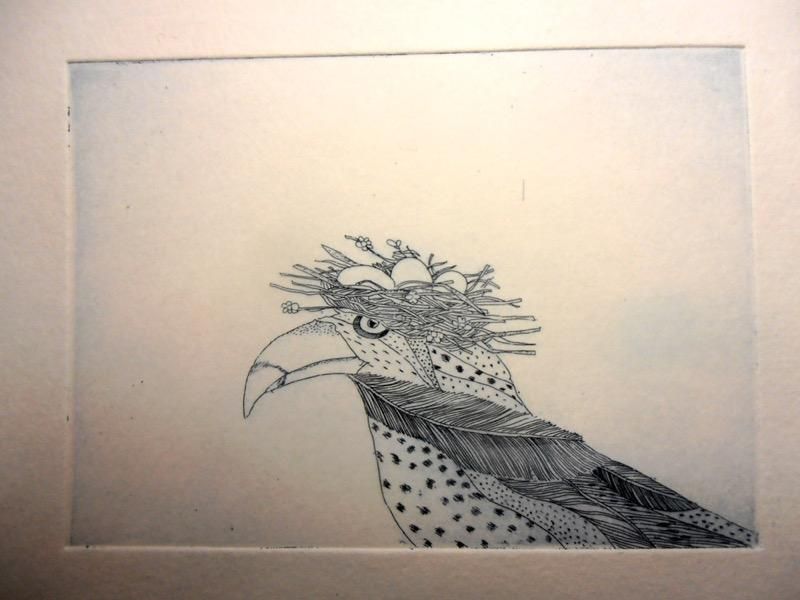
Etching makes it possible to create a line engraving based on an original drawing that is faithful to the model. Whether it is a personal creation or inspired by an existing image, be daring and make your first foray into the world of engraving, you will be surprised by the results!

Material

A 6 to 10 cm copper plate, liquid engraving varnish, a drypoint, one sheet of Canson® tissue paper, blanc de Meudon, white spirit, methylated spirit, intaglio ink, a flat brush, 1 metre of tarlatan, a cotton cloth, packaging tape, a pair of scissors and a ballpoint pen.

Paper: 

Papier Canson® Edition 250 or 320 gsm

Accessories:

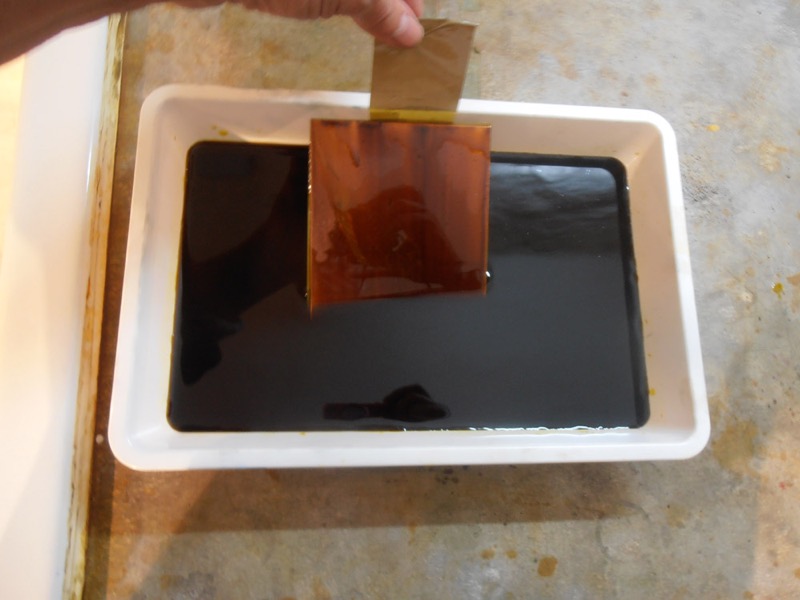
A small copperplate press. A plastic tray for the ferric acid

1. Cleaning the plate

Clean your copper plate with a pinch of blanc de Meudon mixed with a drop of methylated spirit.

Wipe the mixture with a clean cloth.

2. Applying the varnish

Using the flat brush, apply the engraving varnish onto the clean plate in a thin, even layer.

Allow to dry for at least an hour. Drying time will depend on room temperature.

3. Preparing for drawing

Place a fine tissue paper on the drawing to be reproduced.

Trace your drawing using a dark ballpoint pen so that the line is visible on both sides of the paper.

4. Transferring the drawing

Softly rub your tissue paper with blanc de Meudon, spread over the entire surface of the drawing. Remove any excess powder.

Place the paper on the copper plate, with the powdered side on the varnish.

Fold the edge of the paper under one side of the plate to keep it in place during the transfer. Remember to turn your drawing over if you want it to have the same direction as the original.

Delicately redraw you image. You will engrave the finer details directly onto the plate. Remove the paper. The image has been transferred to the plate.

5. Engraving the plate

Using your drypoint, go over your lines again with the varnish, pressing firmly enough to expose the metal.

Do not hesitate to shade the thickness of your lines for a richer finish.

Clean your plate as you work with a little methylated spirit.

Remember to check that there is no varnish missing. You still have time to rectify by reapplying a little varnish, but remember to let it dry.

6. The ferric chloride bath

Protect the back of your plate with packaging tape.

Let approximately 10 cm of tape protrude over one side of the tray to form a tab with which you can hold your plate in the tray.

Submerge your copper in the ferric chloride bath, with the image facing upwards and the tab protruding over the side, for approximately 20 minutes. The longer you leave the plate in the bath, the deeper the metal will be bitten.

With practice, you will be able to adjust the time you leave your plate in the bath according to the desired results. Carefully clean with white spirit and remove the tape from the back.

7. Inking the plate

Proceed to ink the plate, rubbing firmly with a tarlatan dabber so that the ink penetrates into the grooves.

Wipe excess ink away with the tarlatan. Finish wiping with a silk scarf.

Wipe the edges by rubbing a clean cloth along the four sides of the plate. (See tricks of the trade: How to ink, wipe and produce good prints?)

8. Printing

Place your inked plate on the press, in the frame you prepared previously.

Position your damp paper, pass through the press and discover your etching!