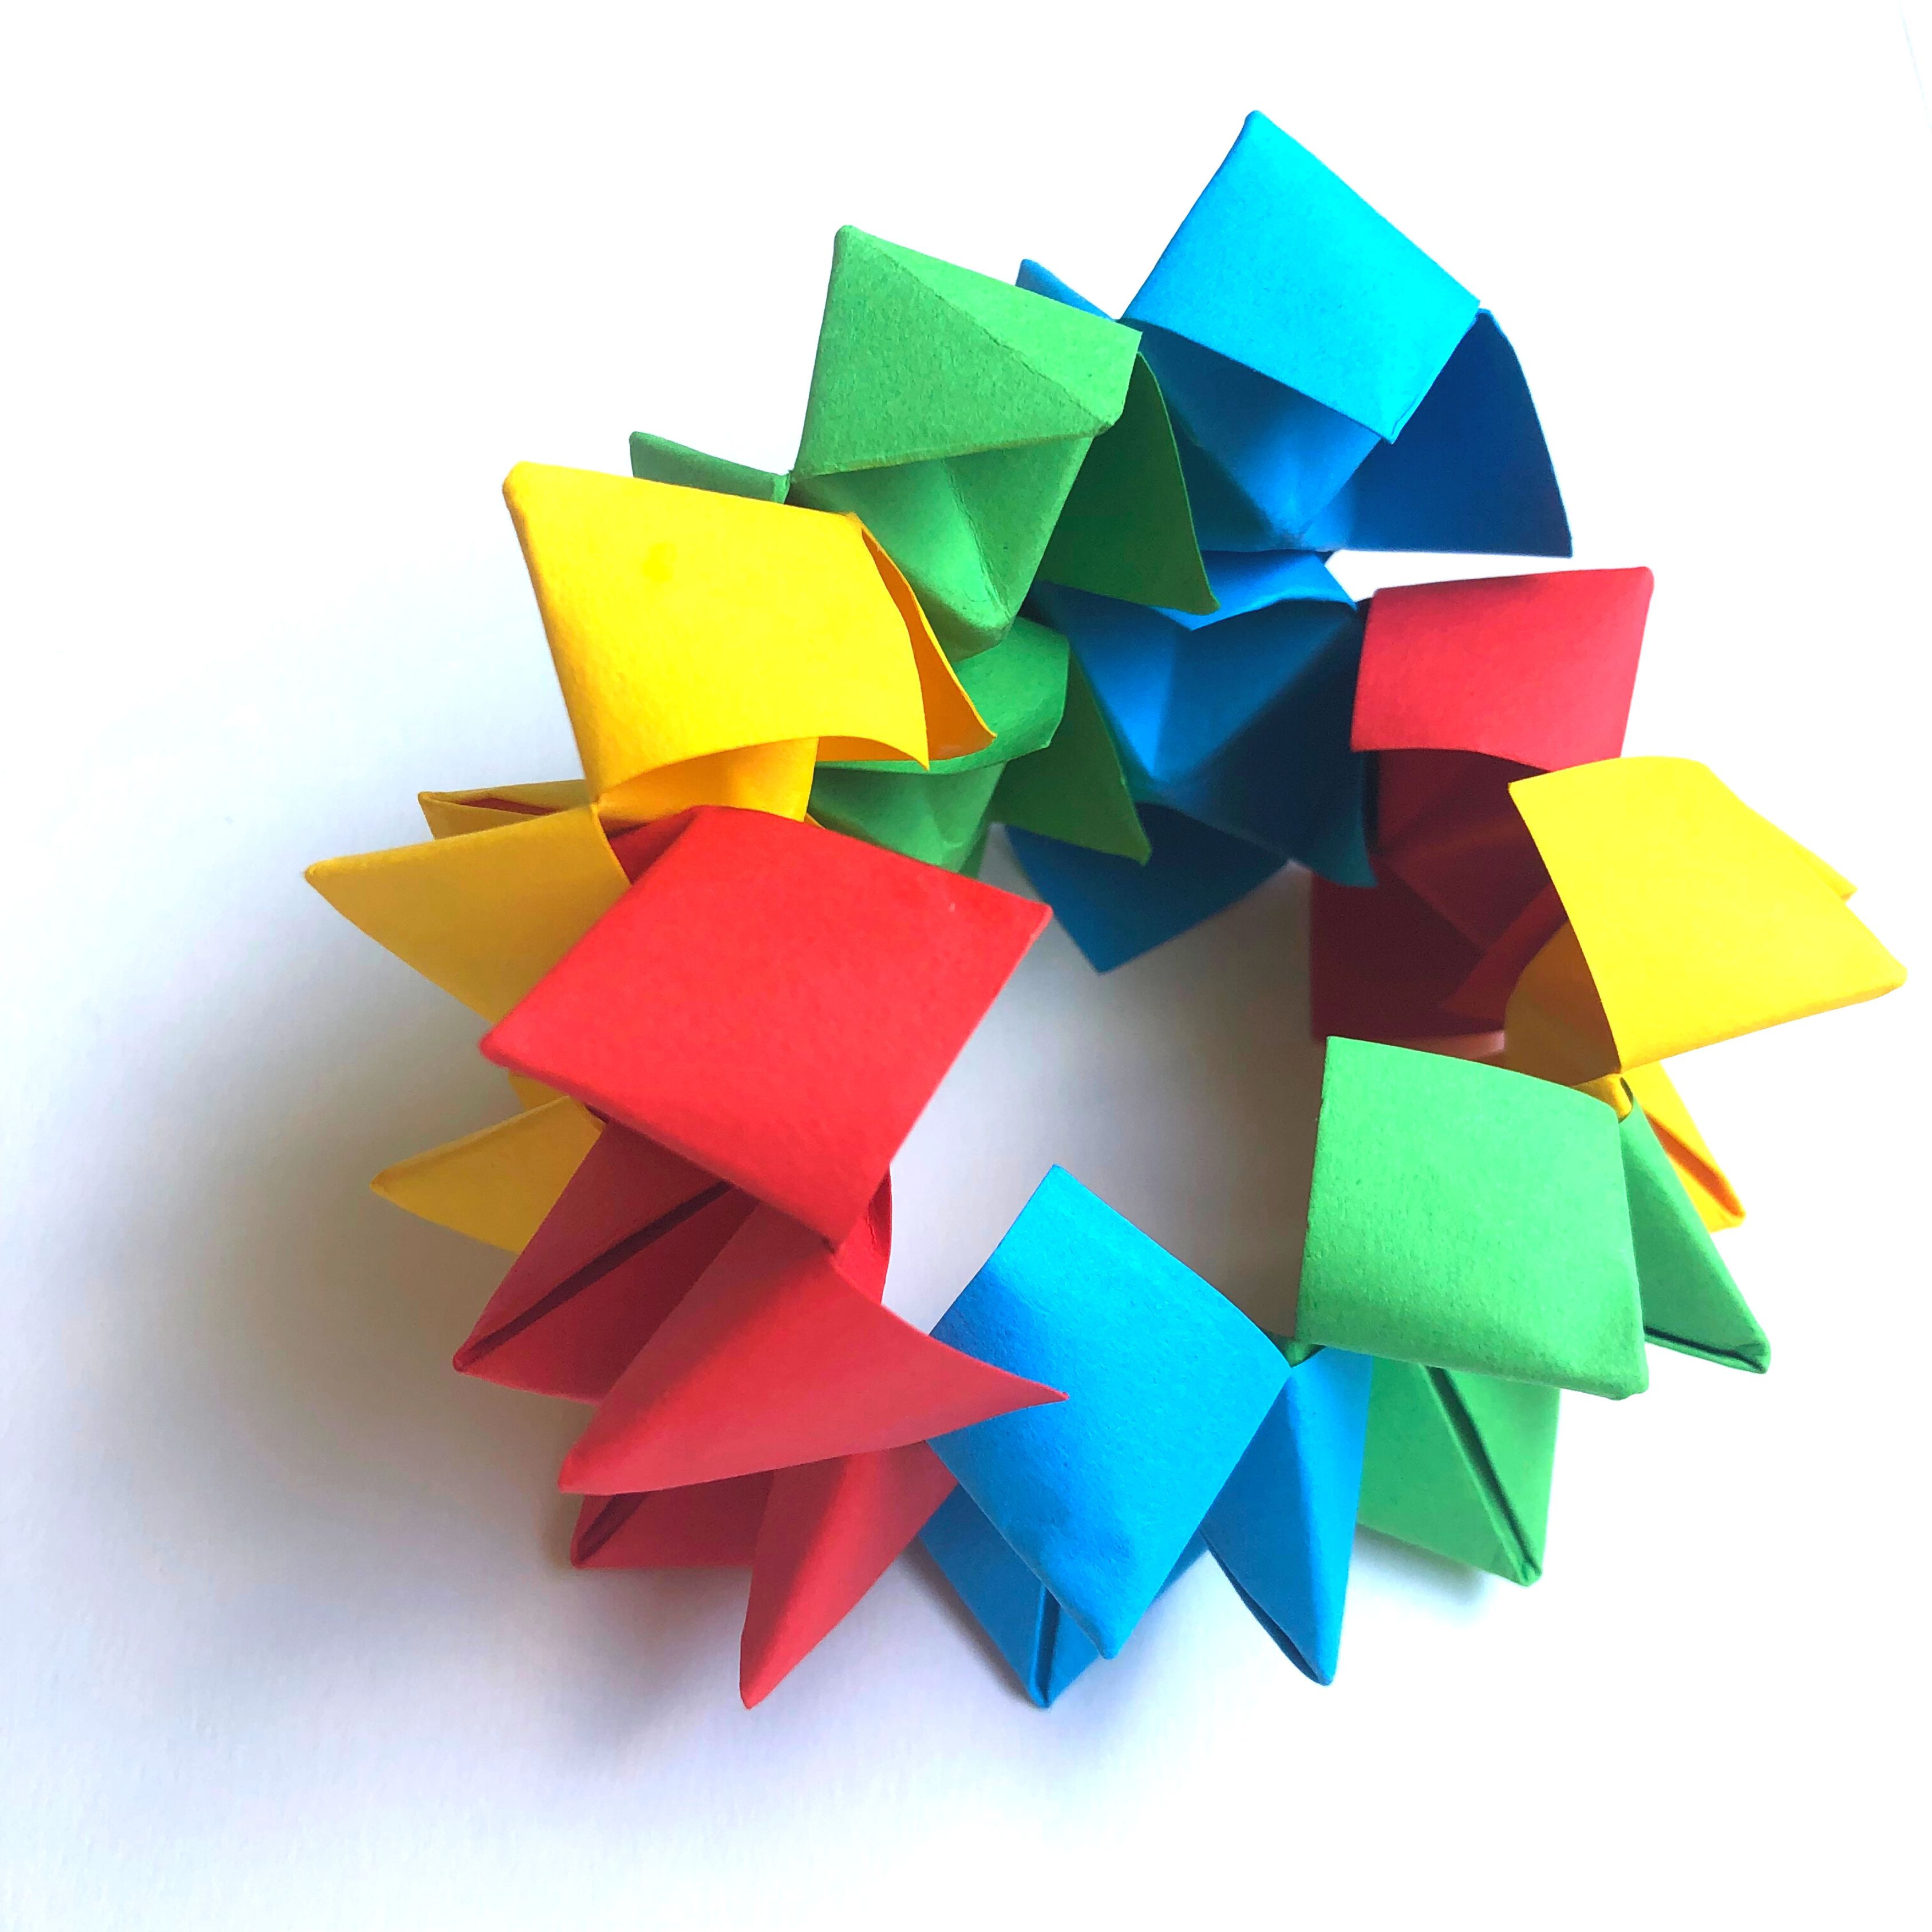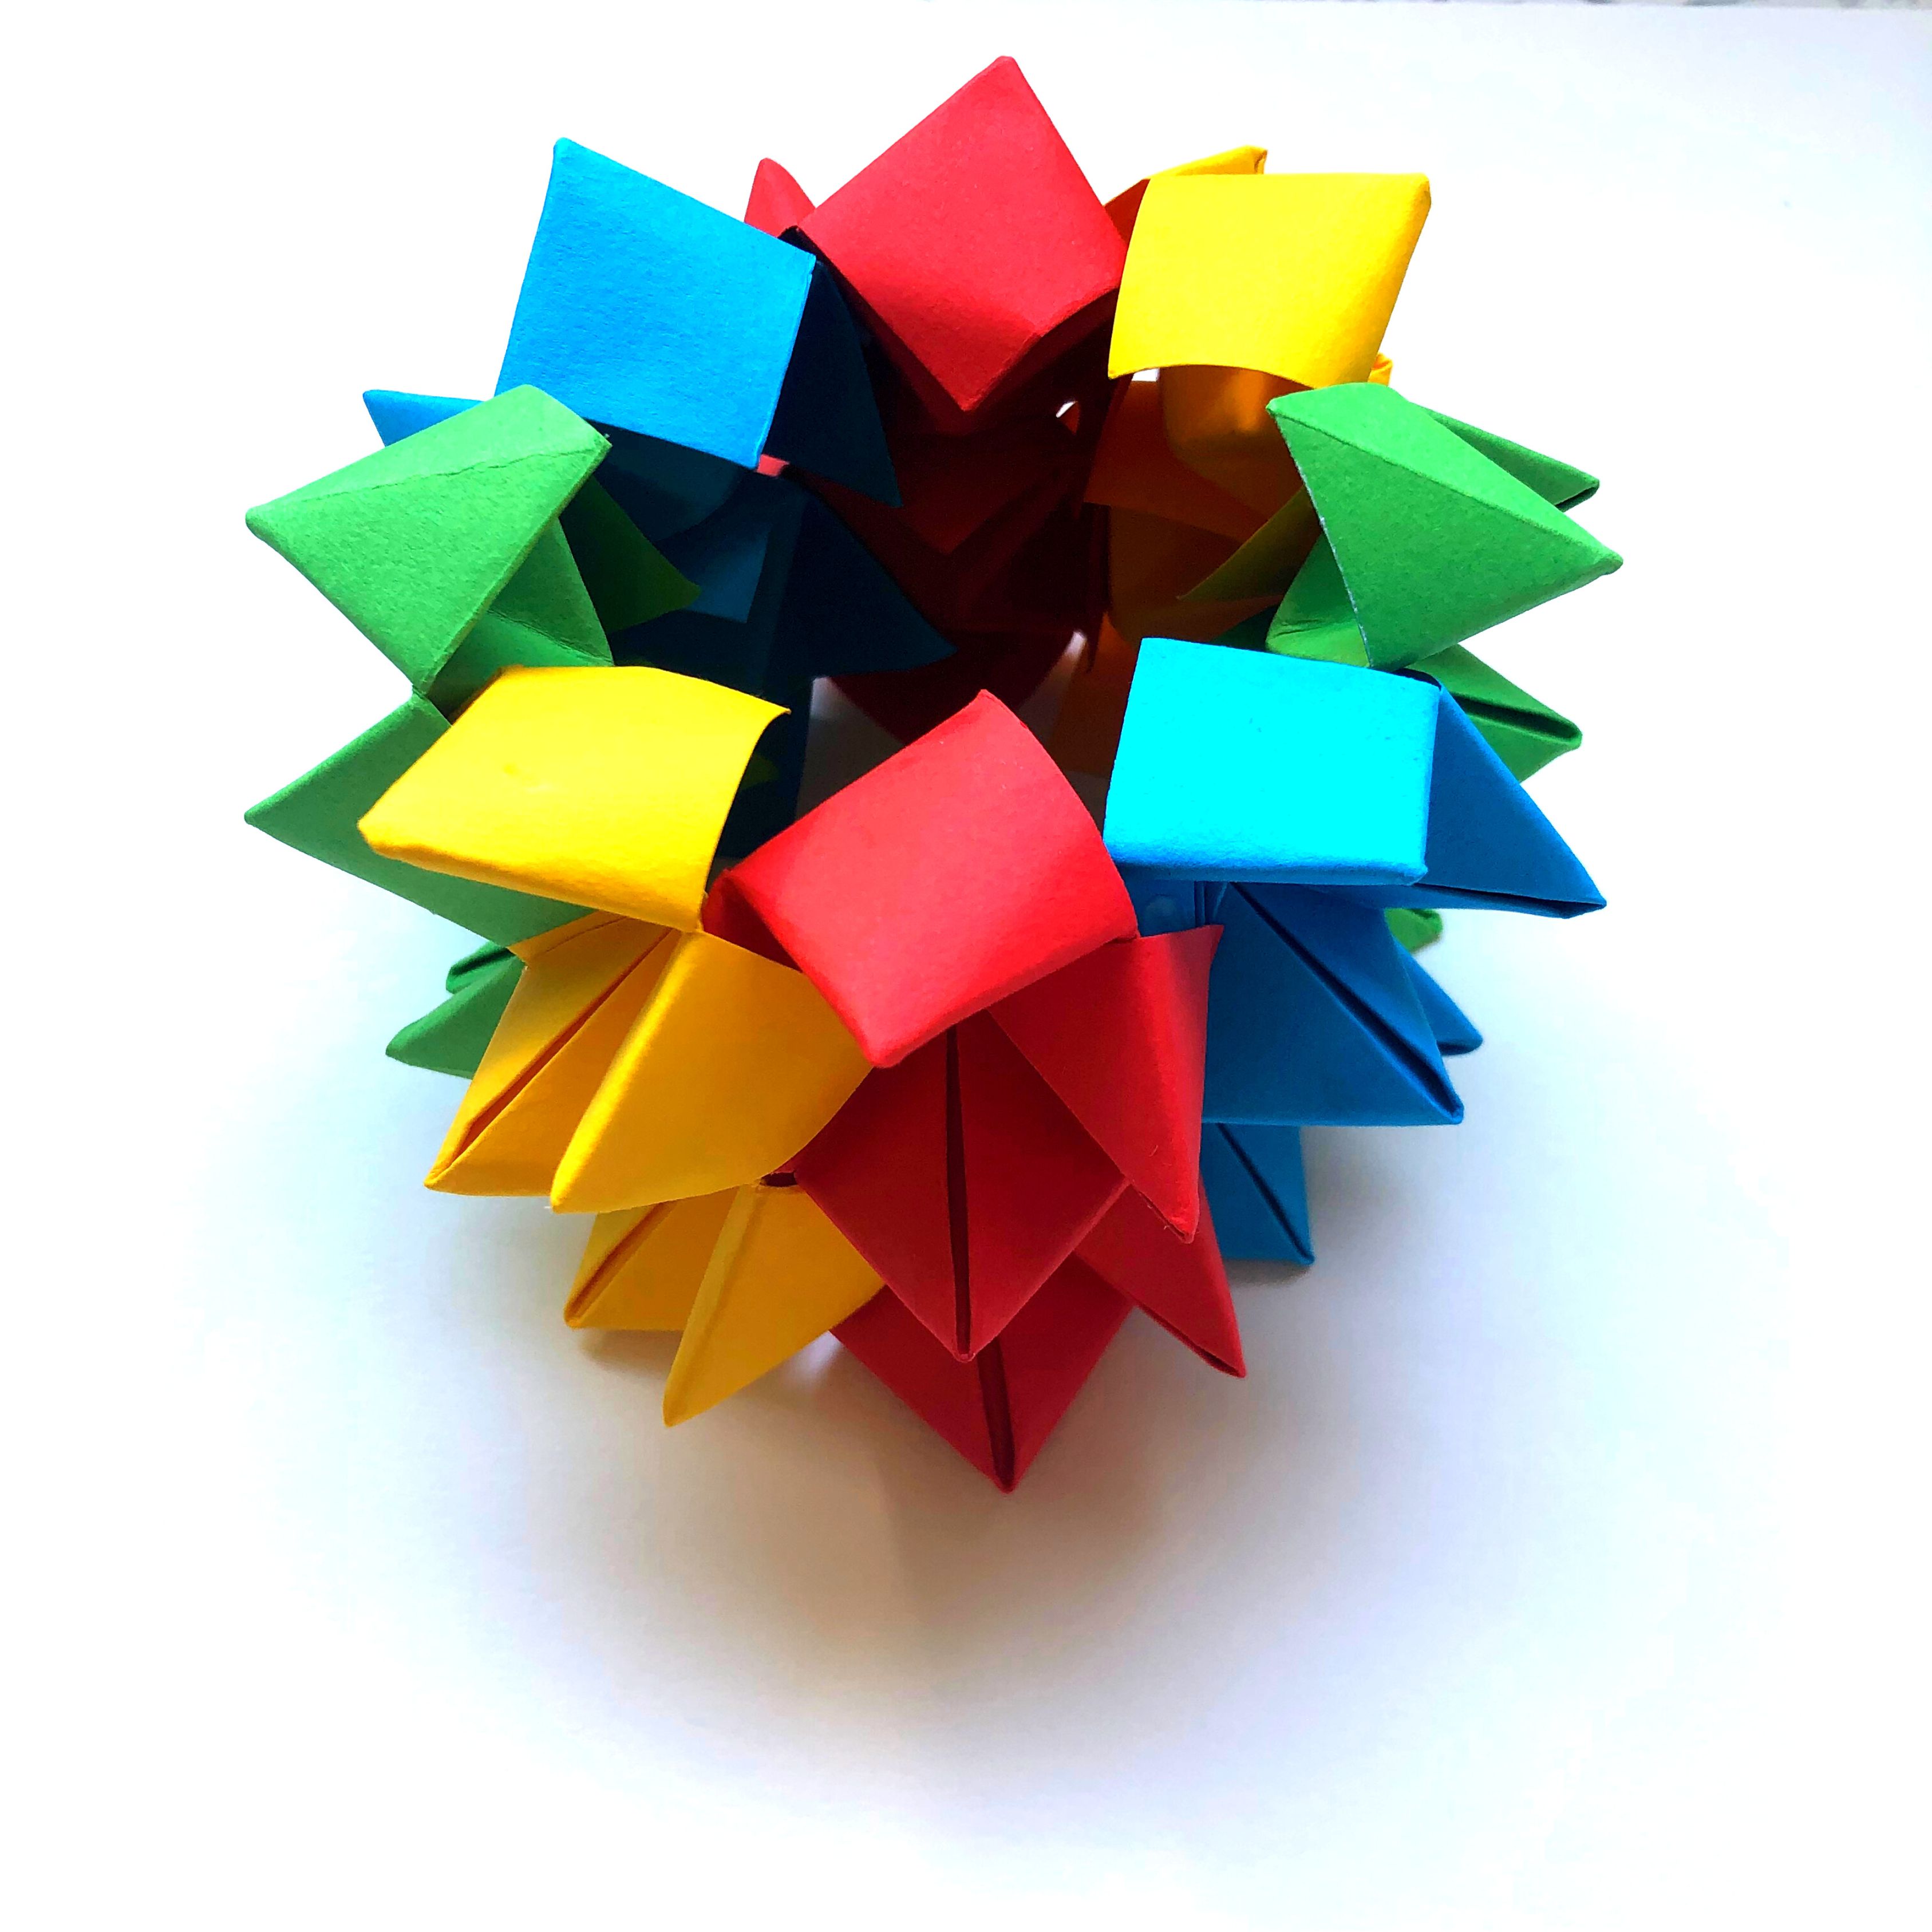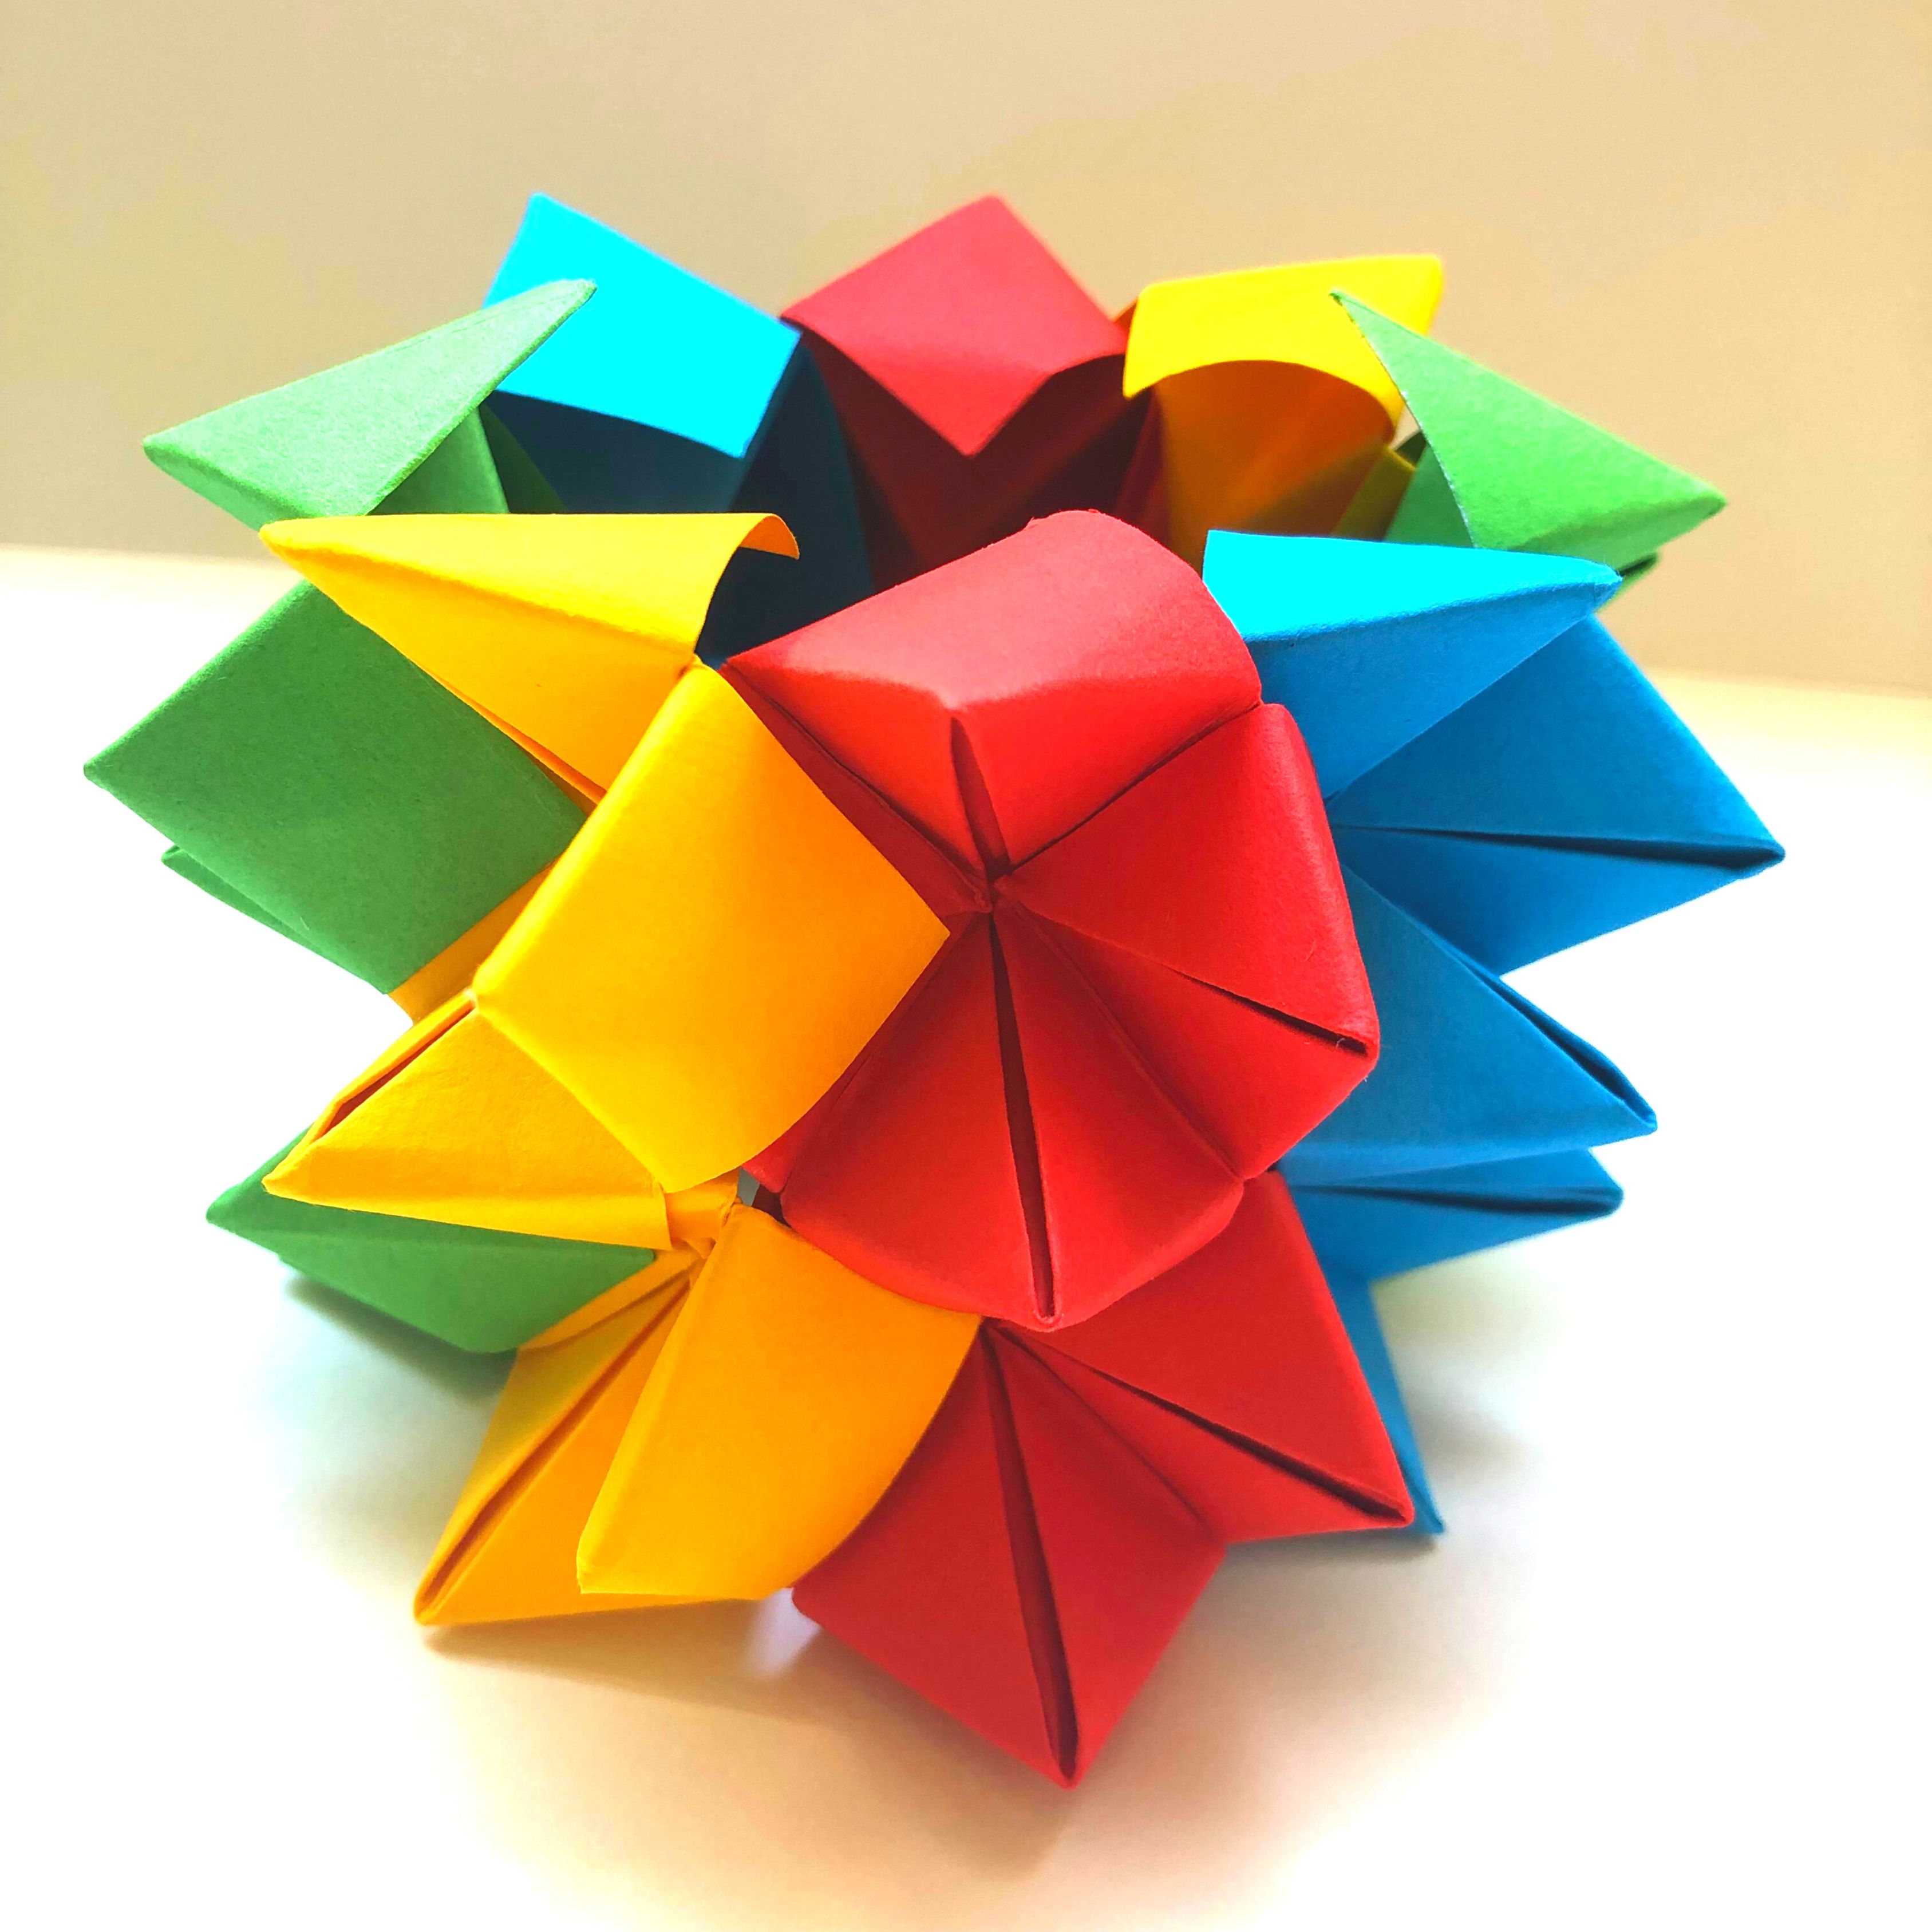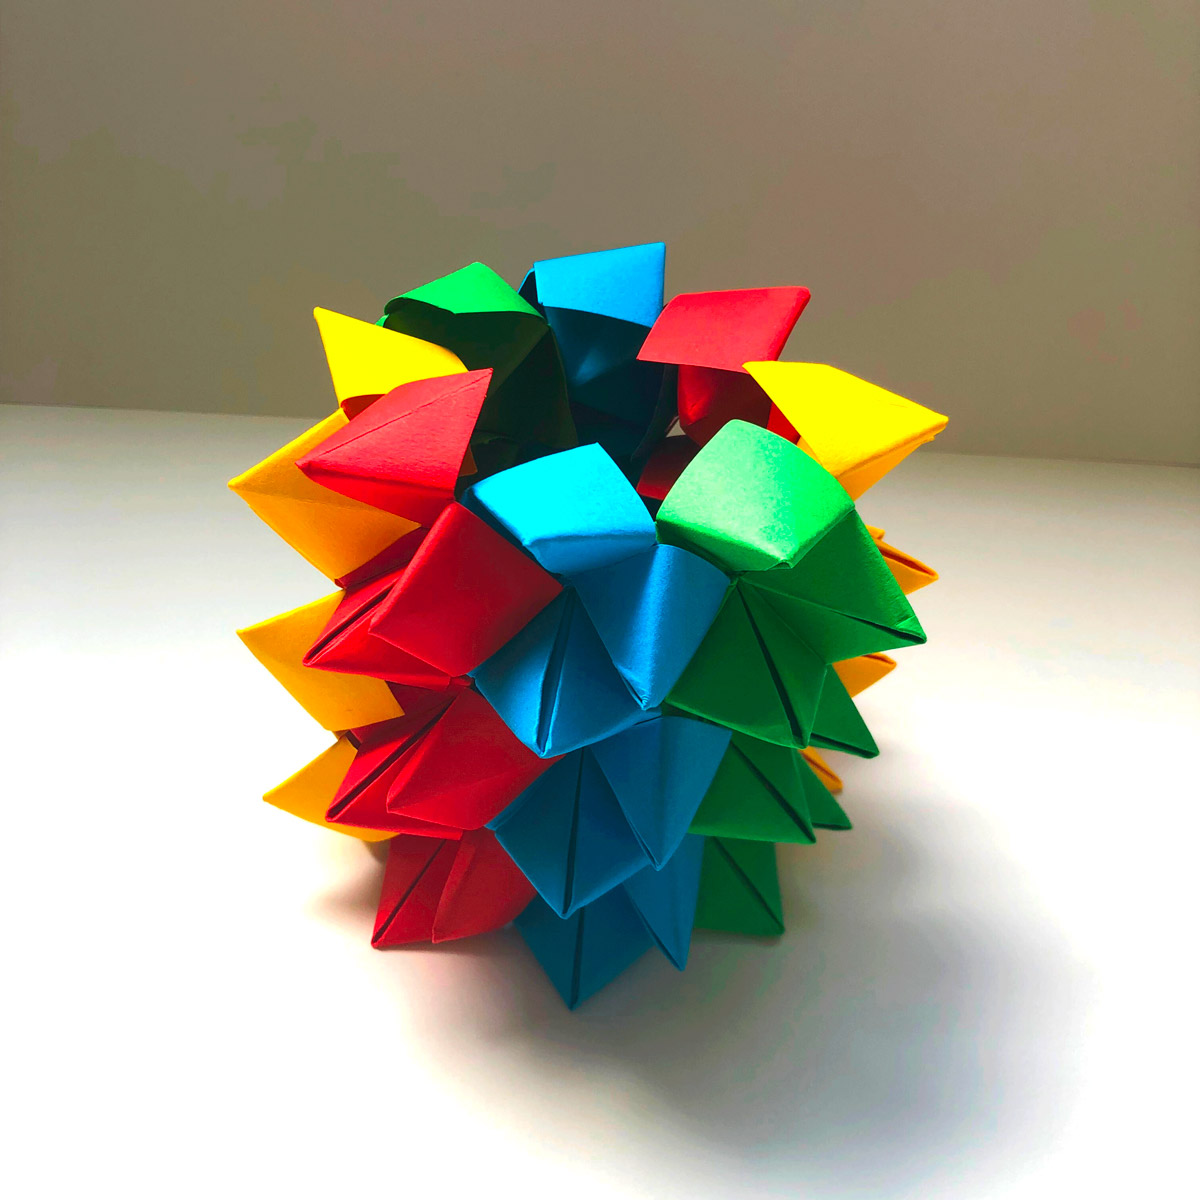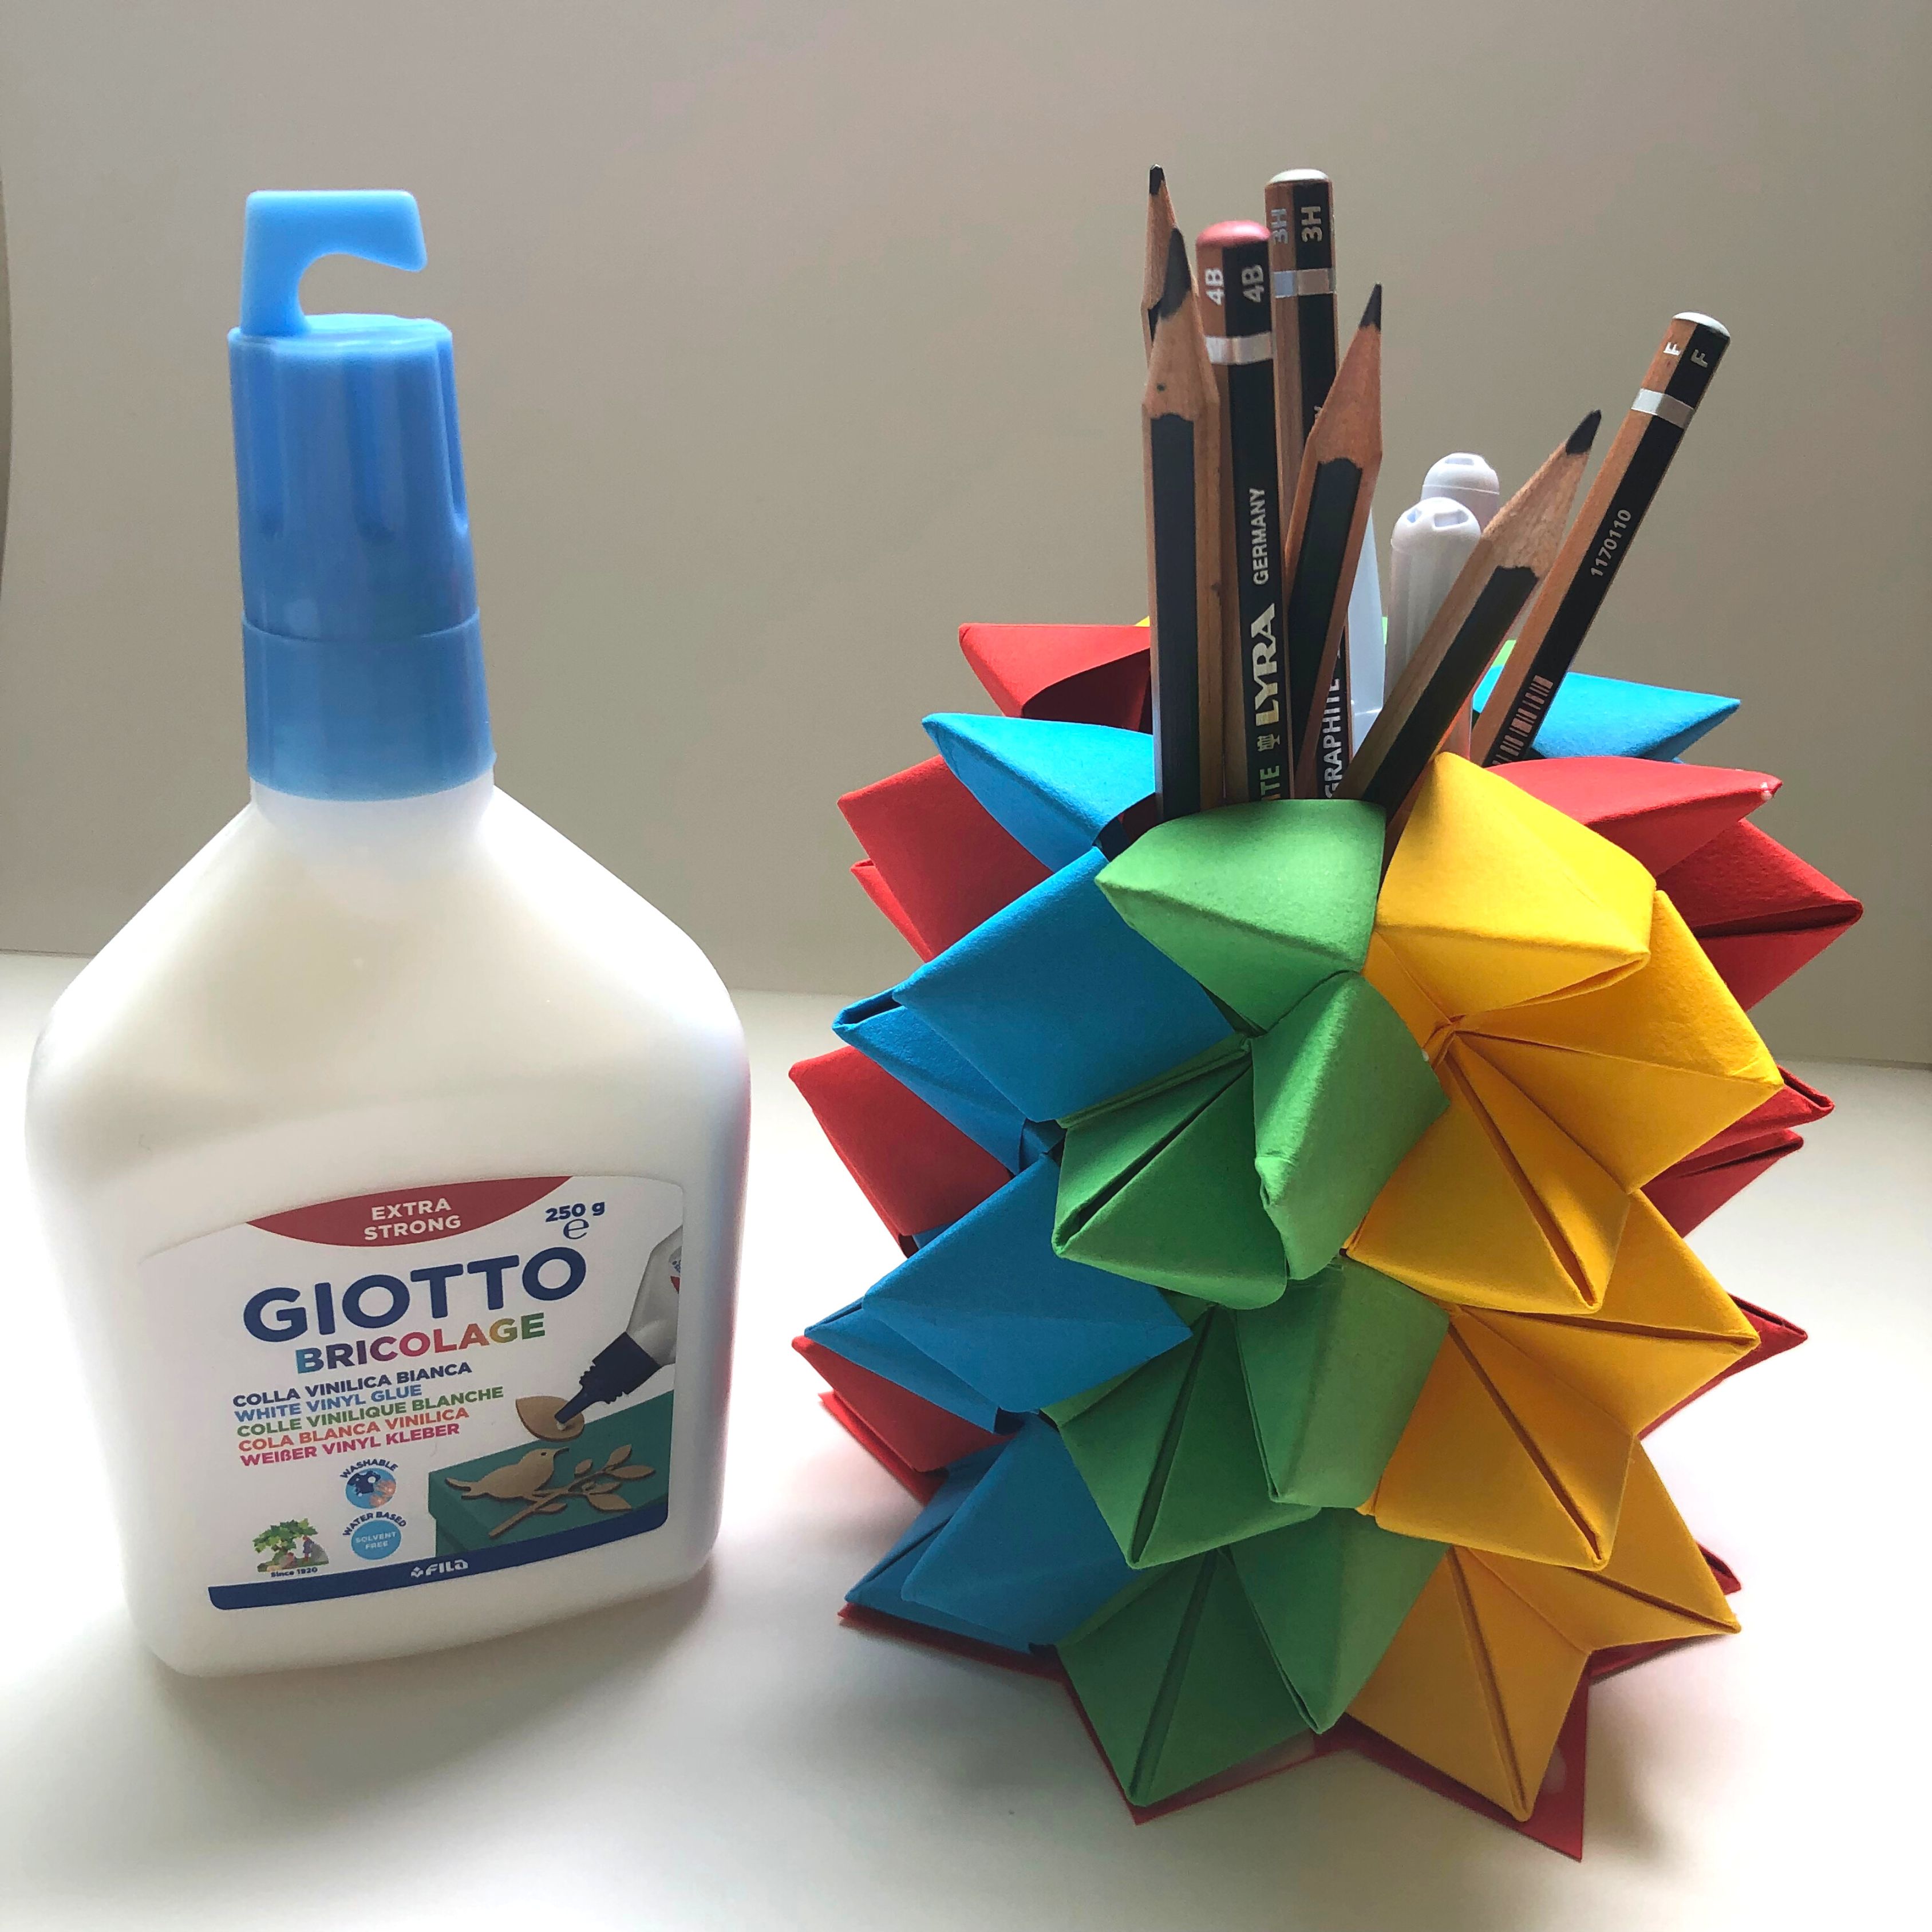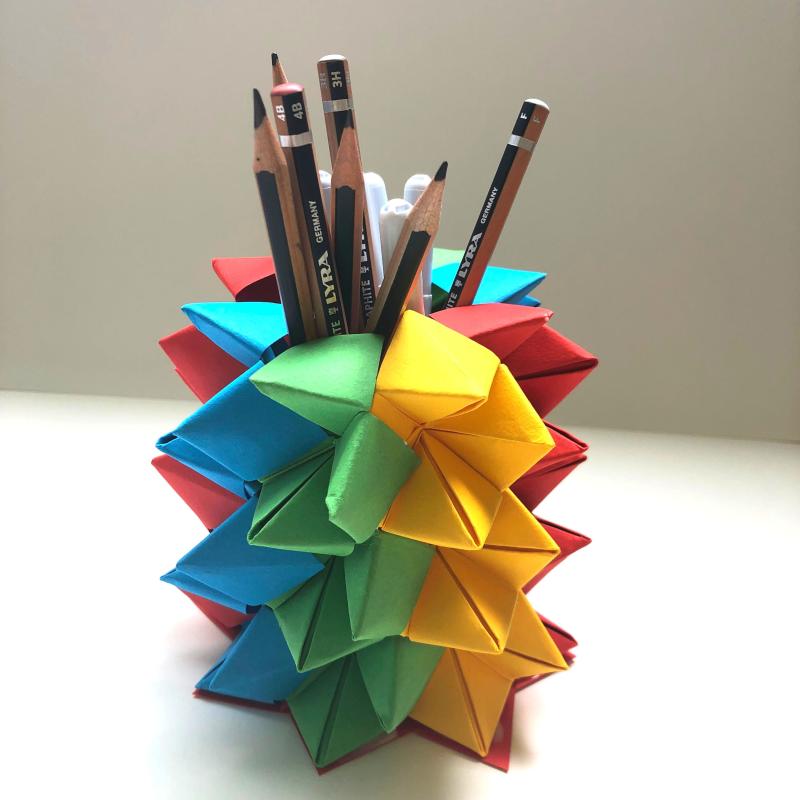
Create a paper pencil pot

Rate this tutorial
Average: 5 (3 votes)

Create your own pencil pot! 

Choose the colours and sizes to suit your needs. All you need are 8 sheets of Canson® Colorline® 150g/m2 and Giotto glue.


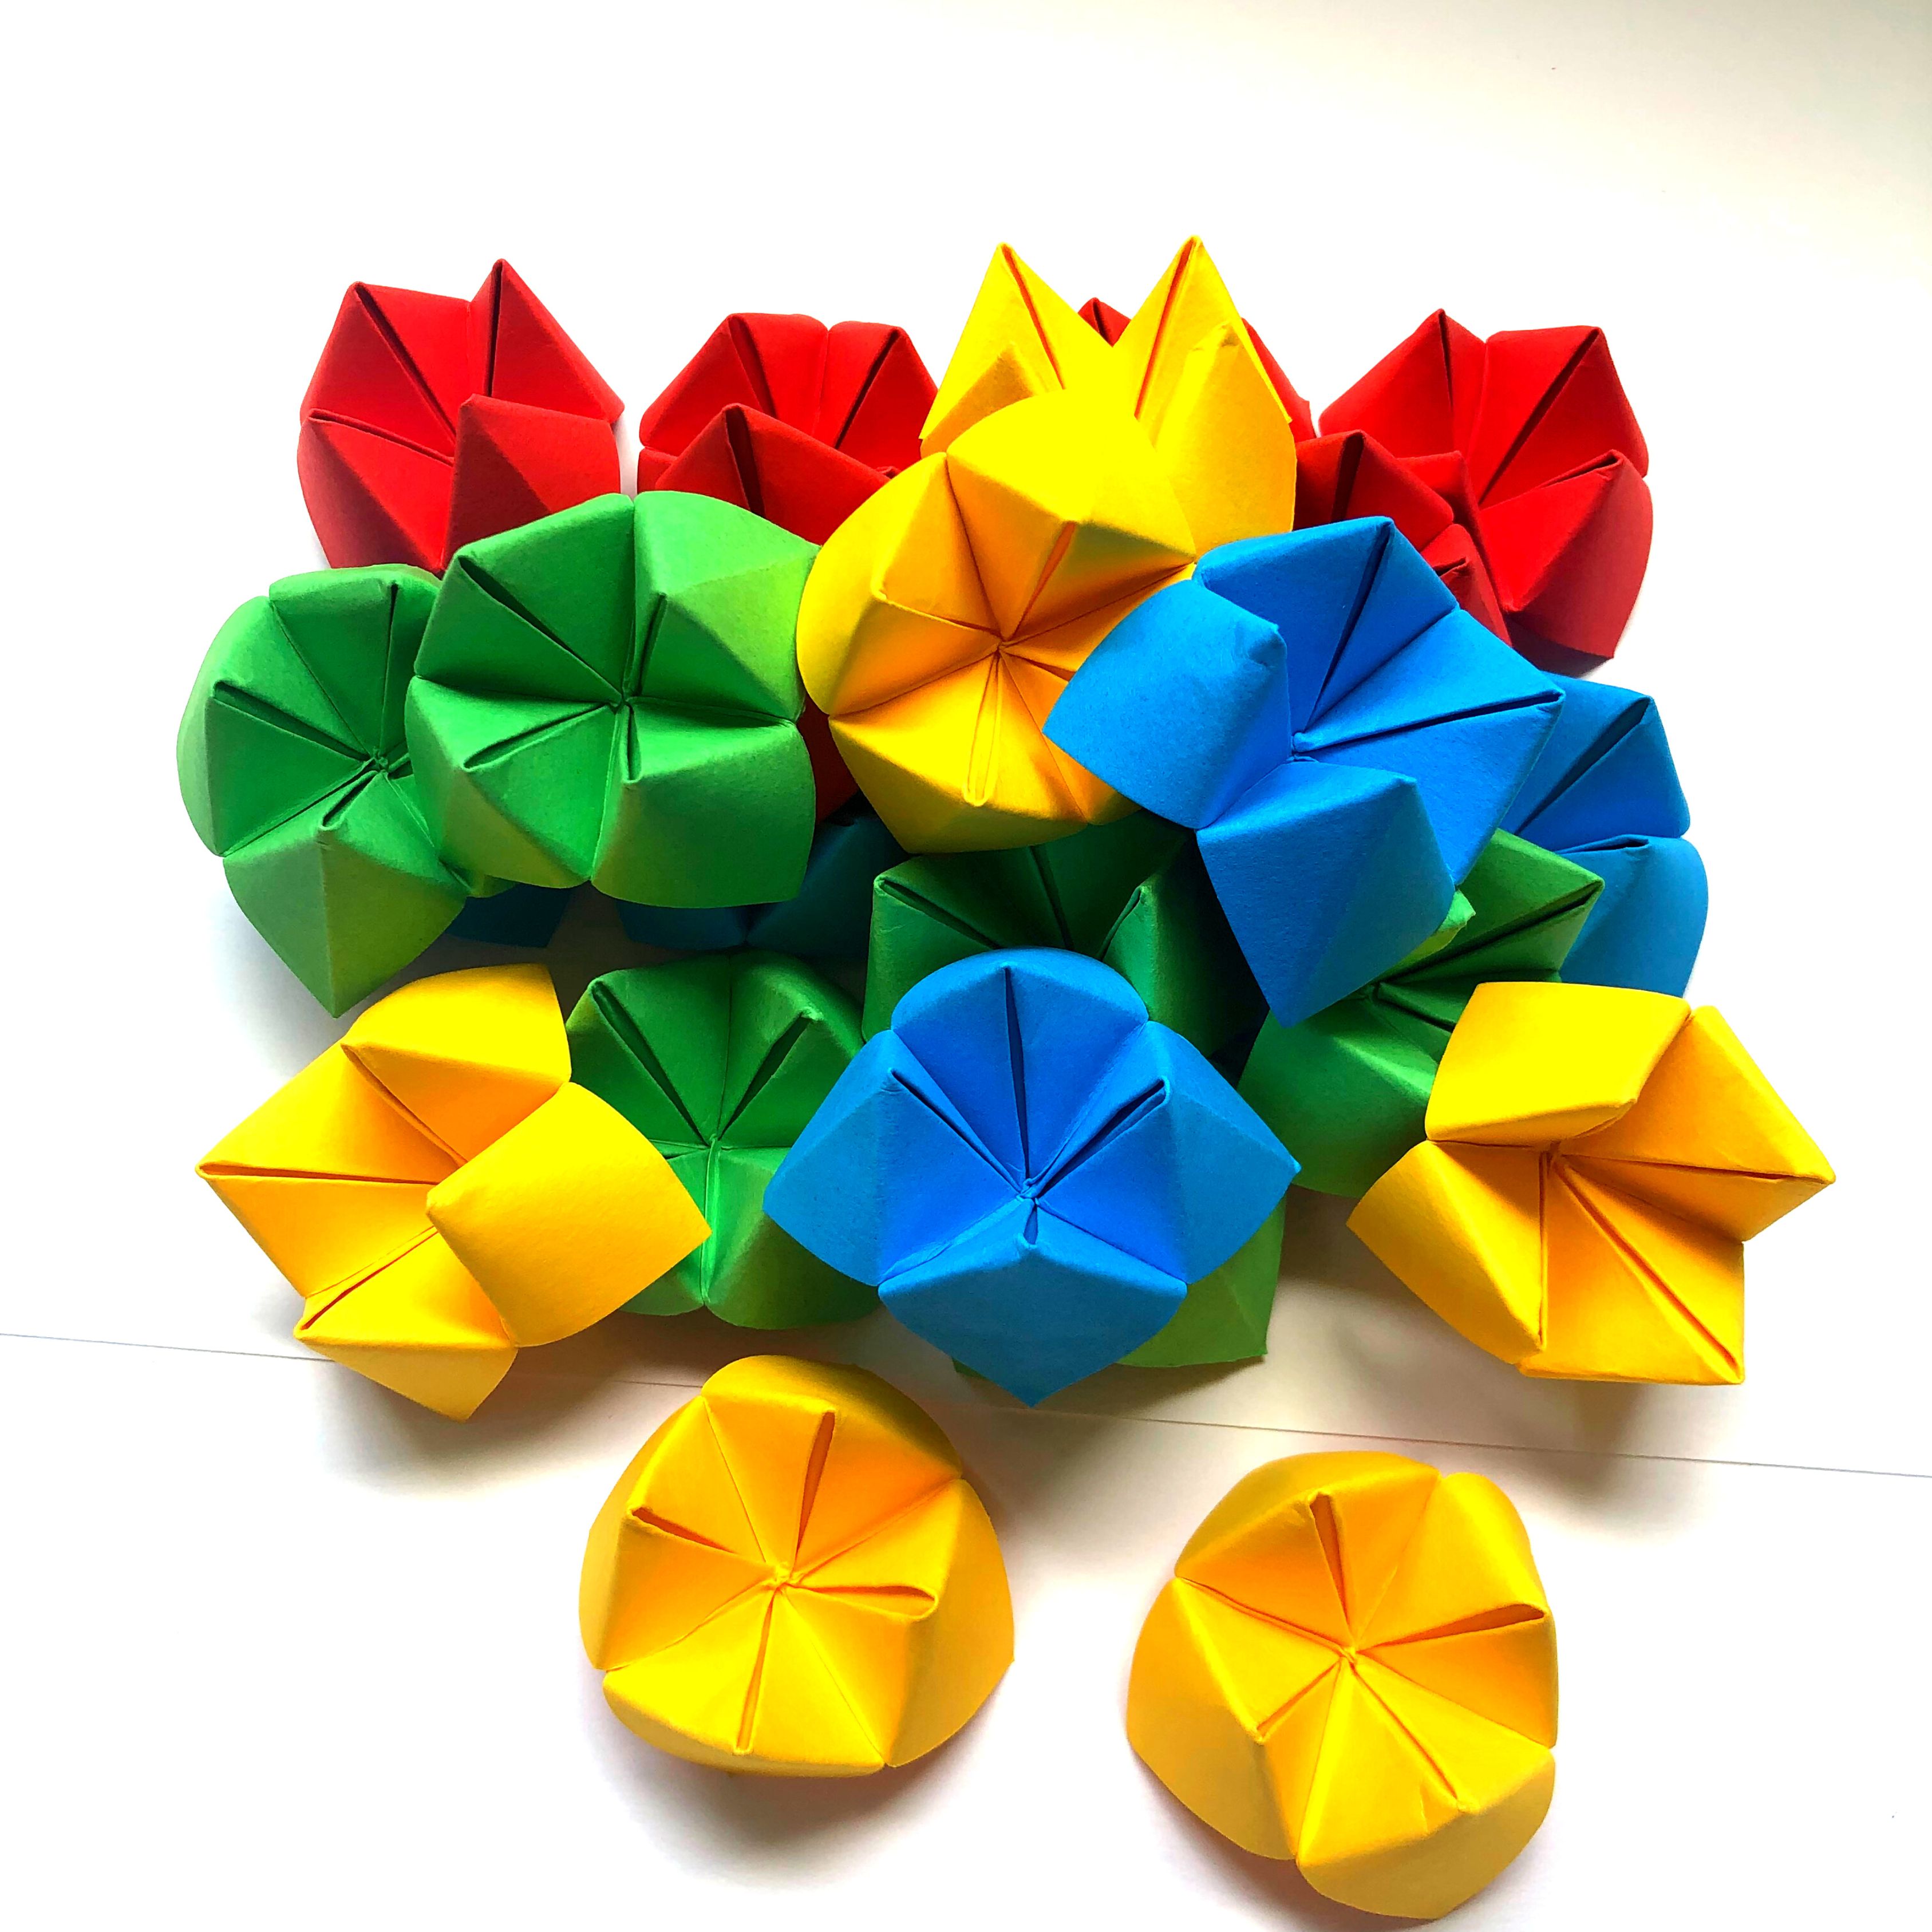
This technique, known as modular or 3D origami, involves repetitive folding of several squares of paper of the same size called "modules". This makes it possible to create three-dimensional objects in a variety of sizes and colours.


The construction of this pencil pot is based on the well-known fortune-teller model. Depending on the diameter and height you want, you can increase the size of your base squares and the number of rows when assembling them.
Step 1

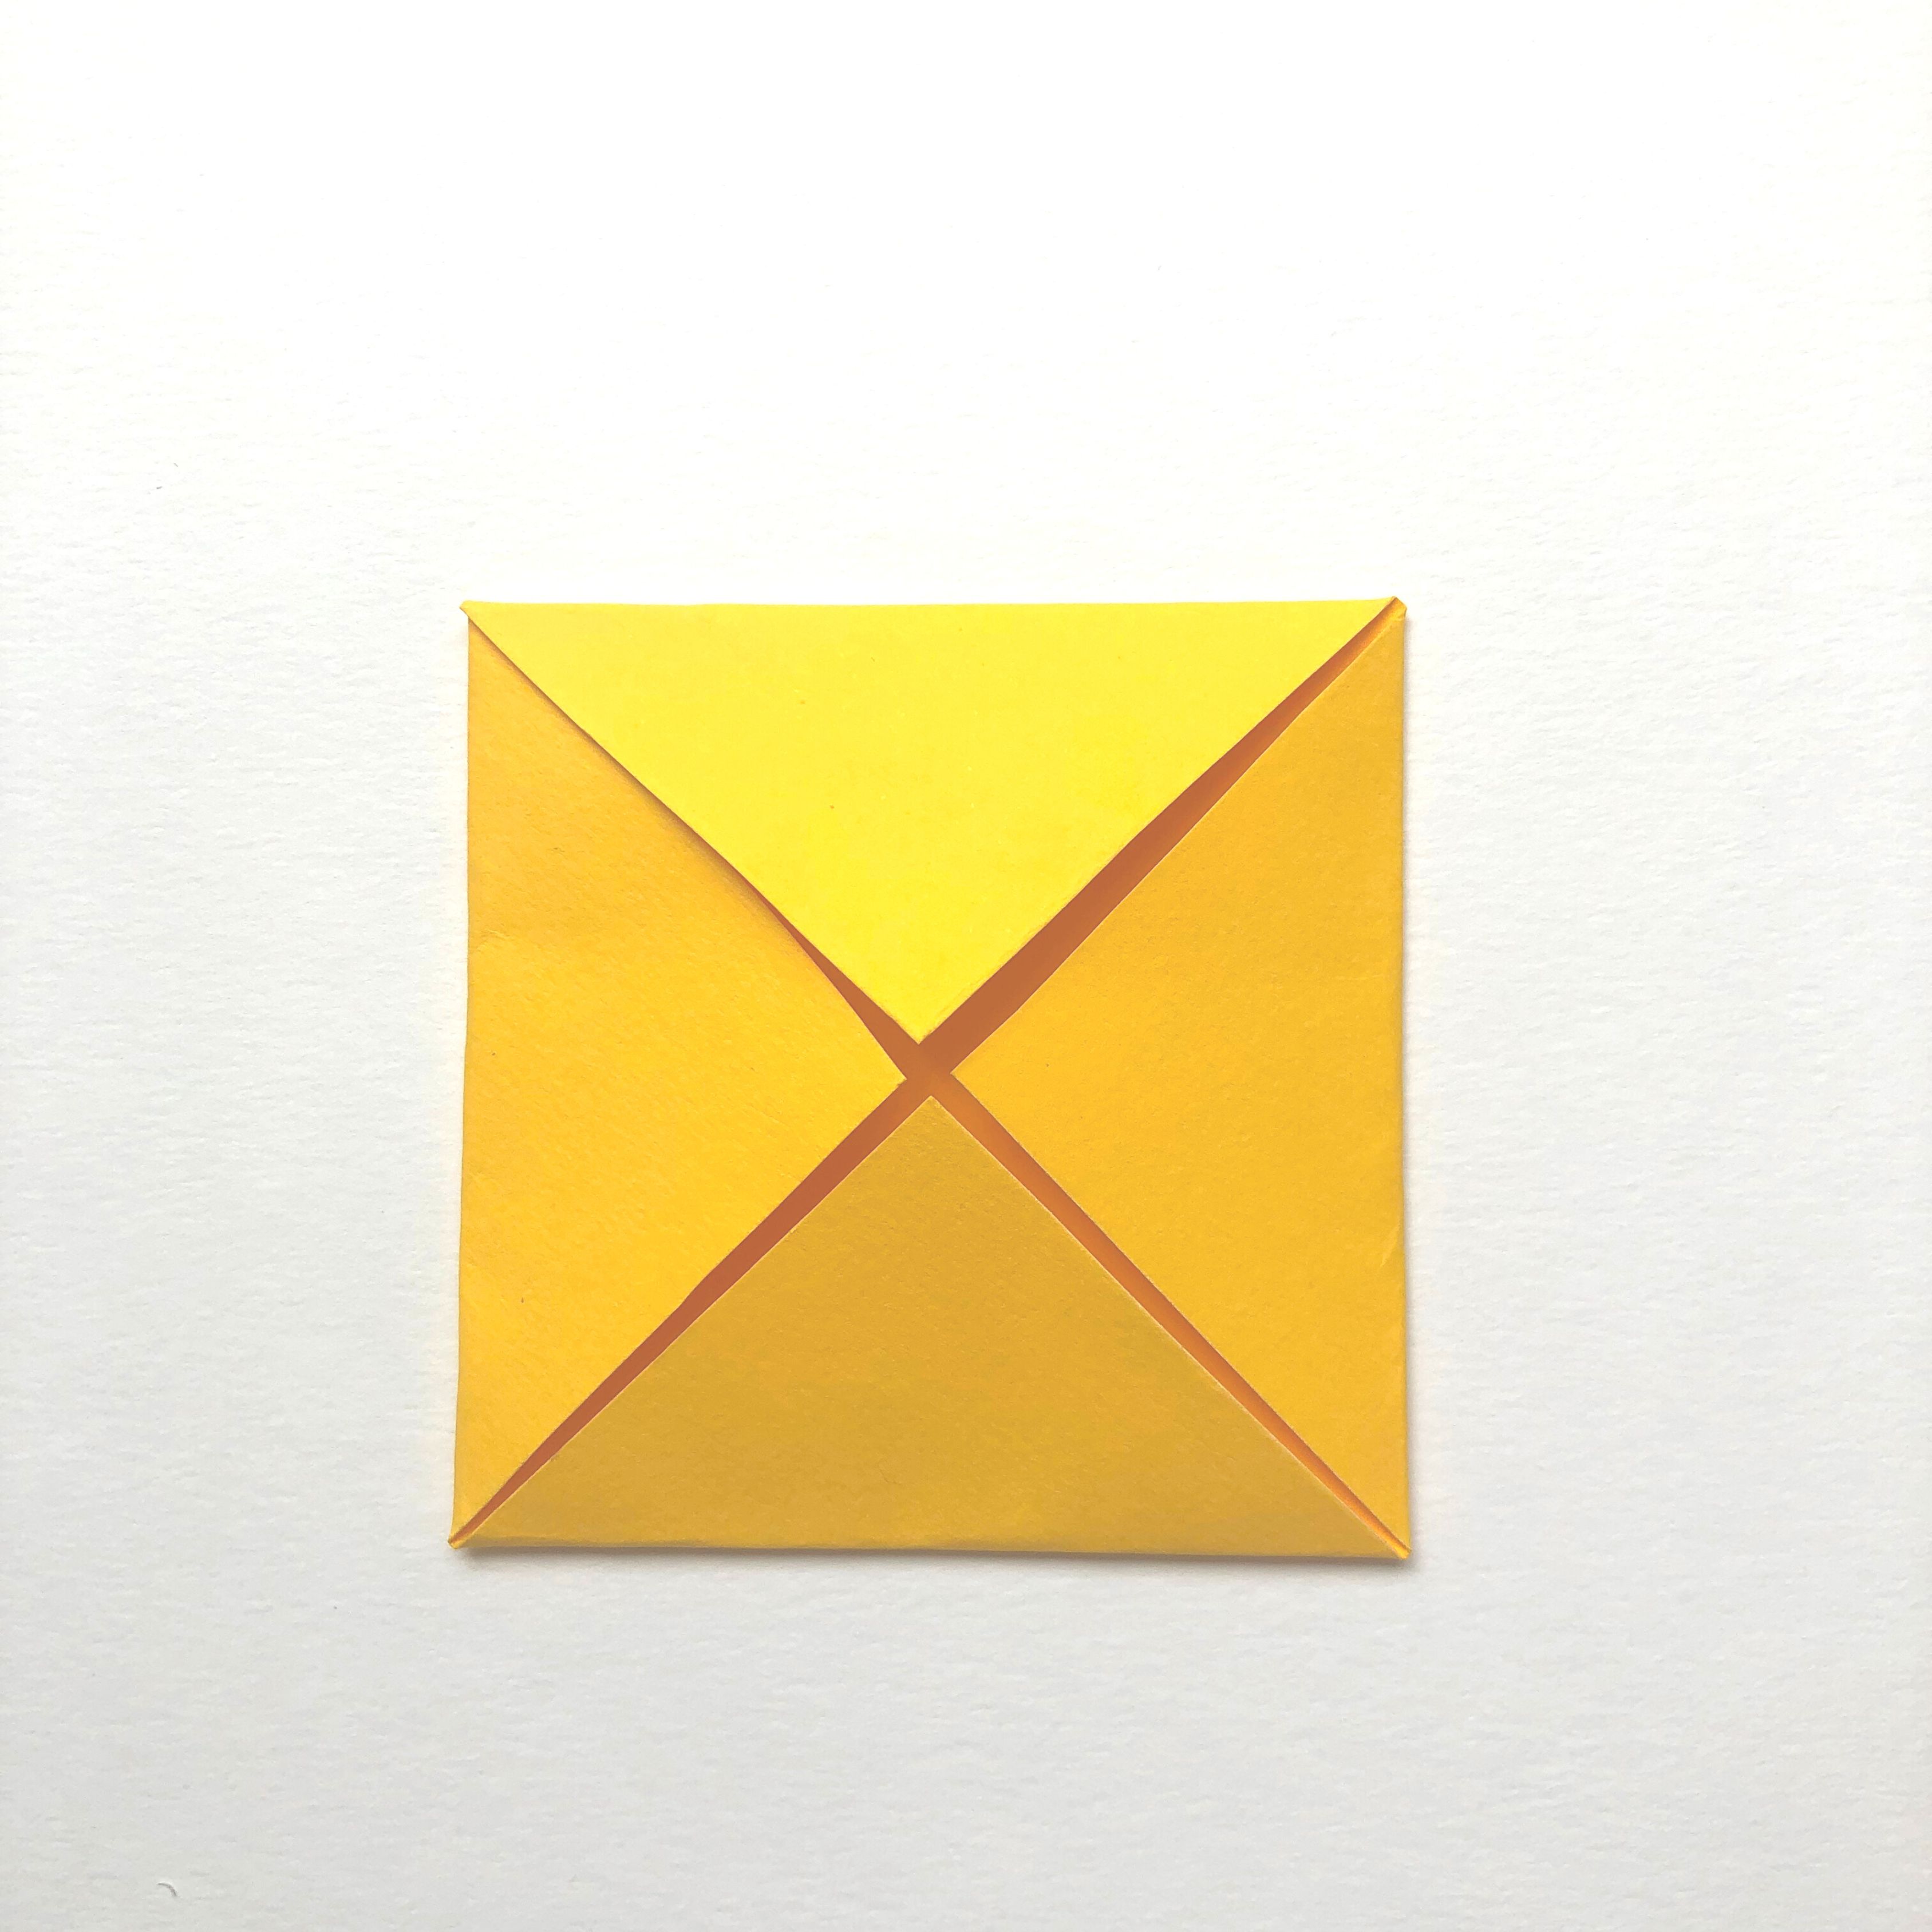
Cut out 24 10.5cm squares (you'll get 4 from an A4 sheet). To do this you need 8 Colorline® sheets.

For each of these squares, fold the points into the centre.

Step 2

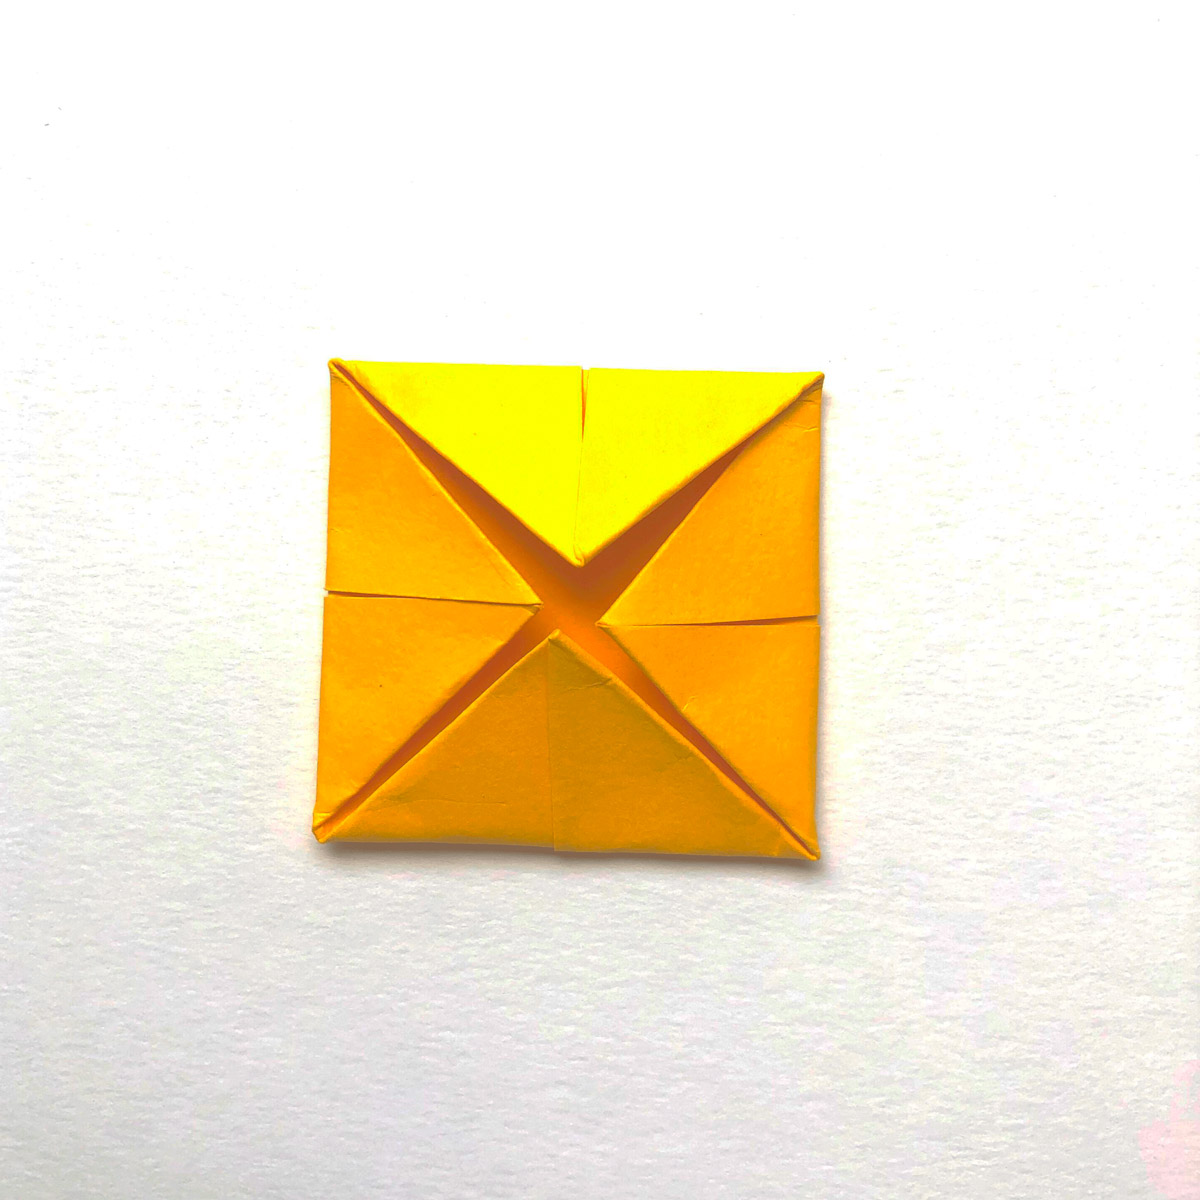
Turn the whole thing over and repeat step 1: fold the tips over into the middle of the square.

Step 3

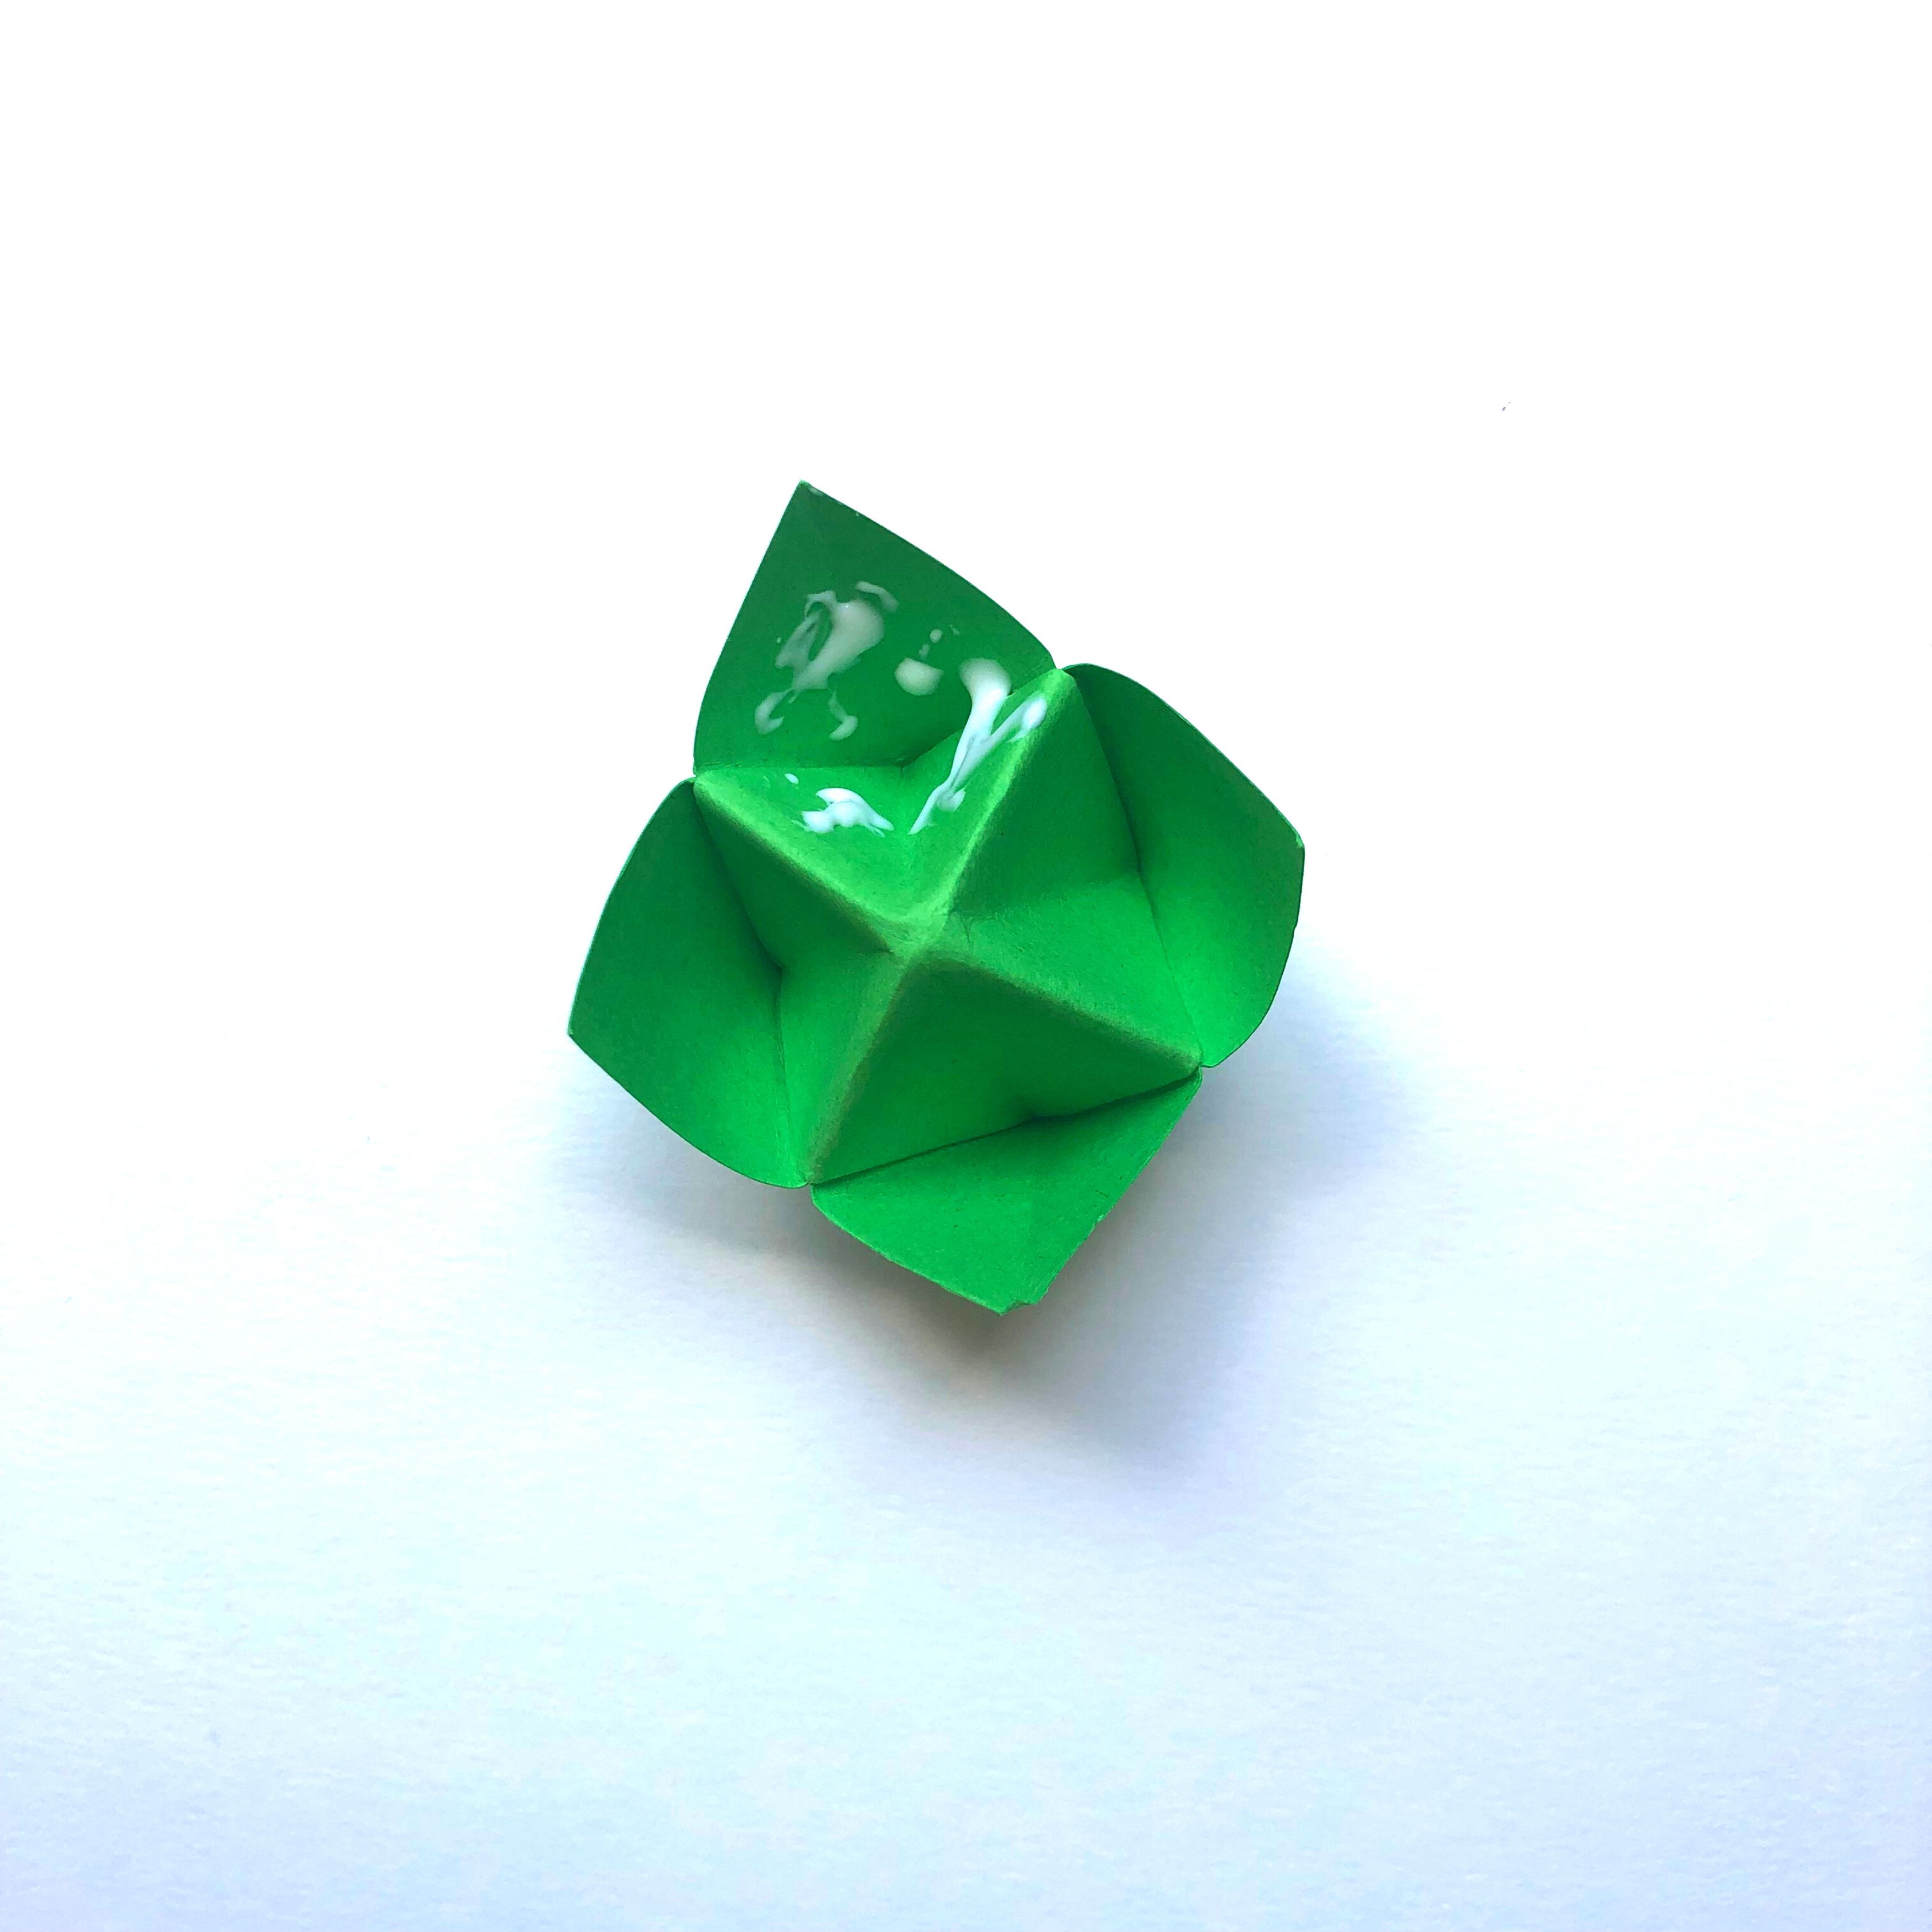
Fold the 4 corners together to form a fortune-teller.

You'll need to build 24 fortune-tellers.

Step 4

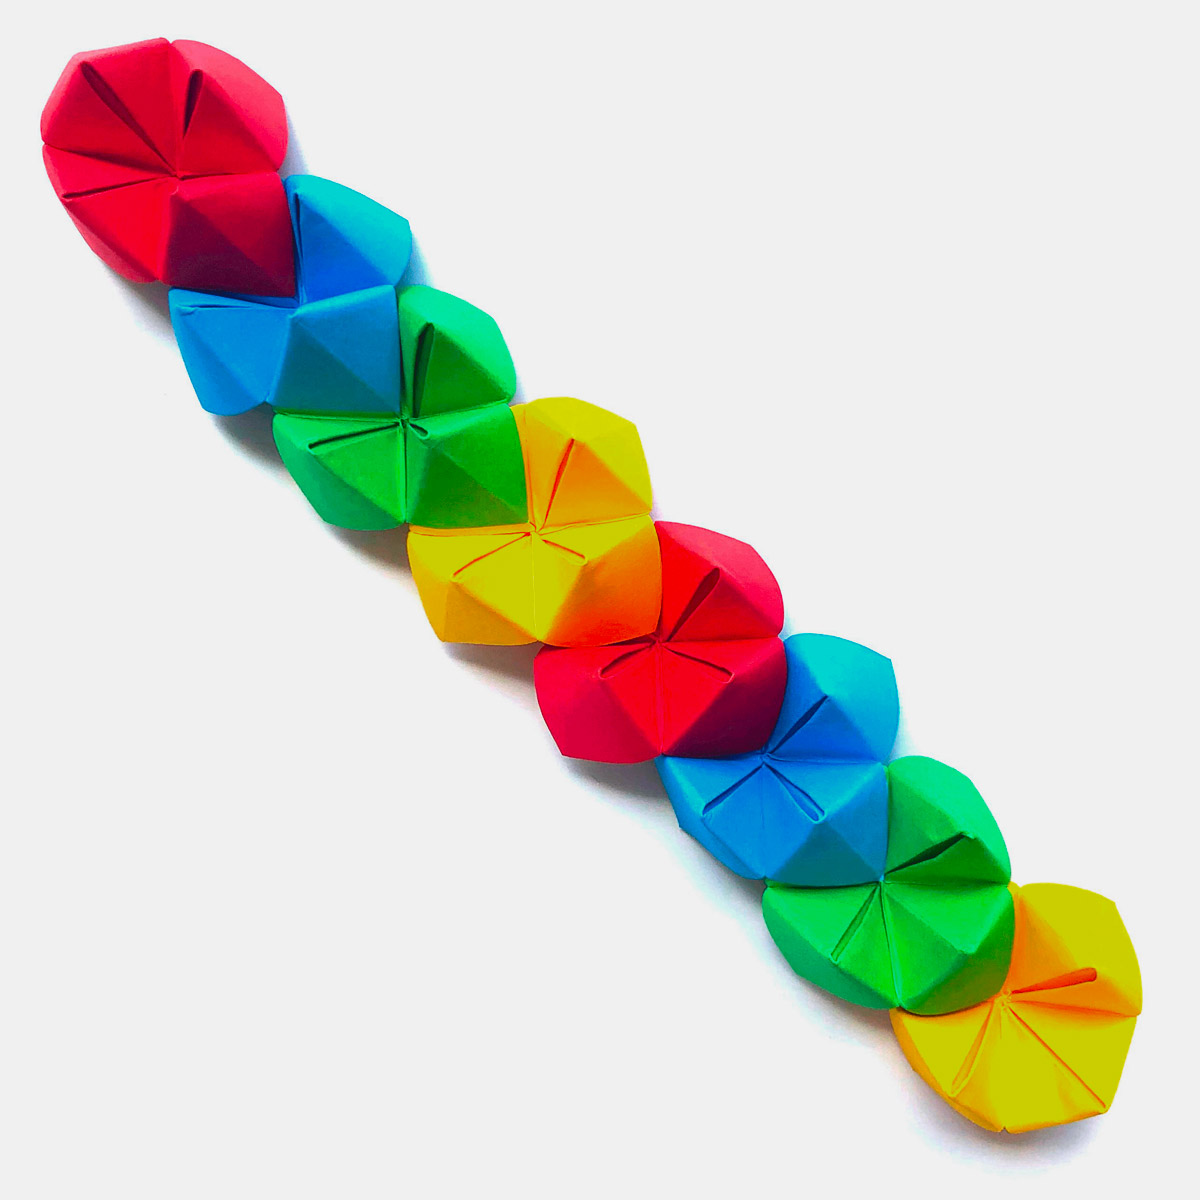
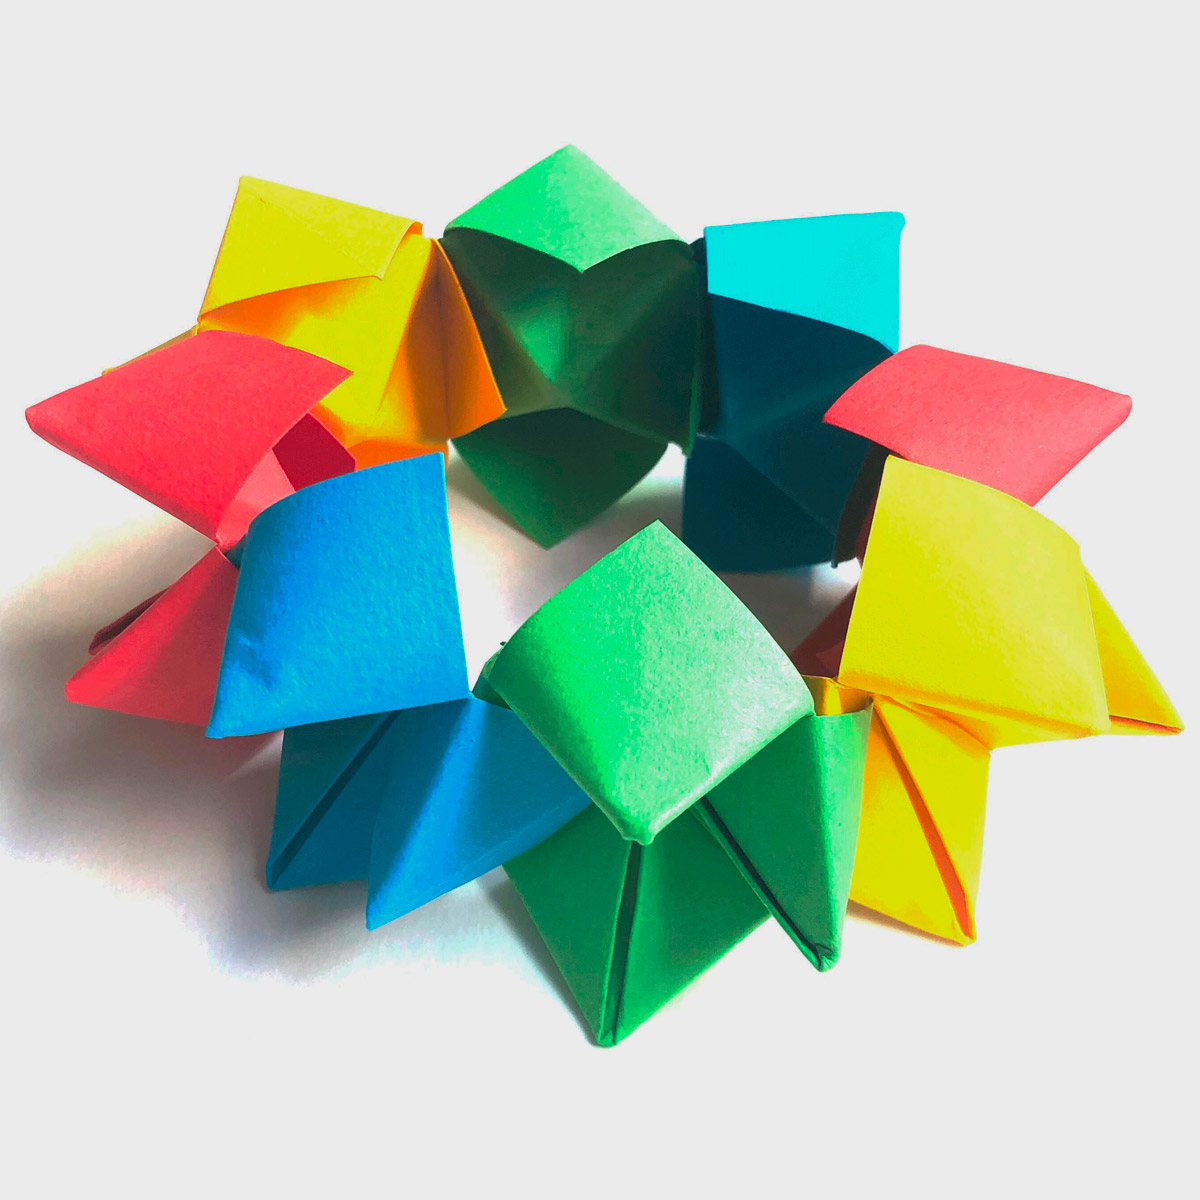
Place some Giotto glue in one of the four "compartments" of the fortune-teller. Make a row of 8 fortune-tellers by nesting them in a row, then close the row.

Step 5

Construct the second row, this time by placing a dot of glue in two compartments so that the fortune-teller can be attached to both the first row and its neighbour in the same row.

Step 6

Add the desired number of rows. The model opposite has 3 rows.

Step 7

Add a base to your pencil pot. To do this, stick your construction onto a sheet of Canson® paper the size of your pencil pot. Congratulations, you've just created a personalised pencil pot!