Time required: 2 hr 30 mins
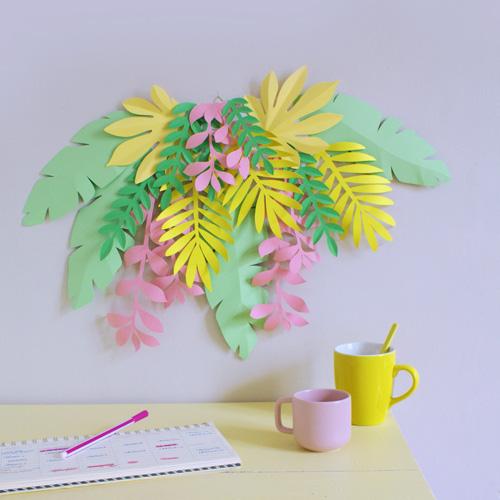
Create a wreath decorated with paper flowers. Perfect for decorating one of your walls, it'll create a retro, botanical feel.
List of materials:
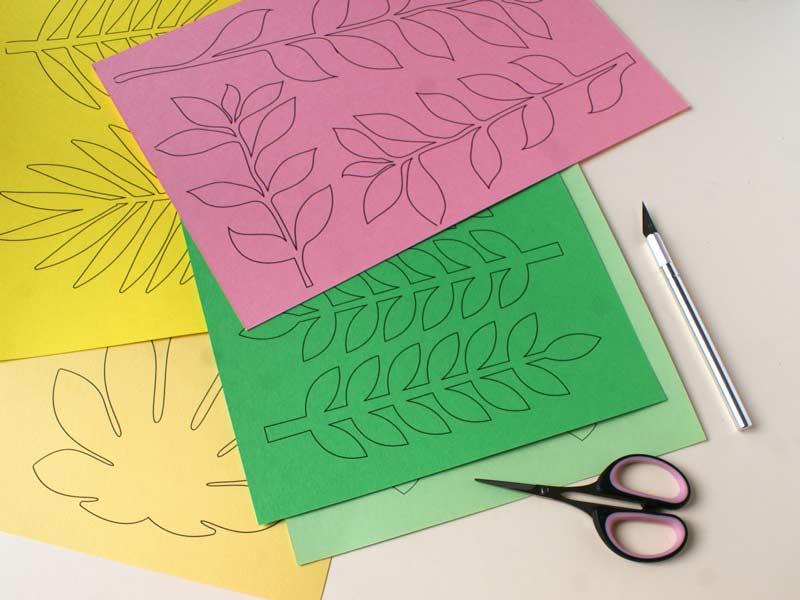
- Canson® Colorline 220 g/m2 A4 : 1 x Straw yellow, 2 x Canary yellow, 2 x Apple green, 1 x Bright green, 2 x Rose petal
- Canson® Carton plume
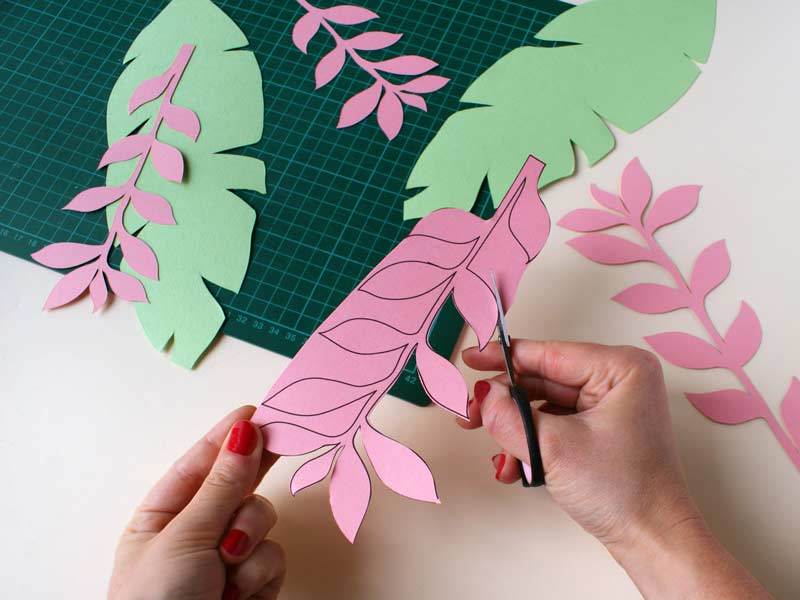
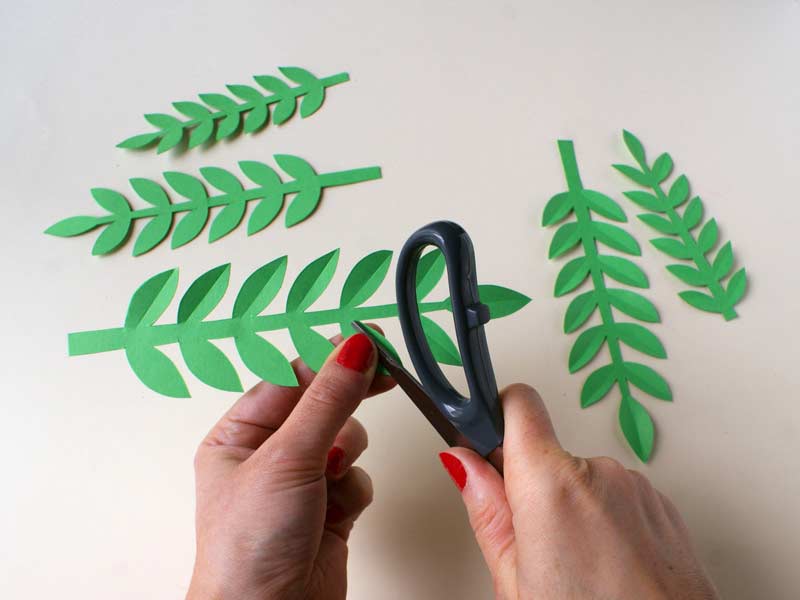
- Craft knife - scissors
- Paper glue
- Self-adhesive fastener
- Gabarit : Florale composition