
Watercolor: Painting trees

Rate this tutorial
Average: 5 (3 votes)

Level of difficulty: intermediate  Estimated time: 3 hours

Artist: Cécile Raymond. 

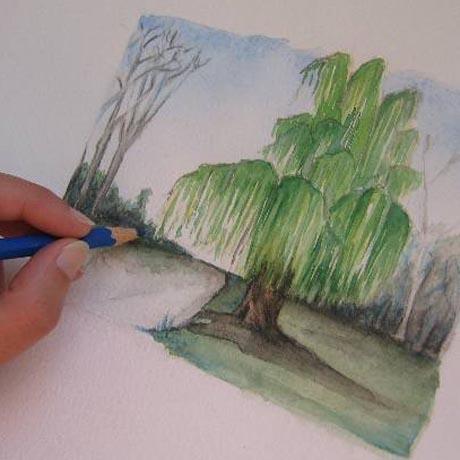
A weeping willow is very graphic and especially nice to work with. To represent it, you need to observe it from every angle. Doing so will add that characteristic dash of charm and romanticism to your landscapes!

Material

  • Watercolor paperL'Aquarelle Canson Héritage 300gsm – rough grain
  • Colors watercolor:  Emerald green Perm lime green Terre-verte Ultramarine F Cerulean blue        Indian red Yellow cadmium M Gold ocher Burnt Umber Sepia + blue and black watercolor pencils
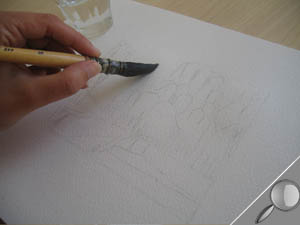
  • Pencils and paintbrushes: 2B pencil, wash brush, medium round pointed brush.
  • Accessories: kneaded eraser

Step 1

Sketch the subject. Use a pencil to draw the main forms of your landscape: the trunks, branches, stream... then define the areas of shadow and light that you observed on your model. Use a light stroke.

The stroke in the photo is strong, to make it visible.


Step 2

Stump the line by rolling the kneaded eraser all over the paper. Because watercolors are transparent, it is essential to erase the construction lines from drawings as much as possible before applying paint, because any line that remains visible cannot be erased later.

Step 3

Dip the wash brush in clear water, then lightly moisten the following surfaces from top to bottom and left to right: the sky, the grass and the stream.

Step 4

Paint the sky, grass and stream.

Load your paintbrush with cerulean blue. Graduate the surface of the sky: start from the frame line and allow the color to diffuse over the paper, then pull it towards the bottom.

Do the same for each of the colors (terre-verte for the grass, sepia for the stream). Allow to dry. Remember to save some white spaces.


Step 5

Paint the shadows, trunks, branches and shoreline.

Take a round pointed brush, select gold ocher, burnt umber and sepia shades, and spread them on your palette. Moisten your paintbrush and mix the 3 colors. Use the resulting brown to mark the shadows and major lines of your drawing. Accentuate the trunks, branches and shoreline.


Step 6

Do the foliage.

Overlay dabs of yellow cadmium and lime green: place them vertically along of the willow’s branches. Note: always apply light colors first.

Finish with several dabs of emerald green. Allow to dry.

Step 7

Intensify the colors on the dry paper.

Add stronger shades to the ones already used. Reinforce the trunk of the willow with sepia, the stream with indigo, the grassy expanse with emerald green.

Step 8

Build up the contrasts.

Refine a few details with a black watercolor pencil. Then use a wet paintbrush to go over your lines.

Tip

To show a landscape's particular atmospheric lighting (winter morning, summer afternoon, setting sun, etc.) choose a cold or warm color to dab onto your piece. The unity of color you achieve (in this case, blue) will act like a photographic filter.