
Watercolor: Dry brush painting

Rate this tutorial
Average: 5 (4 votes)

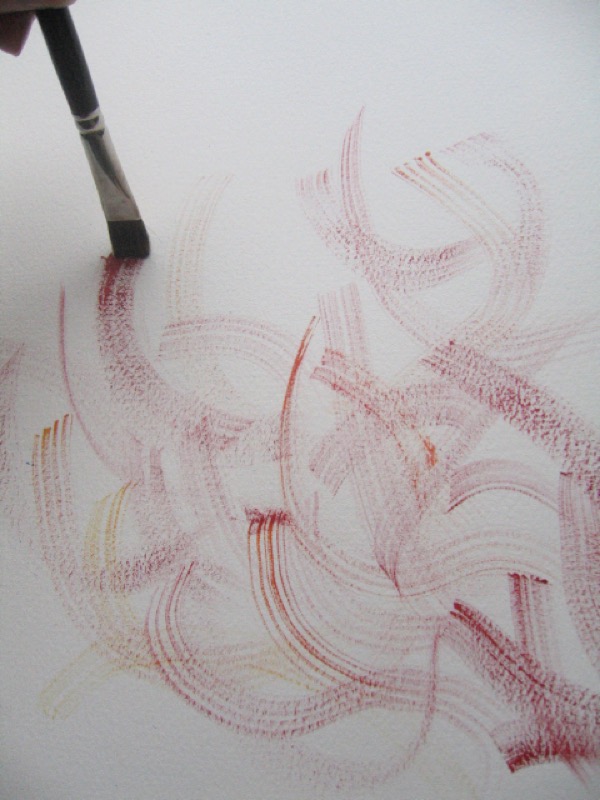
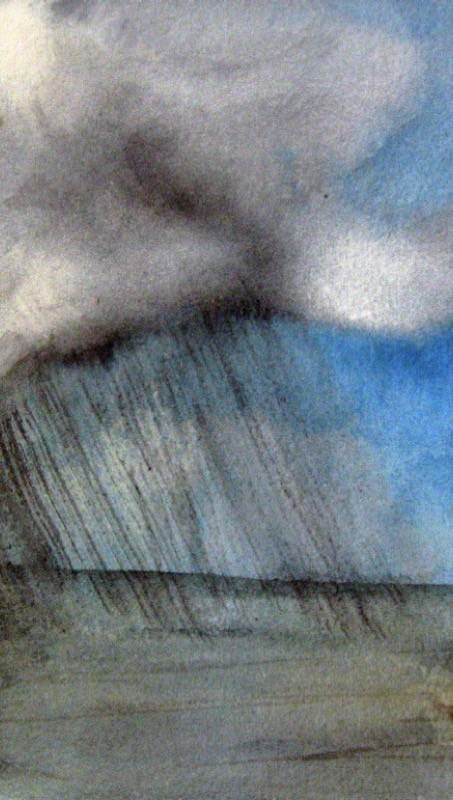
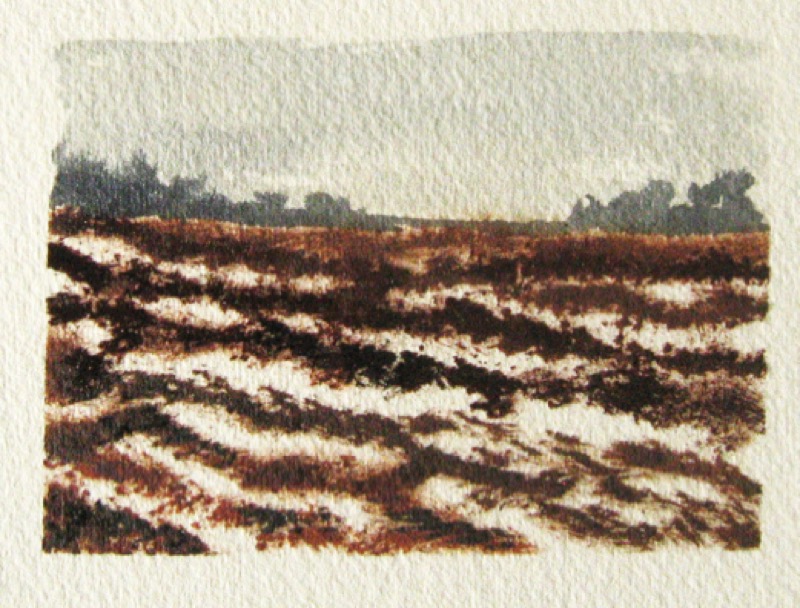
Rain, grasses, feathers… the dry brush technique allows you to represent them using fine, feathery strokes!

What you need to know:

- Unlike the traditional watercolor technique, strokes are applied with a dry brush and a dab of paint.

- Too much paint or not enough? The only way to find out is by practicing!

1. Training yourself to work with dry brush

3 steps to the right brush stroke:


-Load your paintbrush with wash, then remove excess paint by squeezing out the bristles on absorbent paper or a rag.

-Pull the paintbrush bristles slightly apart with your fingers.

-Hold the paintbrush at an angle so the bristles come in as close contact with the paper as possible (from the ferrule to the tip), then slowly sweep across the paper with light, sweeping gestures. 


Keep in mind! Unlike a wet wash, color applied with a dry brush does not lighten when dry.

2. Drawing with a dry brush

A shower at sea:

-Use a rough grain paper to take advantage of the texture.

-Use the dry brush technique to liven up the horizon with a curtain of narrow, slightly slanted lines. To do this, make sure the bristles are well separated and use a sweeping gesture to sweep across the paper from top to bottom for continuous lines. 

An area half-covered with snow:

-Use a rough grain paper to take advantage of the texture.

-To represent a snow-covered field, load the paintbrush with a Sienna wash, then dry the bristles.

-Apply the color in horizontal strips: the paint will not cover the entire surface, allowing the white of the paper to show.