Pastel sticks offer many formal possibilities. You can enliven your material by applying color in different ways. Here are the four basic techniques.

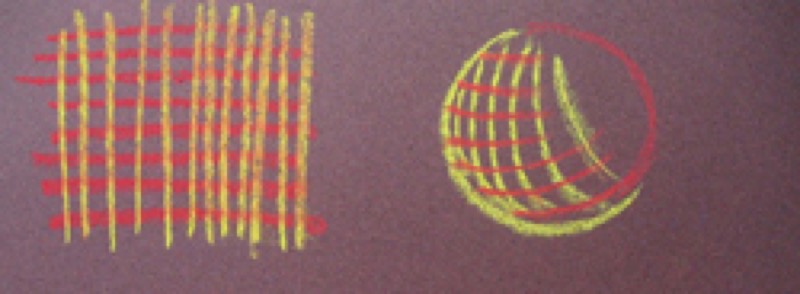
1. Hatching
A series of more or less close lines that allow you to quickly define a colored area.
When done in two colors, and parallel or perpendicular to one another, they can generate interesting visual mixes.
When curved, they create volume.
Stumped, they soften but keep their texture.
Monochromatic, they allow shade variations: play up closeness, thickness and direction of the lines.
2. Gently sketched on
With square pastels, also called "hard" dry pastels: to lightly suggest details (shading on a face, for example), by drawing narrow oblique or regular circular lines.
3. Glazing
for partially covering one color with another, gently adding color blocks and oblique or circular lines.
- Tone on tone: to liven up a color.
- Light on dark: to intensify luminosity.
- Dark on pale: to add depth.
Keep in mind: glazing will be easier if you apply a light coat of fixative to the first layer of color.
4. Fragmentation and stippling (with oil pastels)
The image is created by building up dots or short, strong lines in various shades, without stumping or mixing. You can create harmony through optical mixing. To start off, you should limit yourself to two or three fairly close shades… and stand back regularly to look at your overall product.
Practical advice: Gesture drawing, an excellent learning tool
Pastels are a good way to quickly capture a scene. Practice sketching the movements of animals, the postures adopted by various individuals, and long grasses swaying in the breeze.
Draw their forms with any color.
Suggest contours and recreate the impression of speed by quickly building up straight and oblique lines curved and uncurved.
Draw with sweeping movements starting from the elbow. You will gradually free your gestures, making all of your work easier.
Recommended product:
Mi-Teintes® Touch
See also :
Pastel
Pastel & Colour: Basic concepts
