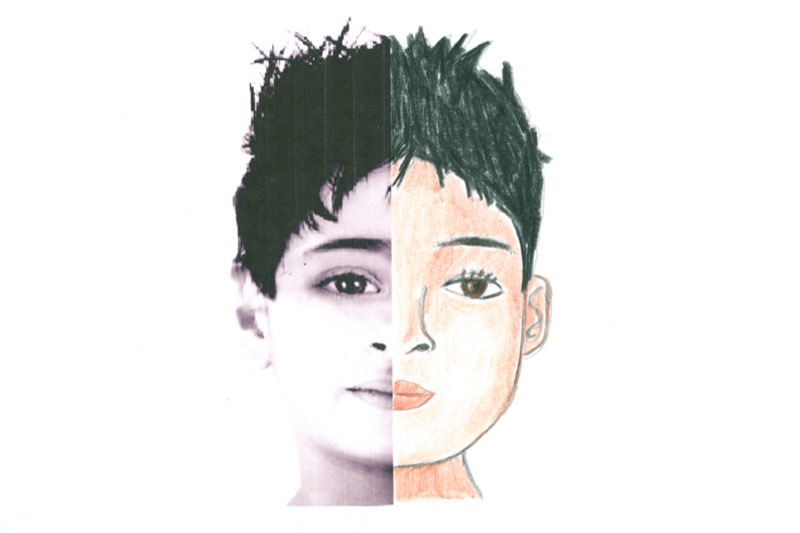
Discover Raphael, the Italian Renaissance painter and architect

Rate this tutorial
Average: 5 (6 votes)

This sheet will help you to learn all about Raphael, the Italian Renaissance painter and architect.

Children can study the self-portrait techniques used by the artist and then express their own inspiration.

A portrait is never an easy exercise for any artist, especially when they're trying to depict themselves! We suggest a simplified version of this activity which will nevertheless allow children to try out the self-portrait technique.


Historical period: The Renaissance


Raffaello Sanzio (Raphael) was an Italian painter and architect who was born on the 6th April 1483 in Urbino and died on the 6th April 1520 in Rome. He would have been initiated into his father's workshop where he learned the technical basics of what would later become his art. Raphael has long been considered the greatest painter who ever existed, and is still considered to be the artist through whom painting achieved its ultimate expression as an art form. This myth of Raphael emerged during the artist's lifetime, and his untimely death gave it an extra dimension.

Background and analysis of the painting

Background

The Italian "Cinquecento", or the start of the 16th century, was certainly the height of the Renaissance in artistic terms. In the span of 20 years, the city of Florence saw a series of talented artists including Leonardo de Vinci, Raphael and Michelangelo.


After taking his first steps in painting in Perugia with a master named Pietro Vanucci, better known as "Perugino", Raphael moved to Florence when he was 21 years old. It was there that Leonardo de Vinci and Michelangelo took him under their wing to continue his teaching.


Four years later, he left for Rome, specifically the Vatican, where he was tasked with decorating its rooms. During a period of intense activity, he was chosen by the Pope to work on the construction site of Saint Peter's Basilica in Rome.


Suffering from ill health and afflicted by malaria and severe fevers, Raphael died at the age of 37, just after finishing the painting which undoubtedly remains his most beautiful masterpiece: the Transfiguration, a monumental work that symbolises his entire career as a painter.

As a tribute to his accomplishments as a painter, Raphael was entitled to a magnificent funeral before being buried in the Pantheon of Rome.


Analysis of the painting

1. Form

Raphael's "Self-portrait" is an oil painting on board, 46.5 x 33 cm in size.

It was painted between 1504 and 1506 and can now be admired in the Uffizi Gallery in Florence. It is nowadays accepted that it is a self-portrait of Raphael, his head and shoulders depicted in a dark robe and hat.


2. Technique

A little of the softness seen in Perugino's models, a touch of Michelangelo's technique modelling the body, a dash of Da Vinci's "sfumato" to blur the contours... Imitating his peers by retaining only what is useful, Raphael applied this principle across all of his work.


Raphael also makes a point of using the drawn lines as much as he does the colour, always seeking precision in establishing the vanishing point, the key to proper perspective.

His style as a whole - controlled, graceful and harmonious - greatly influenced 19th century Western painting.


3. Meaning

Like most of his pictorial works, Raphael's "Self-portrait" asserts itself as a quest for perfect beauty. It is a true ode to all the serenity and intensity that youth may possess.


As in his famous "Madonnas", Raphael distils notes of simplicity, softness, seriousness and balance within his "Self-portrait", making it a true masterpiece.


4. Usage

Although he did not often portray himself in his paintings, Raphael possessed a rare beauty that contributed to his fame.

His "Self-portrait" has been passed from owner to owner and acquired a highly symbolic value since being featured on the 500,000 Italian lira banknote up until 2002, the year the euro was adopted.
1 - Educational objectives: children aged 2 to 6

Materials: 

  • Photocopies of passport photos of the children
  • Canson® 90 g/m² tracing paper
  • Pencils
  • Felt-tip pens
  • Glue
  • 180 g/m2 "C" grain® white drawing paper


Objectives:

  • Recognition of their image
  •  Practicing the technique of drawing


Method:

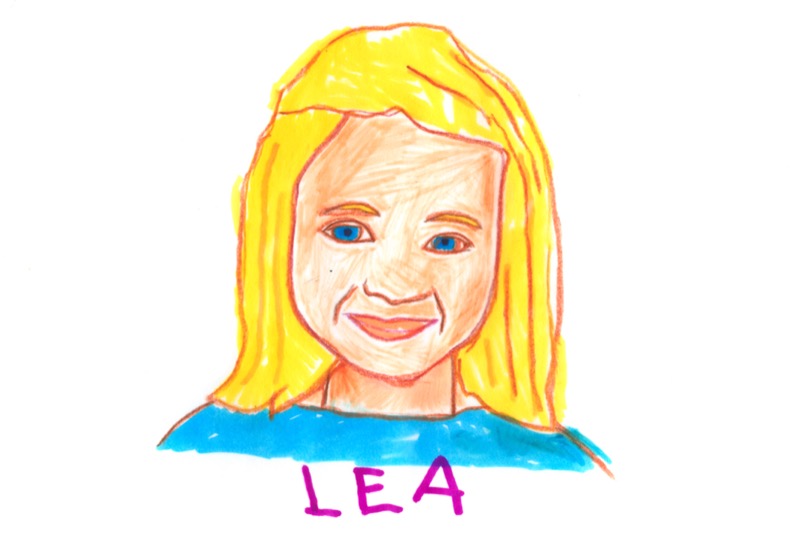
Photocopy the children's passport photos in black and white and enlarge them to at least four times their original size.

Once each child has been given a photocopy of their portrait, invite them to trace their face on tracing paper with a pencil and then colour it in with felt-tip pens. Once the drawing is finished, suggest that the children stick the tracing paper to a blank sheet of paper and write their first name underneath.

You can display this creation above their coat hook so that they can easily find it!

2 - Educational objectives: children aged 7 to 11

Materials:

  • Photocopies of passport photos of the children
  • 180 g/m2 "C" grain® white drawing paper
  • Scissors
  • Glue
  • Pencils
  • Colour pencils
  • Paint
  • Paintbrushes


Objectives:

  • Practice graphic techniques
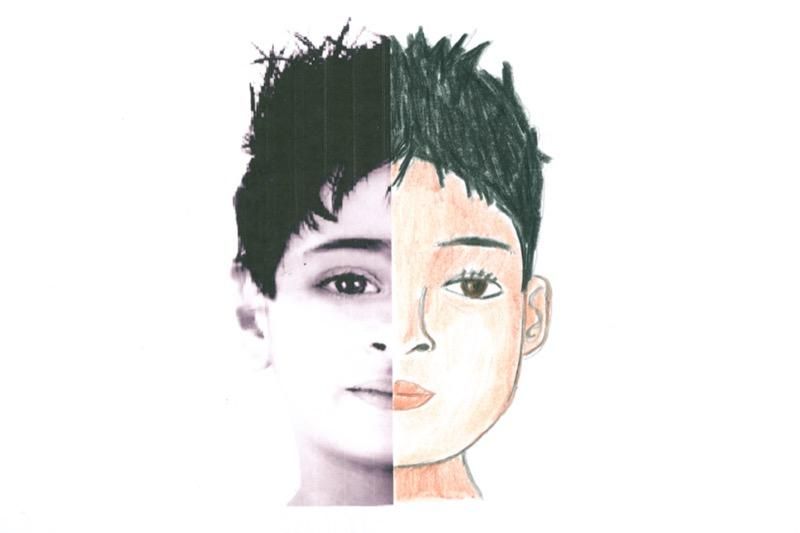
  • Understanding facial symmetry


Method:

Photocopy the children's passport photos in black and white and enlarge them to at least four times their original size.

Afterwards, distribute these photocopies to your students and ask them to cut their portrait in two. Ask them to glue one half of the face to a blank sheet of paper and then complete their portrait with a pencil. Once the contours of the face, eye, ears, mouth and nose have been traced, instruct the children to paint or colour both halves of the face, creating a coloured self-portrait.

Suggest to the children that they can also do their self-portrait at home, looking in the mirror. This was the technique used by Renaissance painters to depict themselves, which explains why the painted figure is always looking us in the eye!