
Creating a composition using paper cutting

Rate this tutorial
Average: 5 (1 vote)

Time required: 2 hours

Level: Beginner

Artist: Hélène Jourdain

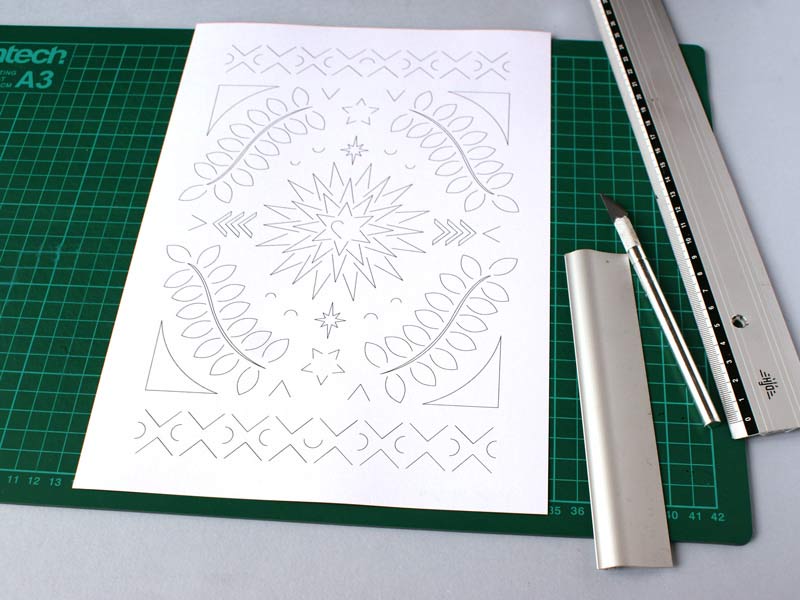
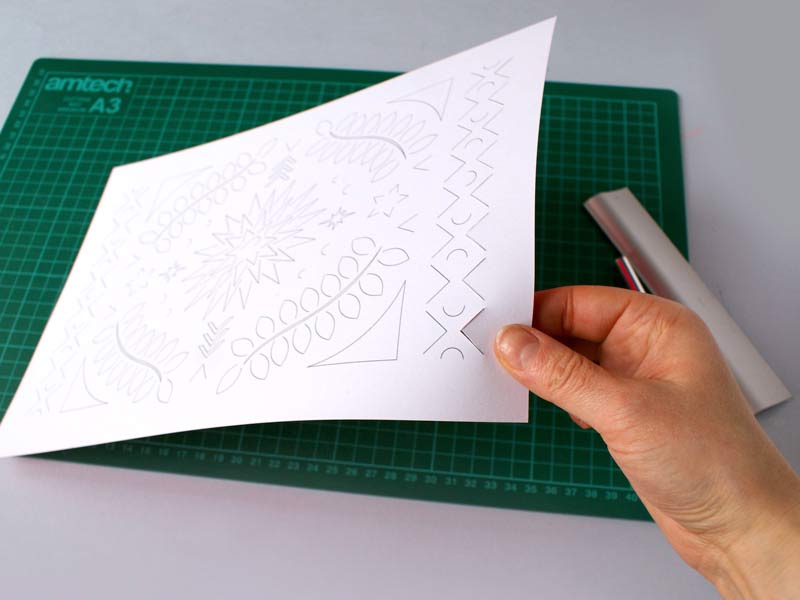
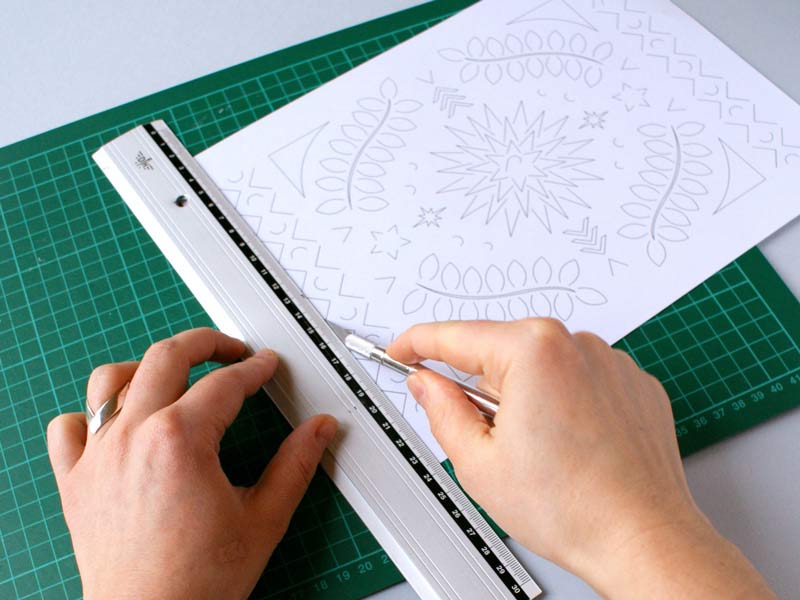
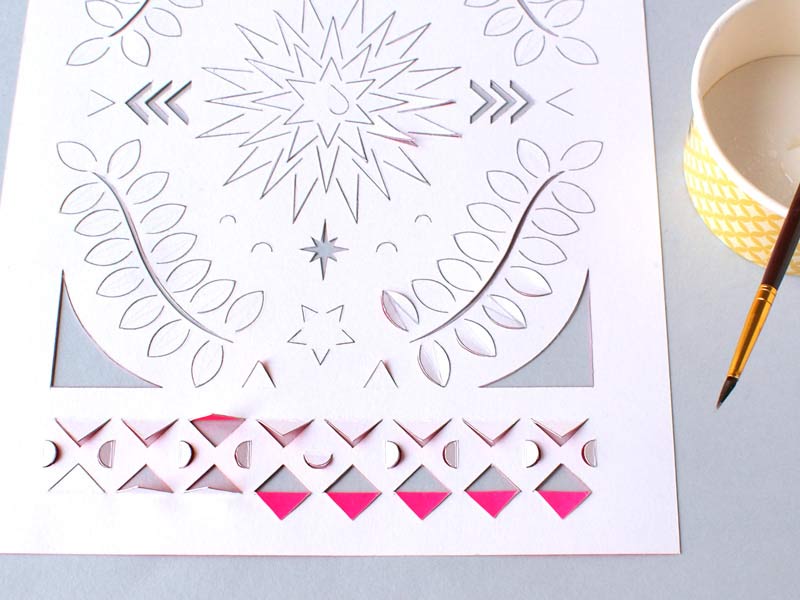
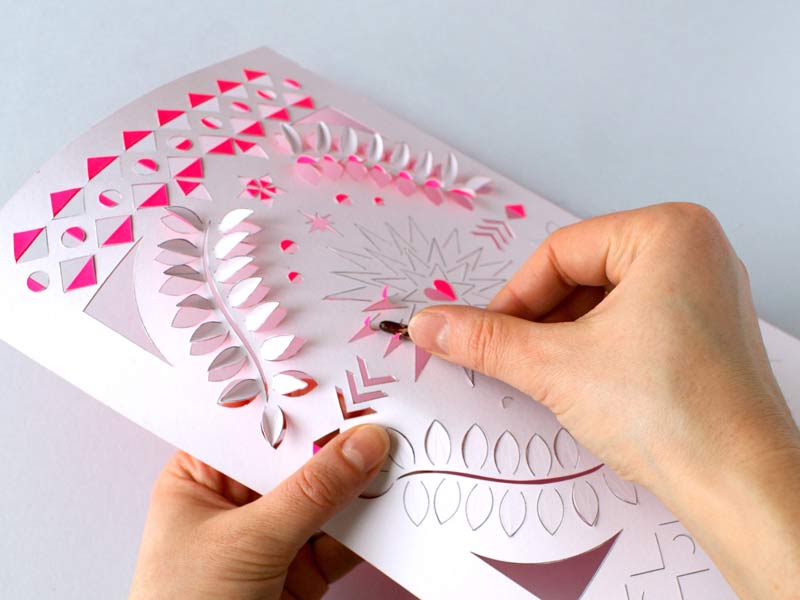
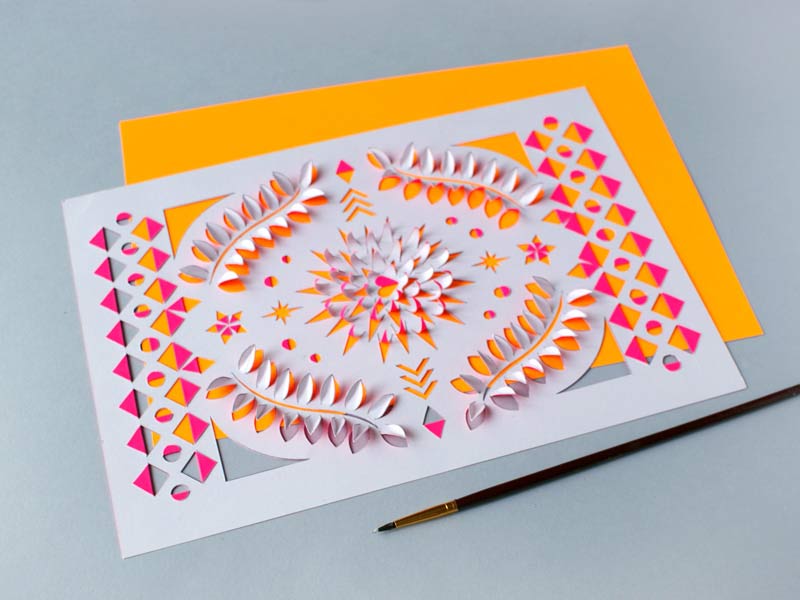
Create a geometric paper design with the help of the template provided, a craft that requires detailled cutting and that produces a slight 3D effect.

List of materials:

  • Vivaldi Rose fluo 250 g/m2
  • Vivaldi Orange fluo 250 g/m2
  • Precision cutter
  • Paper glue (with brush applicator)
  • Template: Composition

Step 1: The template

Download the template.

Print it onto the reverse side of the Canson® Vivaldi rose fluo paper (on the white side).

You can personalise your creation by going for an alternative combination of colours.

Step 2: Cutting

Cut out the printed pattern using a precision cutter.

You can cut free-hand for smaller and rounded shapes. For slightly longer, straight cuts, on the other hand, it is advised that you use a ruler.

Tip: There is no point folding back the tabs of paper prior to having completed all of the cutting, as they may get in your way as you continue cutting. Certain areas must be cut out completely.

​Step 3: Folding

In order to achieve clean edges when you fold back all of the tabs, lightly run along the folds with the blade, with the help of a ruler.

There is no point tracing along the folds of the leaves and the rose, which will be slightly more flowing shapes.

Step 4: Folding the leaves

For the leaf designs, once the oval shape has been cut out lightly run along the two straight lines with the cutter: from the tip of the leaf to the 2 points on its base.

Step 5: Gluing

Stick the tabs of all of the circles and triangles.

Only the foliage and central rose will remain raised.

Achieve a clean fold on the triangles, from one end to the other, pressing down with a tool or your fingernails to produce a secure bond.

Step 6: Creating volume

To create volume in the leaves, straighten them out again and pinch along the two folds

Finally, bend the triangle of the rose using a fine, round tool, such as the end of a paintbrush, going from the inside towards the outside.

Step 7: Final gluing

Add small spots of glue to the back of your work (on the pink side of the sheet) and stick your openwork sheet onto the second fluorescent sheet.

Delicately life the corners of the pink sheet and apply a line of glue to the back of each corner, then stick down.

You can frame your creations (without glass to as to preserve the 3D effect), or alternatively, this technique can also be used in card making.