
Make your own kirigami landscape

Rate this tutorial
Average: 4.5 (4 votes)

Level: expert

Time required: 2 to 2.5 hours 

Author : Héloïse Bossard


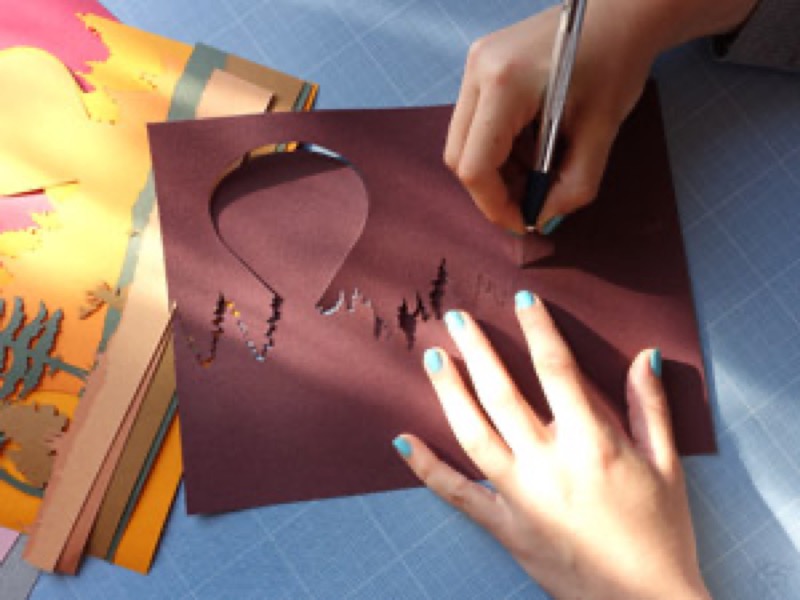
Kirigami means "cutting paper" in Japanese. This guide will teach you how to cut pieces of paper which will then be superimposed to create a landscape.


Materials required:

  • Template
  • Coloured paper upon which to print the template: 
         - in the Canson® Mi-Teintes 160gsm range  : Salmon, Rust, Light Havana, Ocean Green, Mulberry, Sunshine Yellow, Slate Grey, Deep Pink, Burgundy
         - in theCanson® Colorline 150gsm range : (can be replaced with orange from the  Canson® Mi-Teintes range)
  • 1 scalpel or craft knife + Spare blades
  • A4 cutting mat (to protect the work area)
  • Paper glue

Step 1

Using the scalpel, cut out each sheet following the line.  

It doesn't matter if you don't follow the line exactly: this will be the back and the paper will be turned over when glued.

Make sure you use a sharp blade when cutting: it will make the work easier and it will ensure you don't rip the tree tops. 

Step 2

Carefully separate the two sides of the cut paper, being careful not to tear the tops.

Use the scalpel to go over any areas as required.

Step 3

Cut out the various parts of the hot air balloon.

Ensure that the (pink) balloon paper pieces are back in the right position after having cut them.  

This will make it easier when you glue them.

Step 4

Put the pink parts of the hot air balloon in place.

Leave them to dry for a few minutes and then glue the burgundy balloon on the slate grey paper.

Once everything has been glued, place a weight (book, dictionary, or other) upon it to ensure it sets.

Step 5

Put the sheets on top of each other to ensure all of the strips are of the same length.

If one happens to be longer than the others, cleanly cut the overhanging piece with a ruler and scalpel.

Step 6

Put glue on the back of the paper and then stick it to the bottom layer. Do the same for the paper layers.

Once all of the layers have been stuck together, glue the balloon in its intended position ensuring it is in the centre.

Note

Please note: it is best to use a gel, stick or aerosol glue rather than liquid.

If you do use liquid glue, be careful not to use too much to avoid the paper crinkling or over spilling when gluing.